
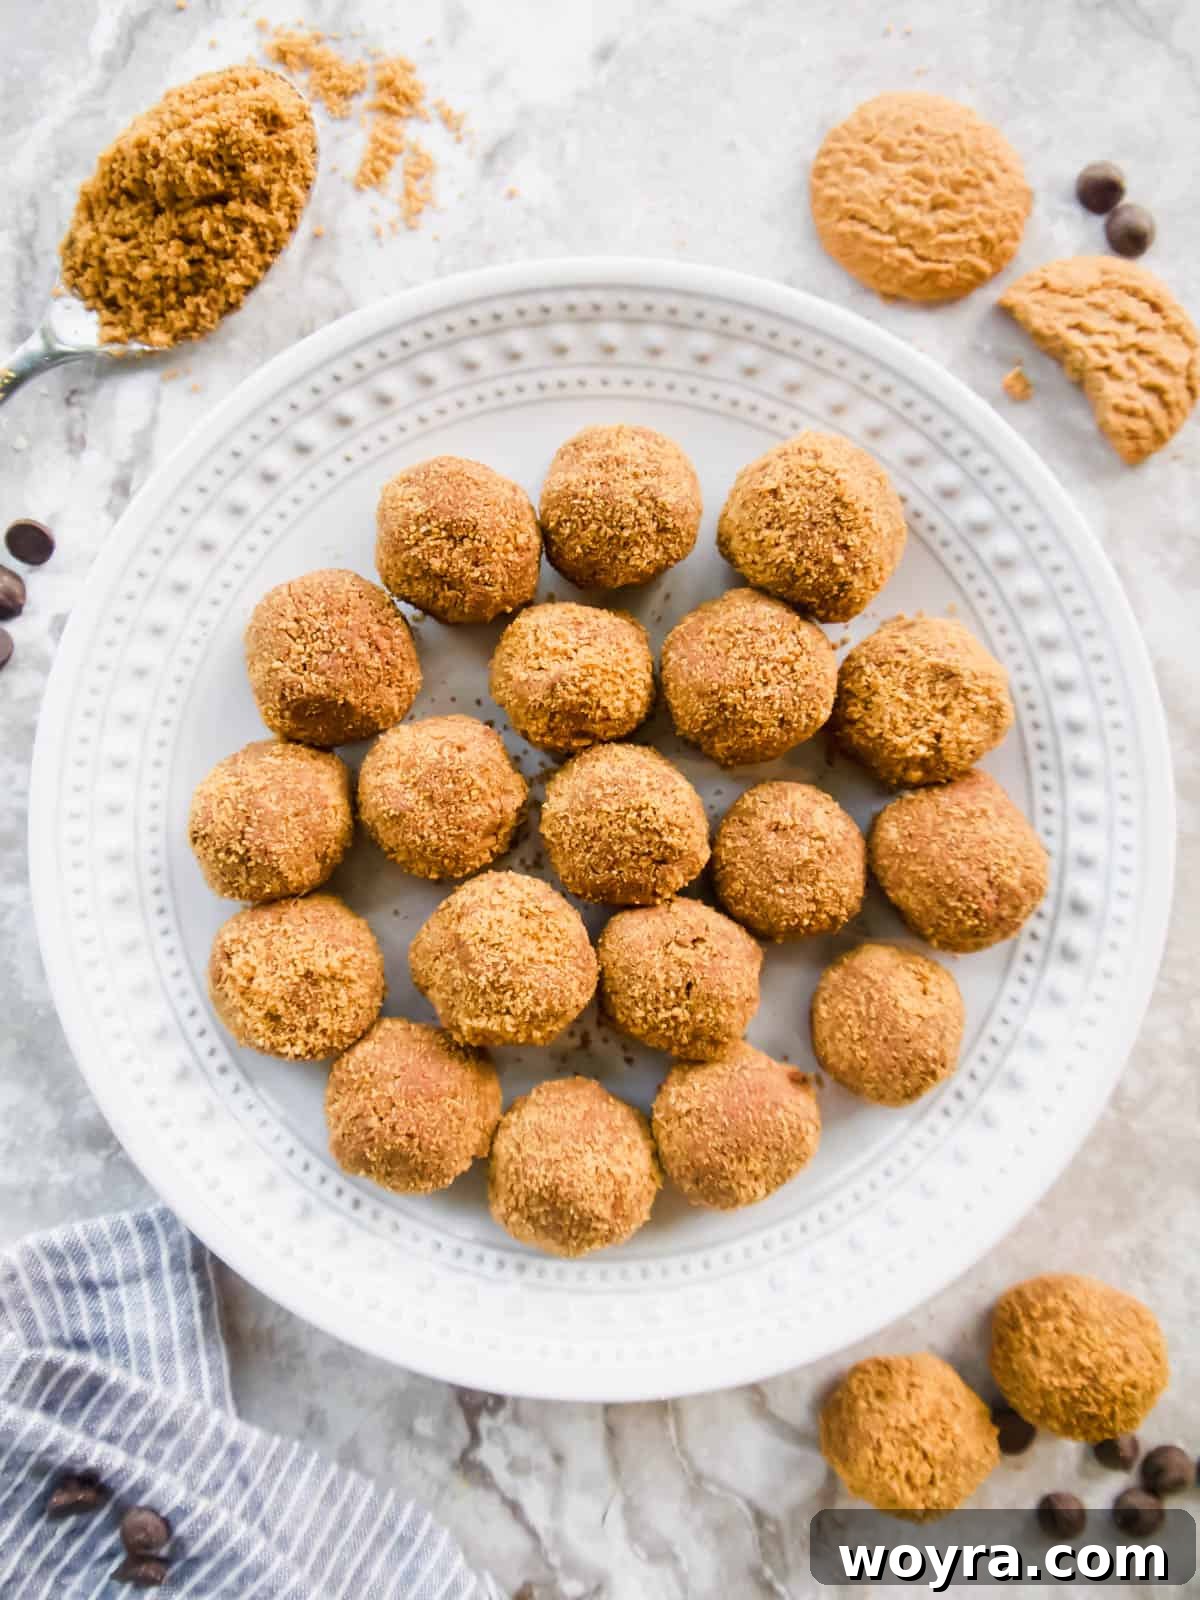
Unlock the secret to incredibly easy and utterly delicious desserts with these **Dairy-Free Chocolate Mousse Balls**! Requiring just three simple ingredients – luscious Cocowhip, rich dairy-free chocolate, and crunchy crushed cookies – these delightful treats are the epitome of effortless elegance. Perfect as quick **chocolate mousse truffles** for any gathering, holiday celebration, or simply as a satisfying sweet escape, they promise a guilt-free indulgence that everyone will adore.
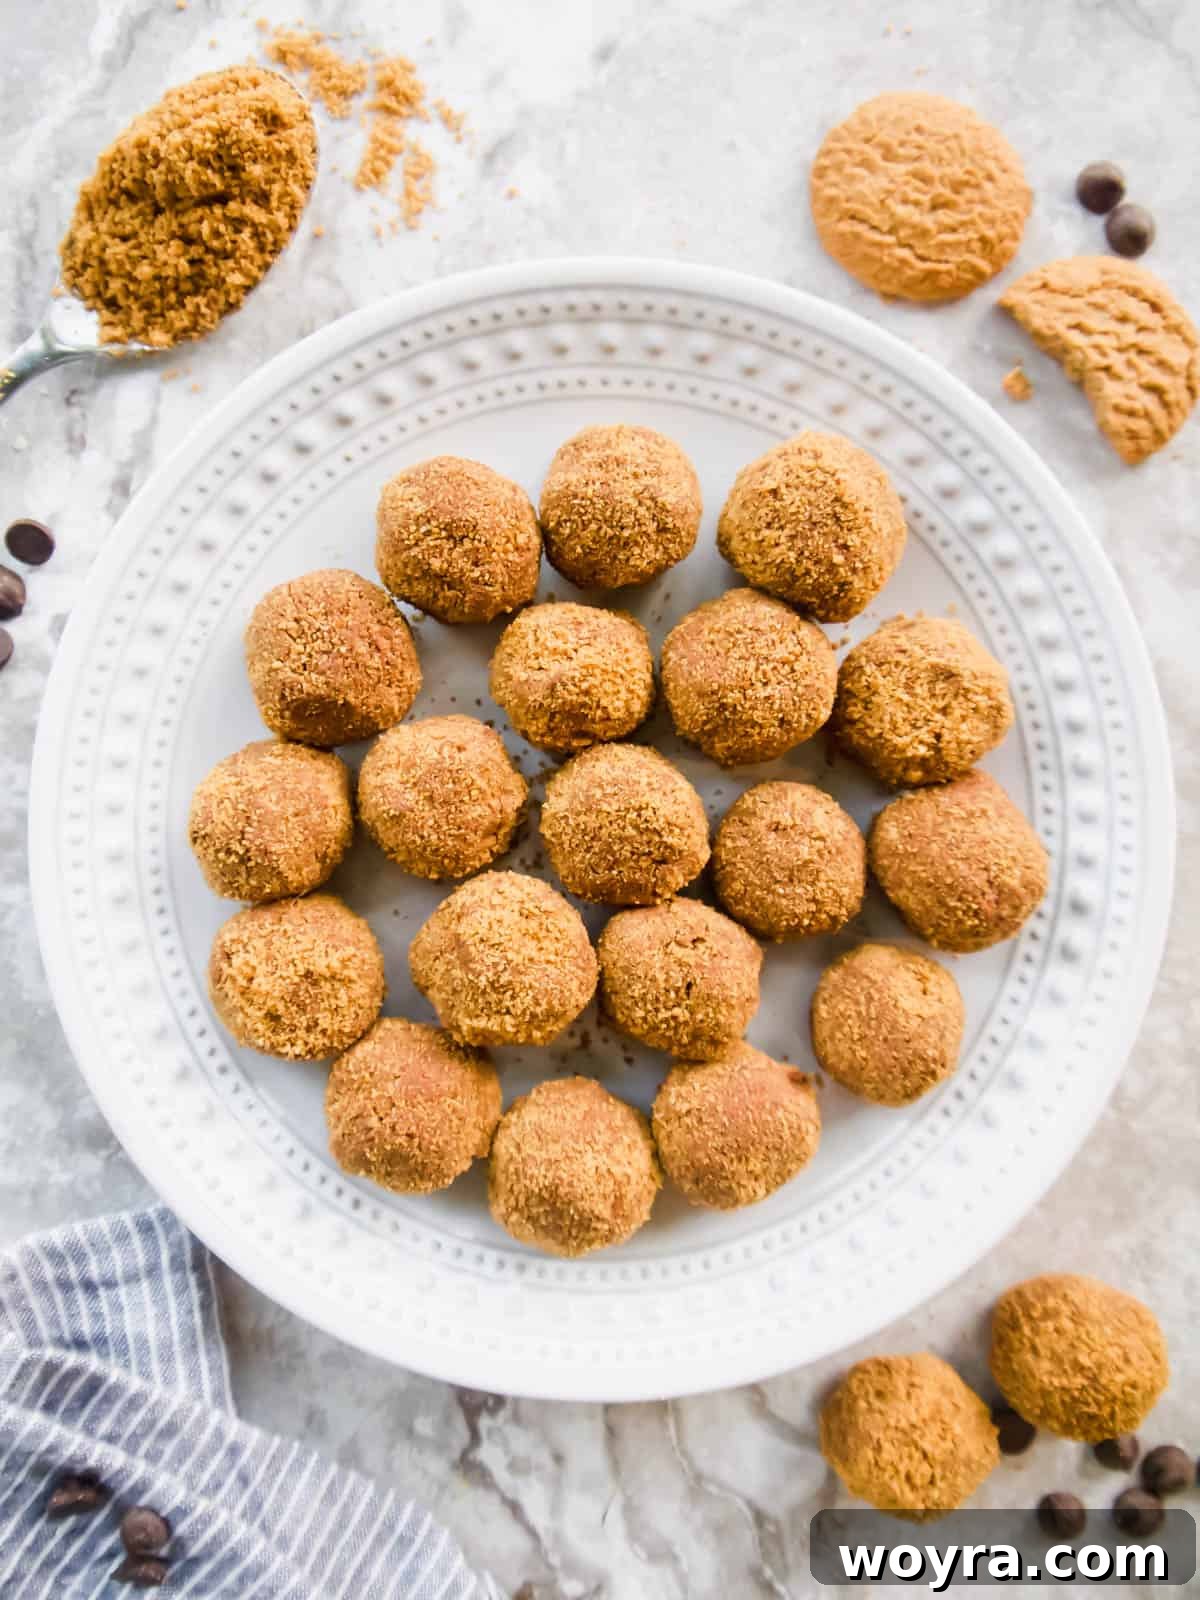
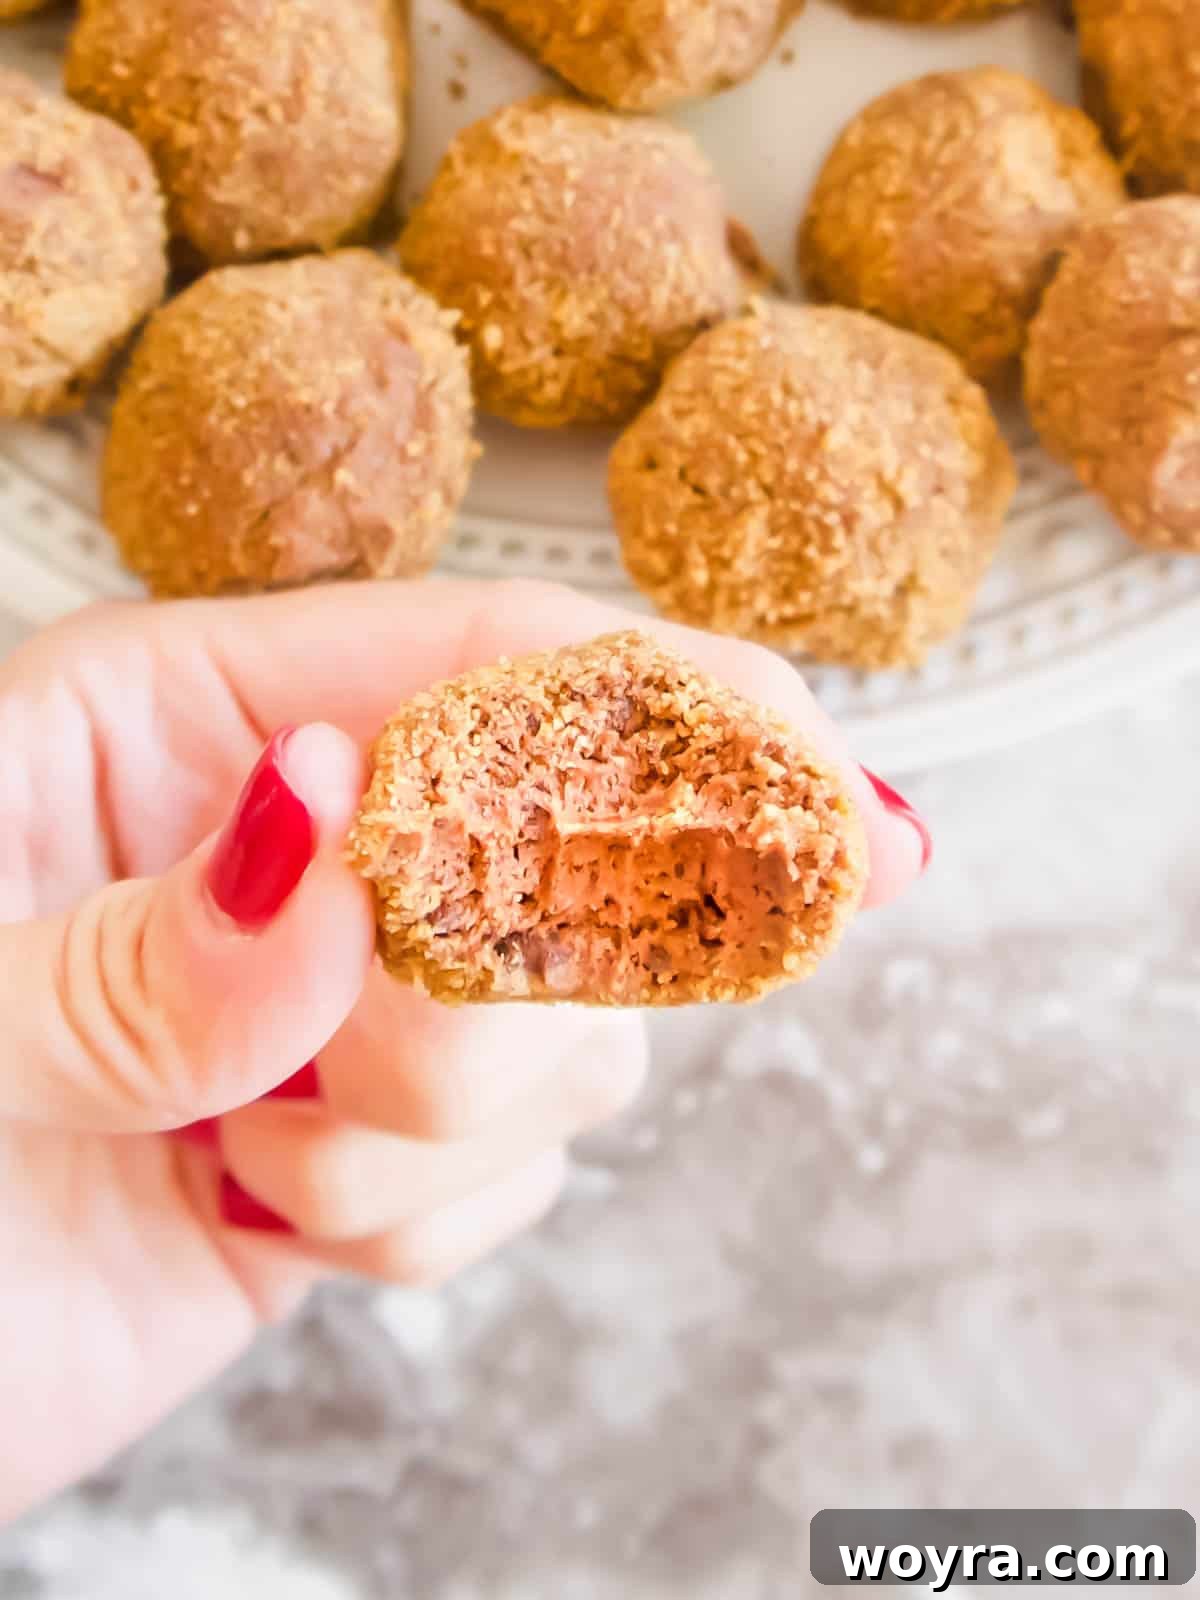
There’s an undeniable excitement surrounding these dairy-free chocolate mousse balls! Imagine bite-sized spheres of airy, rich chocolate mousse, meticulously rolled in a delicate coating of crushed gluten-free cookies. Each one is a tiny explosion of flavor and texture, reminiscent of gourmet chocolate truffles but crafted to be entirely dairy-free and gluten-free. Beyond their exquisite taste, what truly sets them apart is their remarkable simplicity and ease of preparation.
These versatile treats are your go-to solution for any occasion. Whether you’re seeking an impressive dessert to grace a festive holiday party, a convenient sweet to keep on hand for sudden cravings, or simply a fantastic no-bake option to whip up without heating your kitchen, these mousse balls fit the bill perfectly. If your passion lies in no-bake delights, you might also enjoy exploring other wholesome options like my nutritious chia oatmeal energy balls.
This recipe is a labor of love, reimagined from a beloved classic. Years ago, I frequently made a simple dessert using Cool Whip, Nilla Wafers, and Hershey’s Chocolate. Driven by a desire to recreate that nostalgic joy with cleaner, more wholesome ingredients, this contemporary version was born. It embodies the same delightful essence but with a mindful approach to dietary needs, proving that scrumptious desserts can indeed be both indulgent and accommodating.
Why You’ll Fall in Love with This Recipe
Discover the compelling reasons why these dairy-free chocolate mousse balls are destined to become a staple in your dessert repertoire:
- Minimal Ingredients: You only need **three core ingredients** to create these gourmet-tasting treats, making grocery shopping and preparation a breeze.
- Allergy-Friendly Goodness: Expertly crafted to be both dairy-free and gluten-free, this recipe is a fantastic choice for accommodating various dietary restrictions without compromising on flavor or texture. It’s a dessert everyone can enjoy!
- Perfect for Busy Lifestyles: Say goodbye to long hours in the kitchen! This is a completely **no-bake dessert**, requiring no oven time and minimal active preparation, ideal for those with hectic schedules.
- Effortlessly Simple: These **chocolate mousse bites** are incredibly straightforward to assemble, making them a perfect project for beginner bakers or a fun activity with kids.
- Gourmet Taste, Homey Comfort: Despite their simple origins, they taste astonishingly like sophisticated **chocolate mousse truffles**, offering a luxurious experience in every bite.
- Readily Available Products: All the necessary ingredients can be easily sourced from most major grocery stores, ensuring convenience and accessibility for your culinary adventures.
- Versatile for Any Occasion: From elegant holiday parties to casual weeknight treats, these mousse balls are adaptable and always a crowd-pleaser.
- Customizable Potential: While delicious as is, this recipe serves as a fantastic base for creative variations, allowing you to experiment with different cookie flavors or coatings.
Essential Ingredients for Your Dairy-Free Delight
Creating these delightful mousse balls begins with selecting high-quality, yet easily accessible, dairy-free and gluten-free ingredients. Here’s what you’ll need to gather:
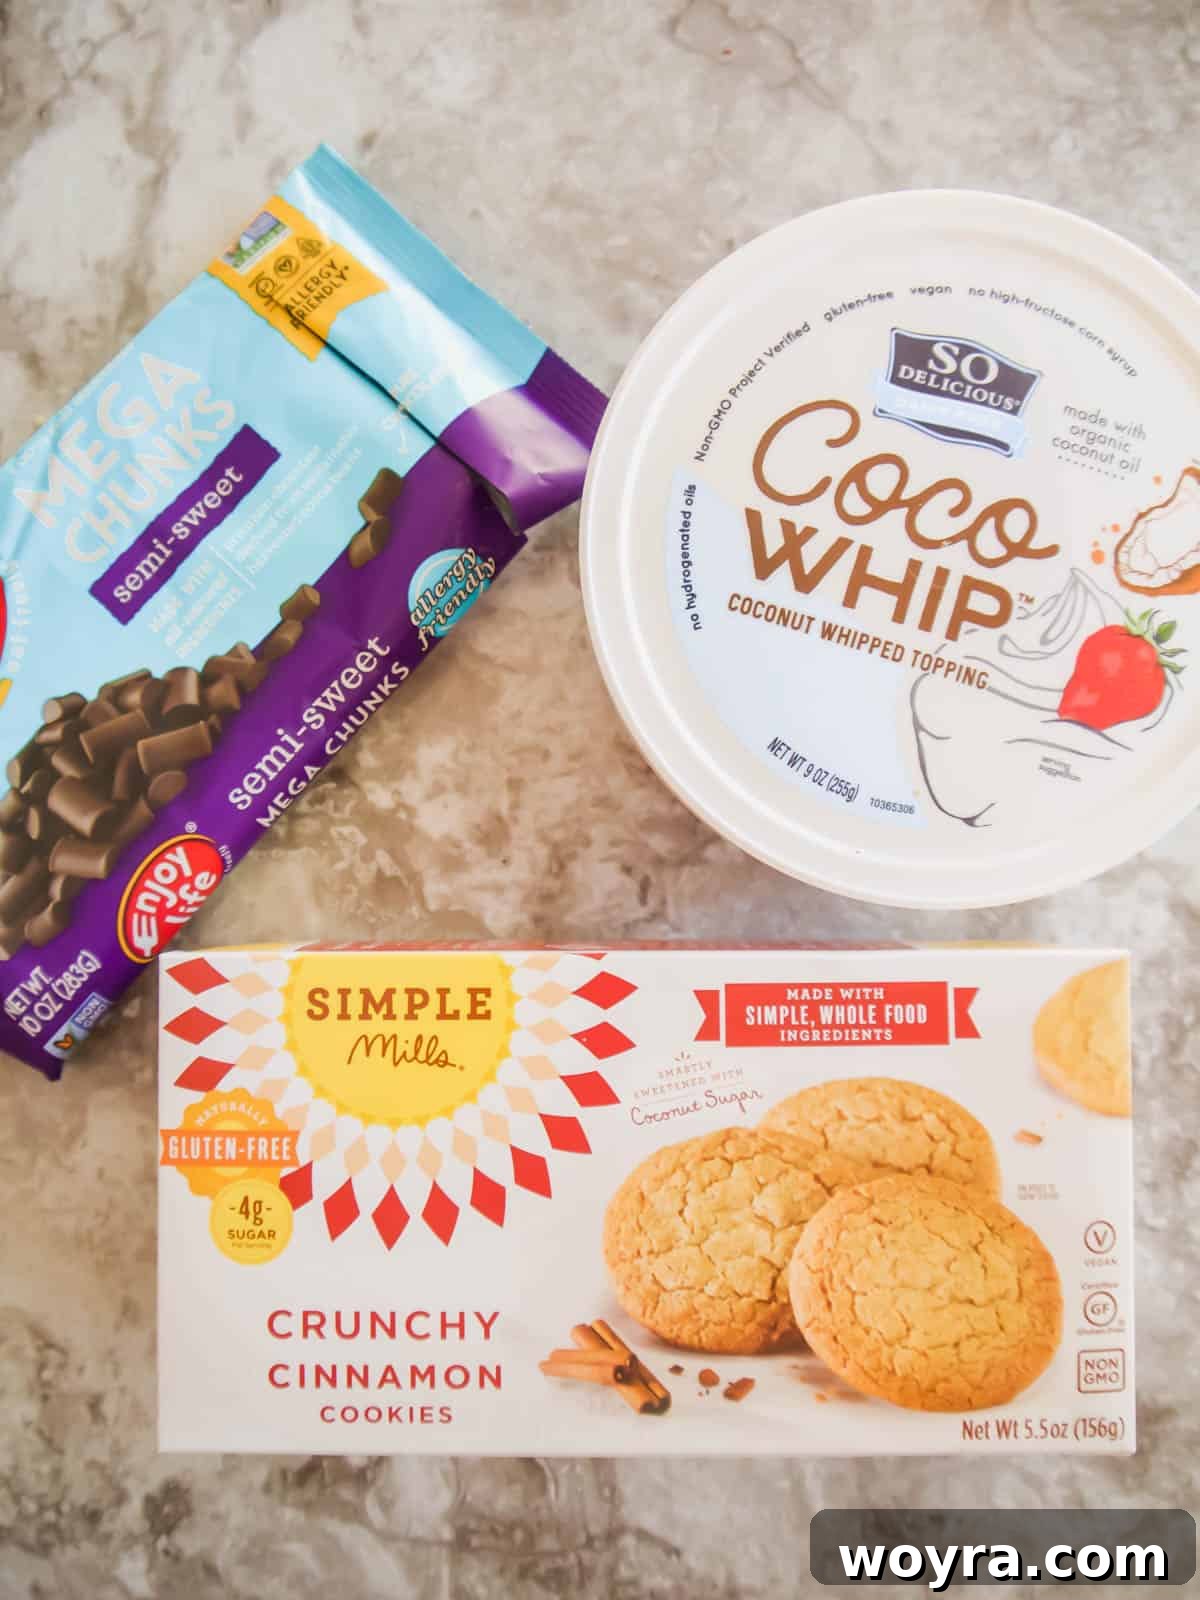
- So Delicious CocoWhip: A 9-ounce tub of this fantastic dairy-free whipped topping is the cornerstone of our mousse. Ensure it’s fully thawed before you begin. CocoWhip provides that light, airy texture essential for a perfect mousse. It’s coconut-based, offering a subtle tropical hint that complements the chocolate beautifully.
- Gluten-Free Crunchy Cookies: You’ll need about 1 cup of crushed cookies. My top recommendations are Simple Mills Crunchy Cinnamon Cookies or Simple Mills Almond Flour Pecan Cookies. These varieties offer a delightful crunch and a hint of spice or nuttiness that perfectly balances the chocolate. Crushing them fine will create a smooth coating, while slightly coarser crumbs will add more textural interest.
- Dairy-Free Chocolate Chips: A 10-ounce bag of Enjoy Life Semi-Sweet Dairy-free Mega Chunk Chocolate Chips is ideal. Enjoy Life is a trusted brand for allergy-friendly products, and their semi-sweet chips offer a rich, deep chocolate flavor without any dairy. The “mega chunks” melt beautifully and provide a luxurious texture to the mousse.
While I often find all these ingredients at Whole Foods, rest assured that they are widely available in many other grocery stores and online retailers. Before heading out to shop, a helpful quick check for a store locator for CocoWhip can save you time and ensure you find all your essentials in one trip.
Kitchen Tools You’ll Need
Preparation is simple and requires only a few basic kitchen tools:
- **Food Processor:** Essential for quickly and uniformly crushing your cookies into fine crumbs. If you don’t have one, a sturdy plastic bag and a rolling pin work just as well.
- **Microwave-Safe Bowl:** For melting the chocolate efficiently and safely.
- **Mixing Bowl:** A medium to large bowl for combining the CocoWhip and melted chocolate.
- **Spatula or Spoon:** For folding the ingredients together.
- **Measuring Cups:** To ensure accurate quantities of cookies.
- **Measuring Spoons (Optional):** For consistent ball sizes.
- **Plates or Baking Sheet:** For chilling and serving the finished mousse balls.
- **Airtight Container:** For storing your delicious creations.
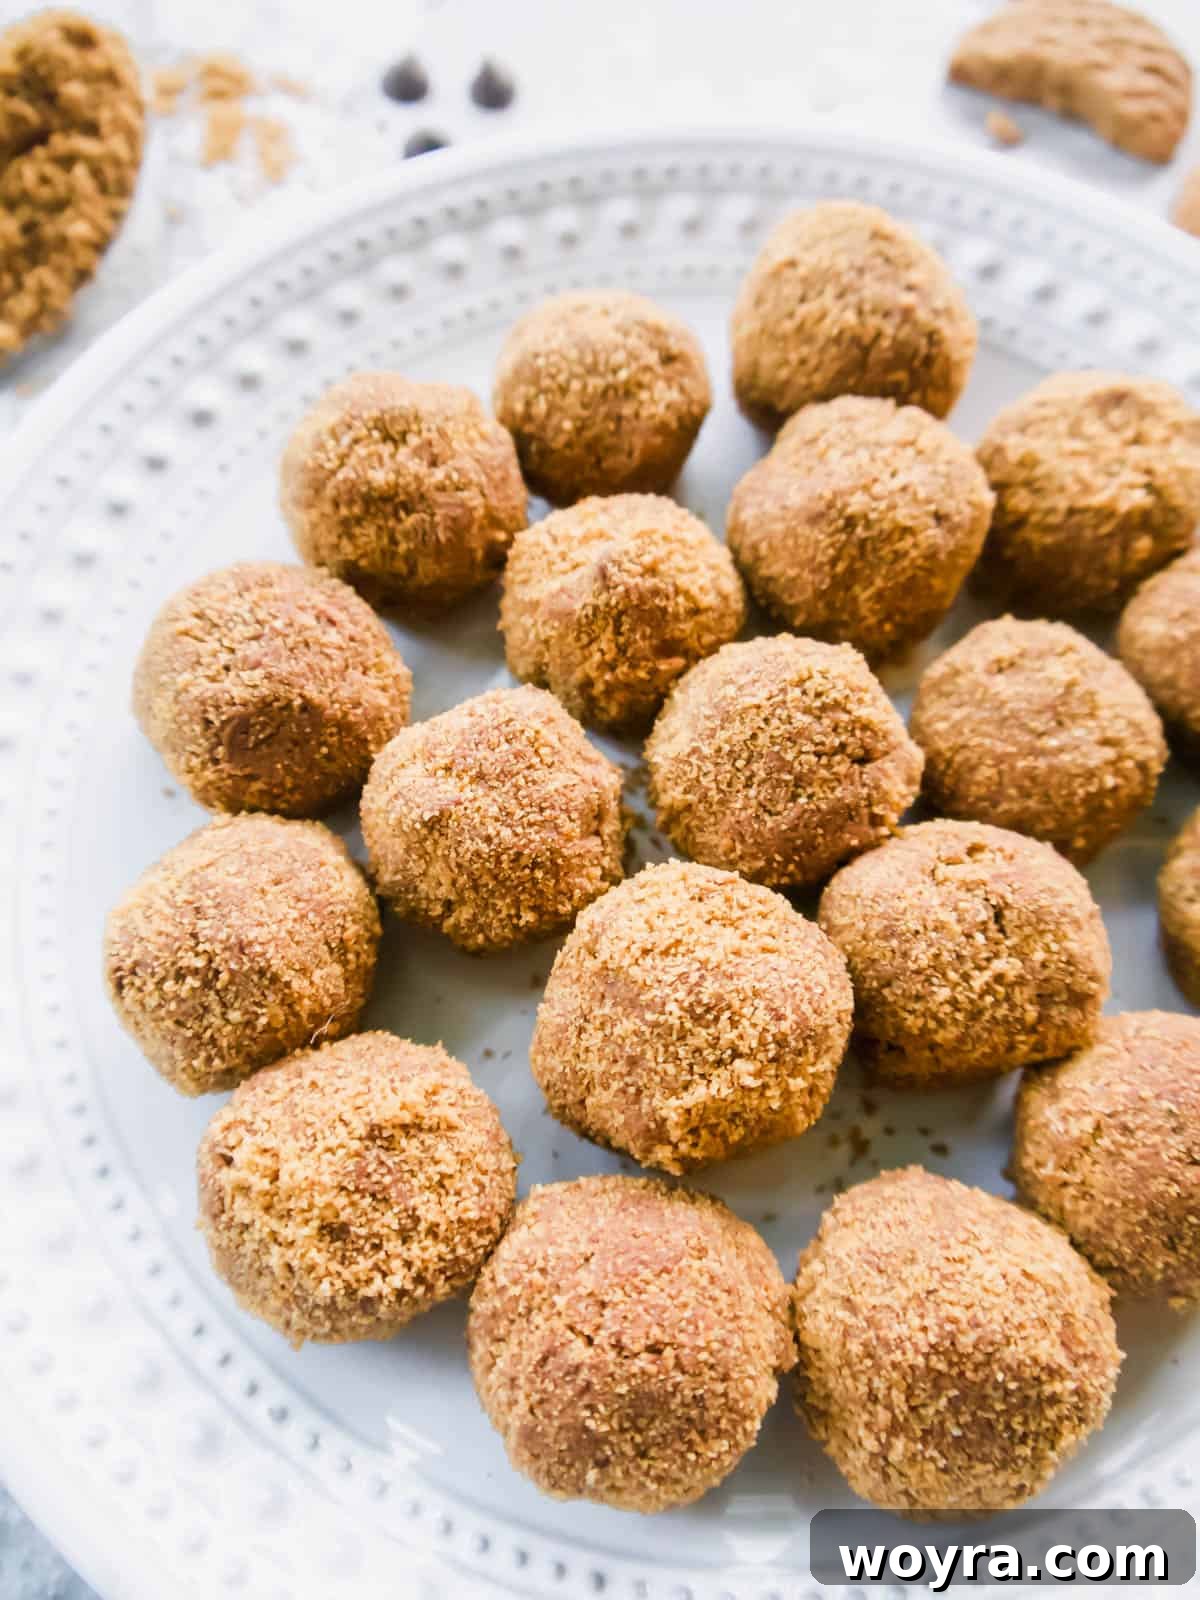
Crafting Your Dairy-Free Chocolate Mousse Balls: Step-by-Step Guide
Follow these detailed instructions to create perfect, irresistible dairy-free chocolate mousse balls:
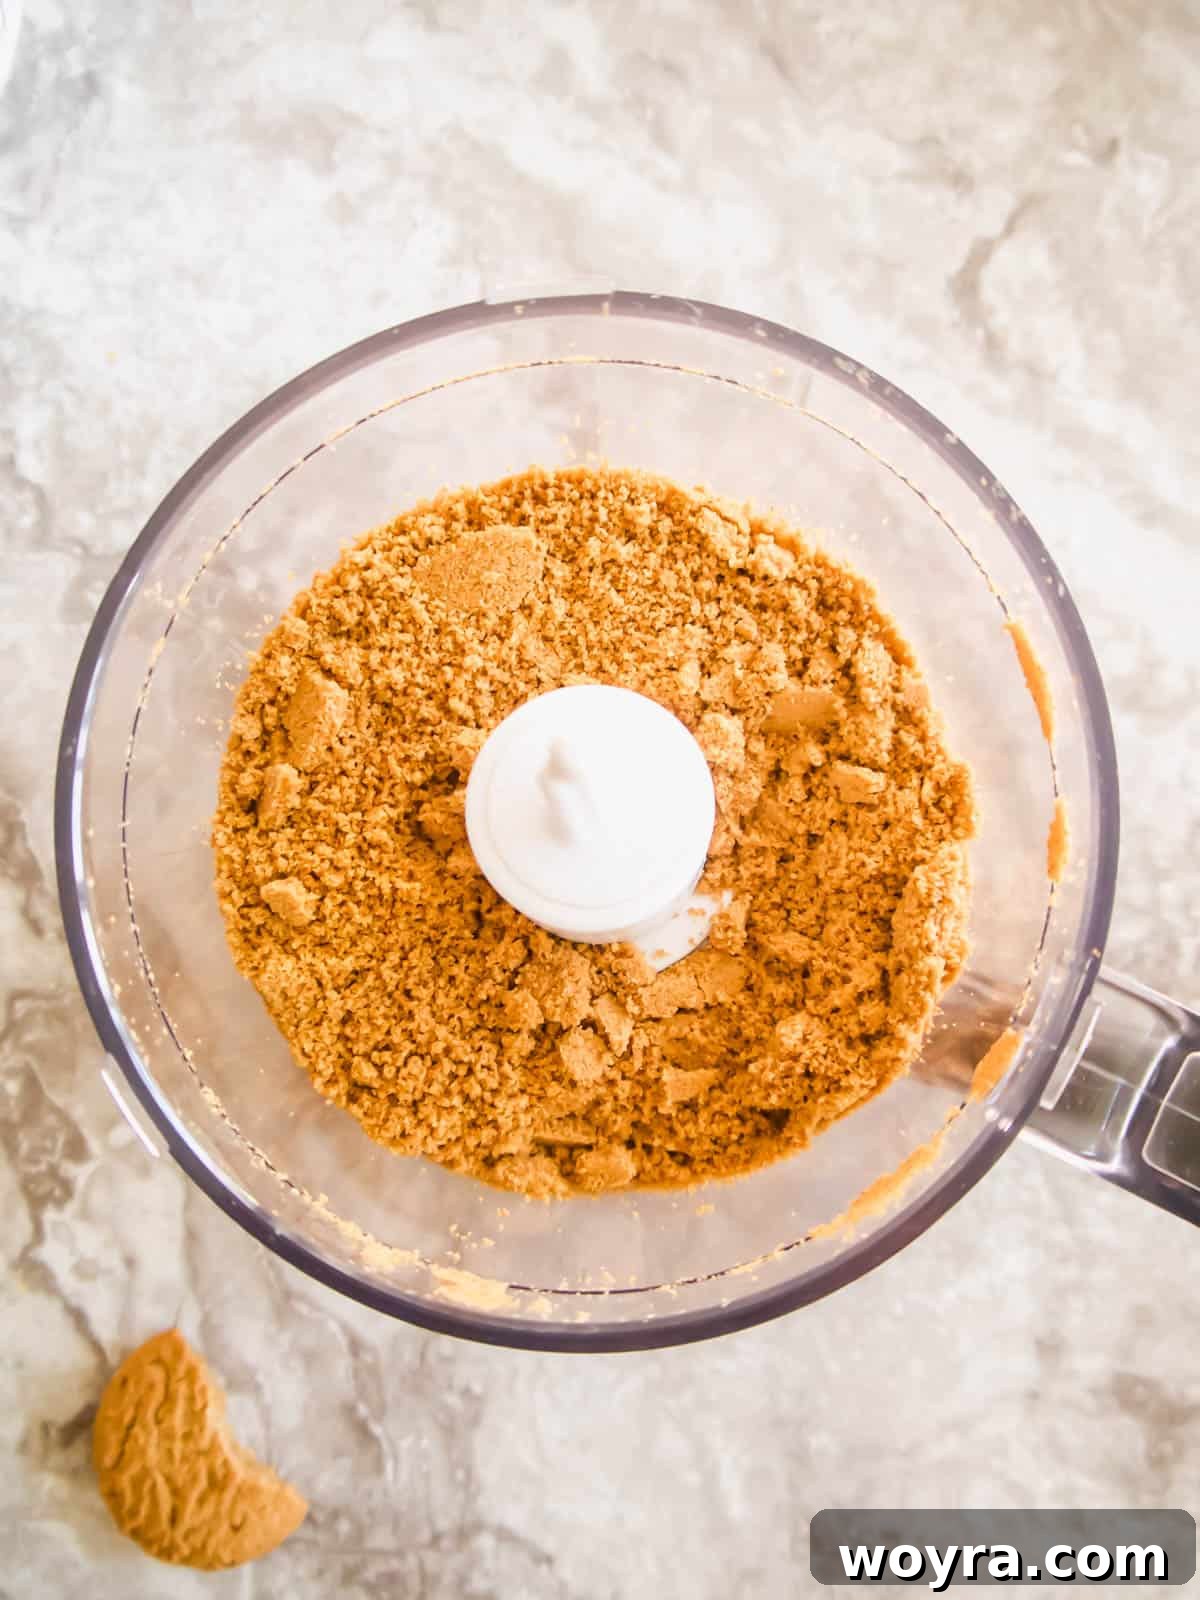
Step 1: Prepare the Cookies and CocoWhip
- Begin by crushing your chosen gluten-free cookies into fine crumbs. The easiest method is to use a food processor, pulsing until you achieve a consistent, sandy texture. If you don’t have a food processor, simply place the cookies in a sturdy plastic bag, seal it, and gently (or vigorously, depending on your mood!) crush them with a rolling pin until thoroughly crumbled. Set aside the cookie crumbs on a shallow plate or in a bowl.
- Simultaneously, make sure your tub of So Delicious CocoWhip is completely thawed. This usually takes a couple of hours in the refrigerator or about 30-60 minutes at room temperature, depending on how frozen it was. A fully thawed and soft CocoWhip is crucial for a smooth, lump-free mousse.
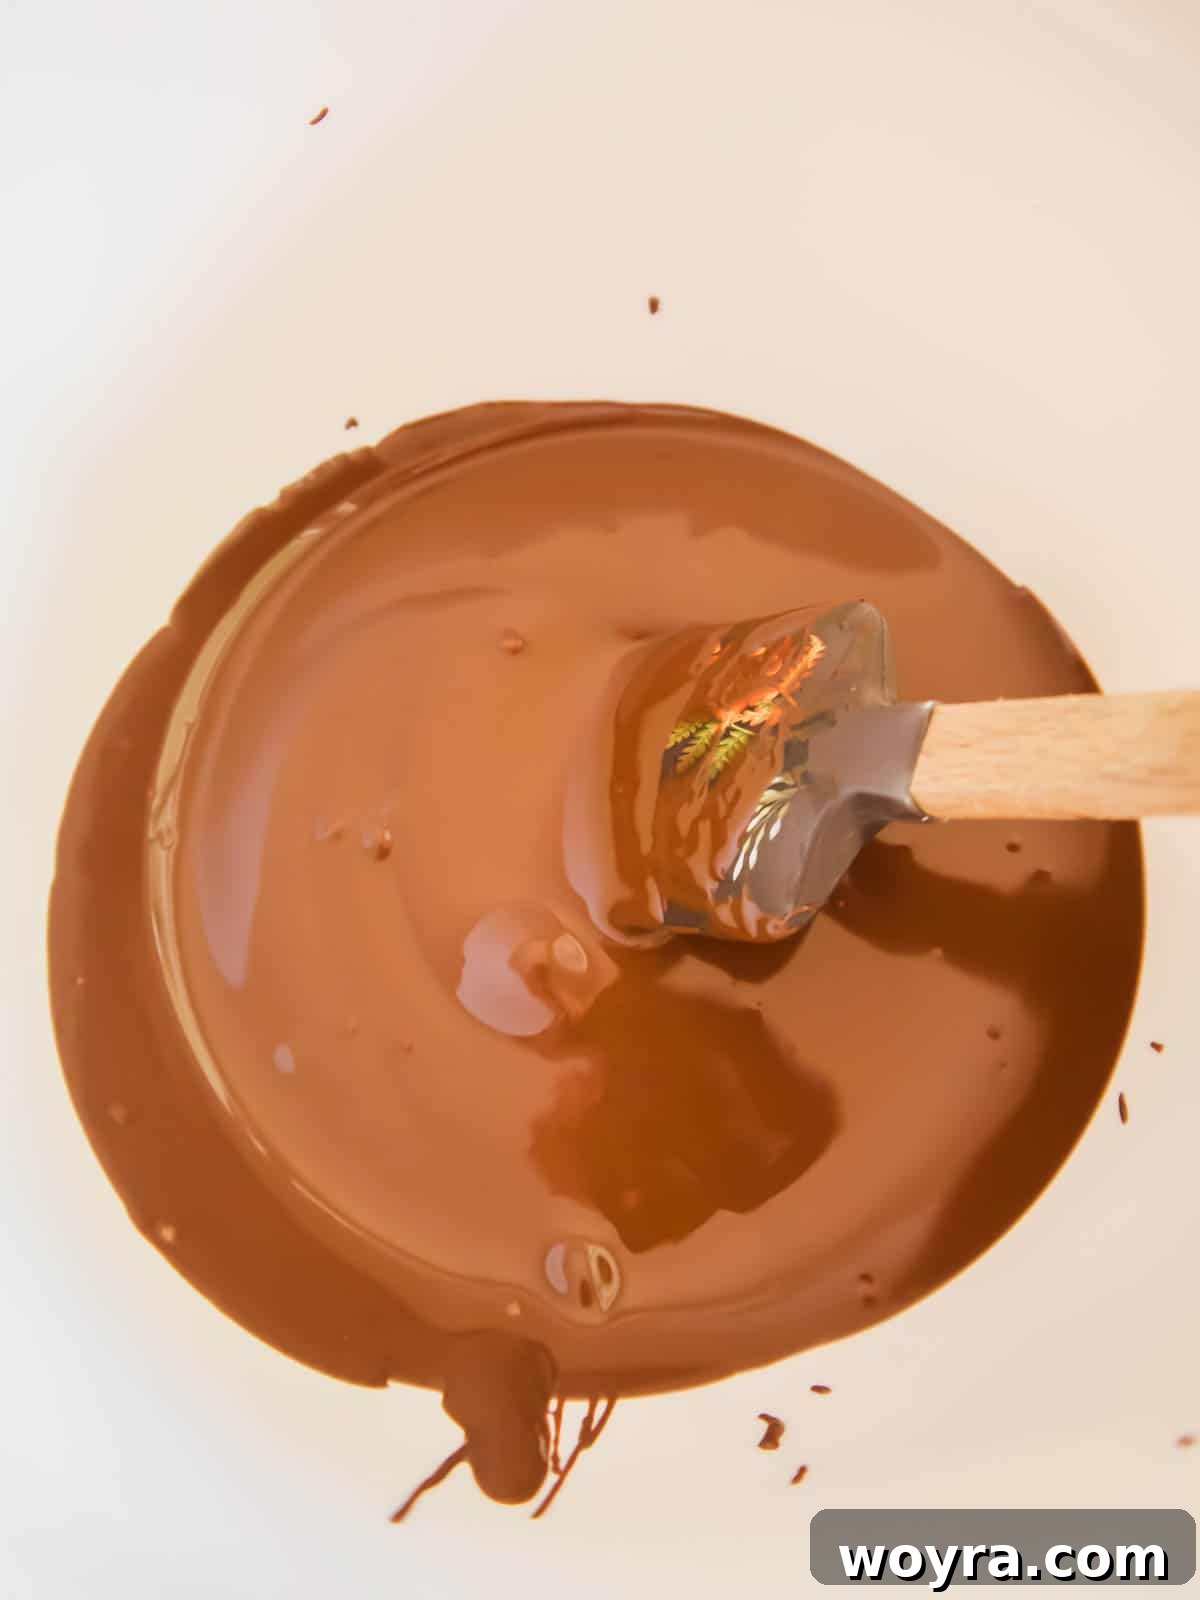
Step 2: Melt the Dairy-Free Chocolate
- Next, it’s time to melt your dairy-free chocolate chips. The microwave is an efficient tool for this.
- Place the chocolate chips in a microwave-safe bowl. Microwave them in short, 30-second intervals. After each interval, remove the bowl and stir the chocolate thoroughly. This technique helps distribute the heat evenly and prevents the chocolate from burning, which can happen quickly in a microwave. Repeat this process – microwave for 30 seconds, stir, microwave for another 30 seconds, stir – until the chocolate is smooth and fully melted. For 10 ounces of chocolate, this typically takes about 1.5 to 2 minutes in total.
- Once melted, allow the chocolate to cool completely to room temperature. This step is critical! If the chocolate is too warm when mixed with the CocoWhip, it will cause the CocoWhip to separate or the chocolate to seize and clump, resulting in an undesirable texture. Patience here ensures a silky-smooth mousse.
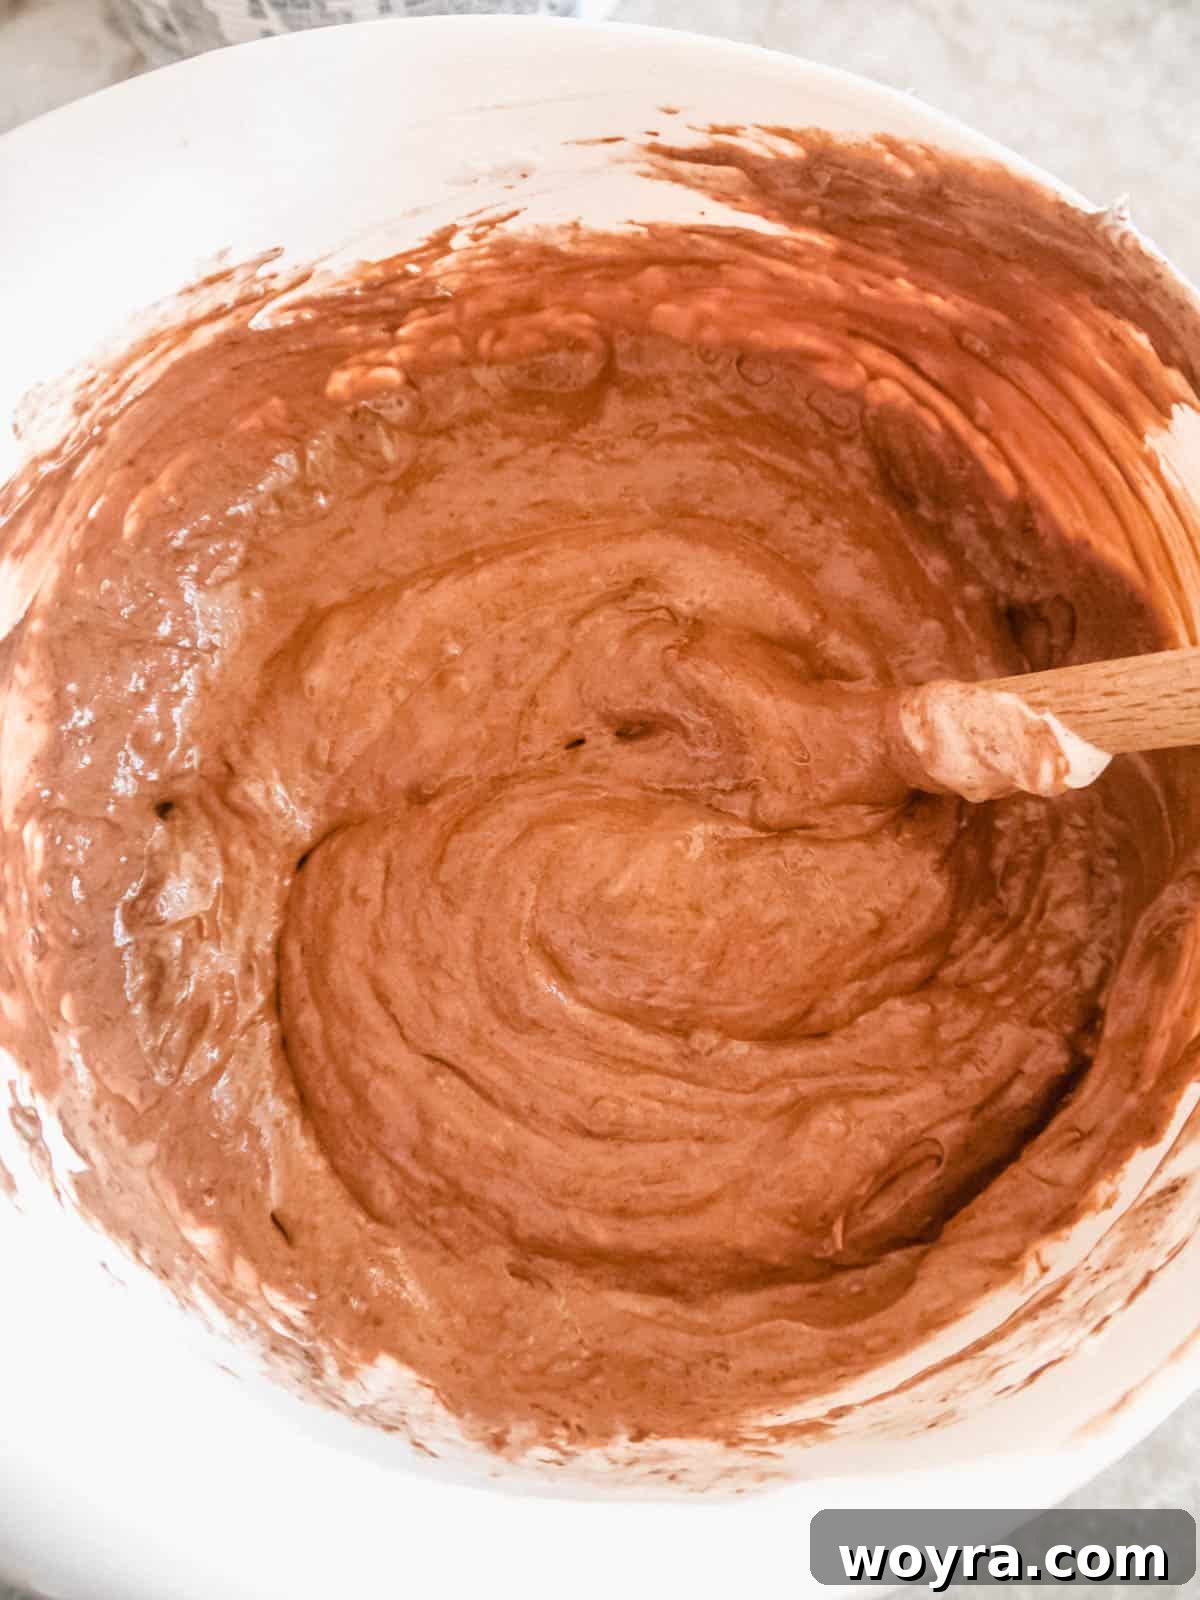
Step 3: Combine and Chill the Mousse Base
- In a clean mixing bowl, gently combine the fully thawed CocoWhip and the cooled, room-temperature melted chocolate.
- Use a spatula or large spoon to carefully fold the ingredients into each other. The goal is to incorporate them without deflating the airy texture of the CocoWhip. Continue folding until the mixture is uniform in color and texture, with no streaks of white or unmixed chocolate remaining.
Important Note: Reiterate, the CocoWhip must be thawed and the chocolate must be at room temperature. Any temperature disparity will result in the chocolate clumping or seizing, creating a grainy texture rather than a smooth mousse.
Step 3 1/2: Chill the Chocolate Mousse: Once mixed, cover the bowl and refrigerate the chocolate mousse for at least 2 hours. Alternatively, if you’re in a hurry, you can place it in the freezer for 30-45 minutes. The chilling process is crucial as it allows the mousse to firm up sufficiently, making it much easier to handle and roll into balls in the next step.
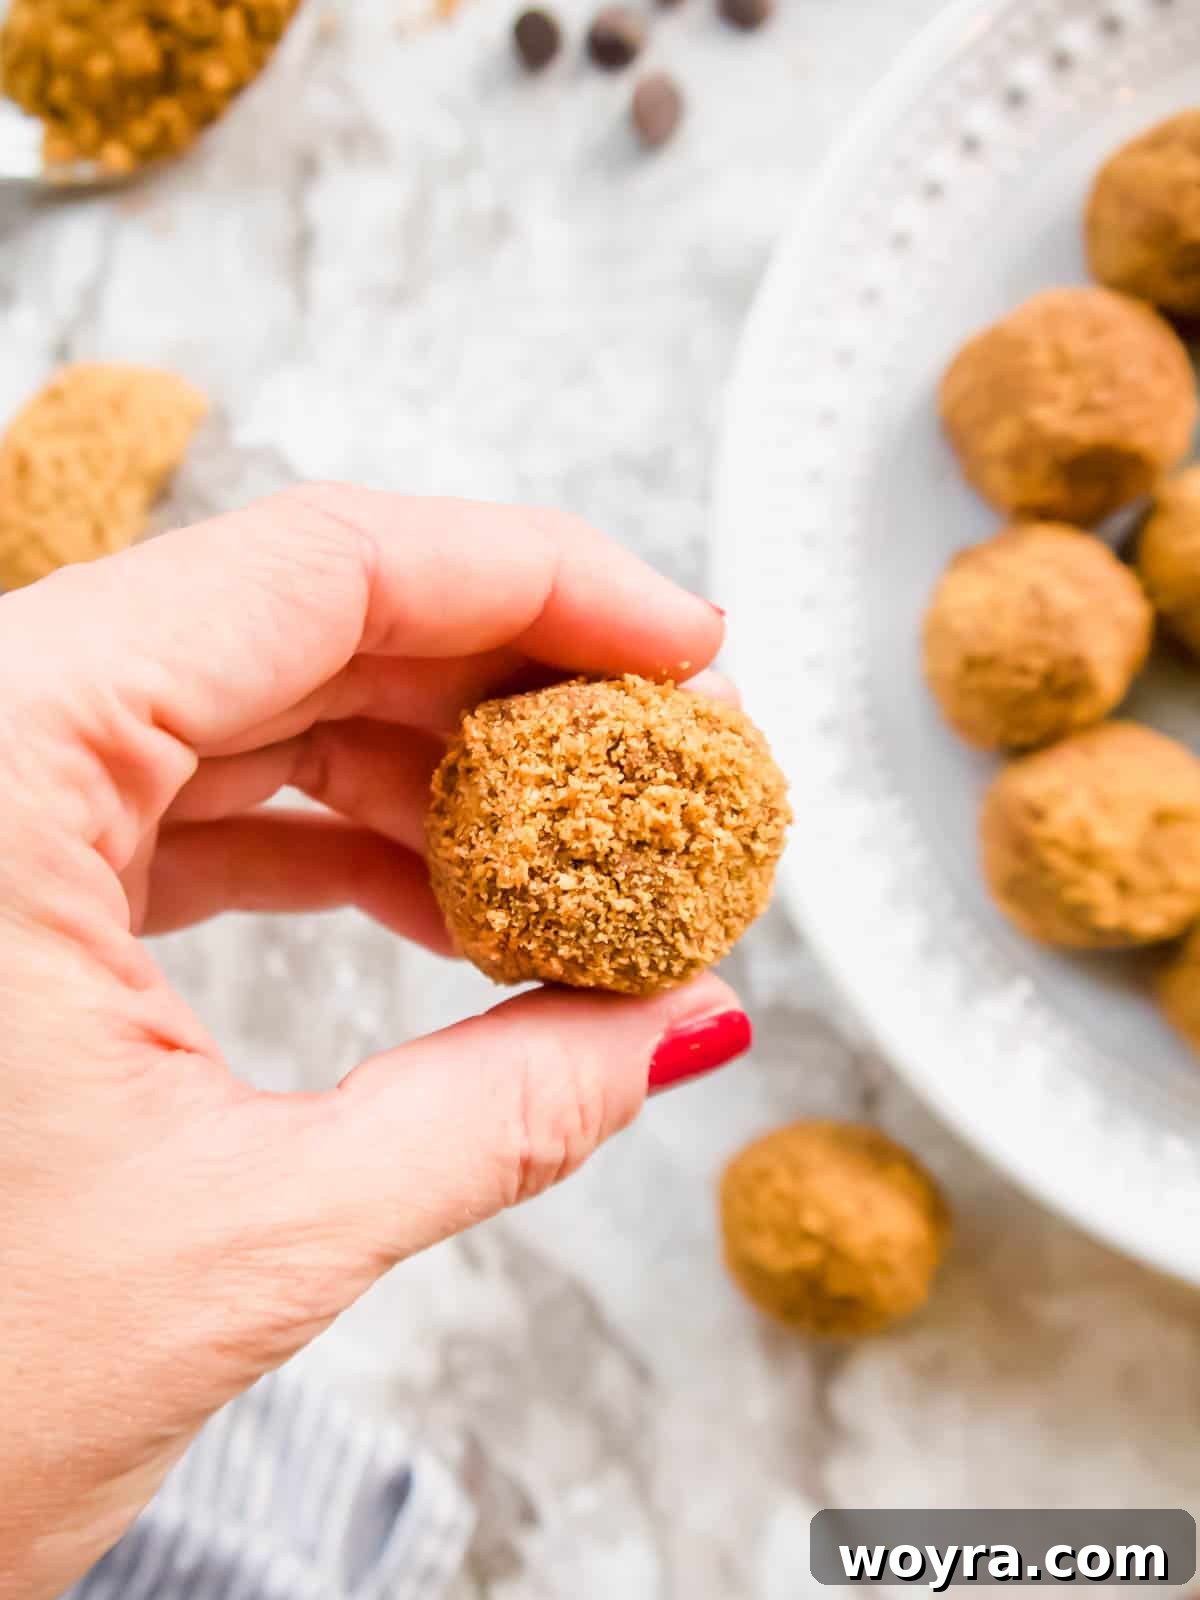
Step 4: Roll the Mousse into Cookie Crumbs
Now for the fun part – forming your truffles! You have two effective methods for rolling the mousse into the cookie crumbs:
- Traditional Hand Rolling: If your mousse has chilled thoroughly and is firm enough, simply scoop out tablespoon-sized portions with your hands and quickly roll them into neat, uniform balls. Then, gently drop each mousse ball into the prepared cookie crumbs and roll to coat it entirely.
- Spoon-Assisted Rolling (Recommended for softer mousse): This method is particularly helpful if your mousse hasn’t quite hardened to your liking, or if you prefer a less messy approach. Take a tablespoon amount of the chilled mousse and place it directly into the bowl of cookie crumbs. Using a spoon, gently push and roll the mousse in the crumbs, covering it completely. Once well-coated, carefully pick up the crumb-covered mousse and finish rolling it into a perfect ball between your hands. The initial coating of crumbs helps prevent the mousse from sticking to your palms.
- Pro Tip: Once you’ve formed a cookie-covered mousse ball, give it one final, gentle dunk and roll in the cookie crumbs to ensure an even and generous coating. This adds to both the aesthetics and the satisfying crunch.
- Place each finished mousse ball onto a clean plate or baking sheet lined with parchment paper.
Step 5: Final Chill and Serve
After all your mousse balls are formed and coated, place the plate or baking sheet back into the refrigerator for at least 30 minutes. This final chill allows the mousse to fully set, firming up the chocolate and ensuring the cookie coating adheres perfectly. It also enhances the overall texture and makes them incredibly refreshing.
That’s it! Your delectable dairy-free chocolate mousse balls are ready to be enjoyed. Keep these delightful treats stored in an airtight container in the refrigerator to maintain their freshness and perfect texture. They are best served chilled.
Tips for Success
- **Thawing is Key:** Ensure CocoWhip is completely thawed to a soft, whipped consistency for a smooth mousse.
- **Chocolate Temperature Matters:** Always let melted chocolate cool to room temperature before combining with CocoWhip to prevent clumping.
- **Folding Technique:** Gently fold the chocolate into the CocoWhip to maintain the airy texture. Don’t overmix.
- **Chilling Time:** Don’t skimp on the initial chilling time (Step 3 1/2). This step is crucial for the mousse to firm up enough for easy rolling.
- **Clean Hands or Spoon Method:** If the mousse is still a bit soft, use the spoon-assisted rolling method described in Step 4 for less mess and better results.
- **Storage:** Always store these mousse balls in an airtight container in the refrigerator to keep them fresh and firm.
Serving Suggestions
These dairy-free chocolate mousse balls are delightful on their own, but here are a few ideas to elevate your serving:
- **Dust with Cocoa Powder:** For an extra touch of sophistication, lightly dust the finished balls with unsweetened cocoa powder just before serving.
- **Garnish with Berries:** Fresh raspberries or strawberries provide a lovely tart contrast to the rich chocolate.
- **Mini Dessert Platter:** Arrange them alongside other small treats for a beautiful dessert spread.
- **Coffee Pairing:** They pair wonderfully with a hot cup of coffee, espresso, or a dairy-free latte.
- **Dessert Topping:** Crumble them over dairy-free ice cream or pudding for an instant upgrade.
Recipe FAQS: Your Questions Answered
If So Delicious CocoWhip is unavailable in your area, you have a couple of excellent alternatives. TruWhip is another great brand that offers healthier, more natural whipped topping alternatives, including vegan options, which would work perfectly. If you don’t require a dairy-free option and can tolerate dairy, traditional Cool Whip can also be used, though it will change the dietary profile of the recipe.
The beauty of this recipe lies in its adaptability! While Simple Mills Crunchy Cinnamon and Almond Flour Pecan Cookies are fantastic, you can certainly experiment with others. Any of the “crunchy” cookie varieties from Simple Mills would be suitable. For a different flavor profile, consider The Greater Goods Snickerdoodles for a hint of cinnamon sugar, or even crushed gluten-free graham crackers for a classic flavor combination. The key is a crunchy cookie that can be easily crushed into crumbs.
Absolutely! If you don’t have dairy sensitivities or dietary restrictions, feel free to substitute regular milk chocolate chips or even dark chocolate for the dairy-free variety. The process for melting and cooling remains the same. Just ensure it’s a good quality chocolate that melts smoothly.
When stored in an airtight container in the refrigerator, these dairy-free chocolate mousse balls will stay fresh and delicious for up to 5-7 days.
Yes, these mousse balls freeze beautifully! Place them on a baking sheet in a single layer to freeze completely, then transfer them to an airtight freezer-safe container or bag. They can be stored in the freezer for up to 1-2 months. Thaw them in the refrigerator for a few hours before serving, or enjoy them directly from the freezer for a firmer, almost ice cream-like treat.
Explore More Dairy-Free Chocolate Recipes
If you love these dairy-free chocolate mousse balls, you’ll surely enjoy these other fantastic chocolate-inspired recipes:
- These Dairy-Free Vegan Chocolate Truffles from Food Faith Fitness are so stunning, they look like they came straight from a professional chocolatier!
- Indulge in the rich, melt-in-your-mouth experience of these Fudgy Chocolate Chunk Brownies. You’d never guess they’re both Paleo and dairy-free!
- Beware: this Edible Eggless Chocolate Chip Cookie Dough is dangerously delicious. Once you start, it’s hard to stop!
- For the ultimate chocolate indulgence, try these Chocolate Chocolate Chip Sea Salt Cookies – a perfect balance of sweet and salty.
- If you’re looking for a similar concept with homemade components, these Paleo Chocolate Truffles offer a from-scratch approach.
- Craving something quick and creamy? This Vegan Chocolate Pudding is an amazing dairy-free treat that comes together in just 5 minutes.
Did you try this delightful recipe? Your feedback means the world! Please leave me a ⭐ review below!
Rated 5 out of 5 stars by 5 votes
Dairy-Free Chocolate Mousse Balls (Gluten-free)
Dominique
35 balls
2 hrs 25 mins
2 hrs 25 mins
Share by Email

Ingredients
- 1 9 ounce tub of CocoWhip, (So Delicious brand), thawed
- 1 cup Simple Mills Crunchy Cinnamon Cookies, (1 box), crushed into crumbs
- 10 ounces Enjoy Life semi-sweet mega chunk chocolate chips, (1 bag)
Instructions
-
Thaw the CocoWhip completely. While it thaws, place the cookies into a food processor and pulse until they become fine crumbs.
-
Next, melt the chocolate in the microwave. Put the chocolate chips into a microwave-safe bowl, then microwave for 30 seconds and stir. Microwave for another 30 seconds and stir again. Repeat this process once more if needed until the chocolate is fully melted and smooth. (Generally, 1.5 minutes total microwave time is sufficient).
-
Allow the melted chocolate to cool to room temperature. This is crucial: if the chocolate is too hot, it will clump when mixed into the CocoWhip.
-
Gently fold the thawed CocoWhip and the cooled melted chocolate together until they are fully mixed and uniform. Start by folding and then gently stir.
-
Refrigerate the chocolate mixture for 2 hours, or place it in the freezer for 30-45 minutes. You want the mousse to be firm enough to handle and roll.
-
Once chilled, roll the mousse into balls and coat them in the cookie crumbs. You can either roll the mousse into balls with your hands first and then dip them in the crumbs, or take a tablespoon of mousse, place it in the crumbs, use a spoon to cover it, then roll it into a ball between your hands. The second method is often easier if the mousse is slightly soft.
-
After forming each cookie-covered mousse ball, give it one more gentle roll in the cookie crumbs to ensure a thorough coating.
-
Place each finished ball on a plate or parchment-lined baking sheet and repeat until all the mousse mixture is used.
-
Refrigerate the mousse balls for at least 30 minutes before serving to allow them to fully set. Store any leftovers in an airtight container in the refrigerator.
-
This recipe yields approximately 35 mousse balls.
Notes
- Ensure your CocoWhip is fully thawed to achieve the best mousse consistency.
- Always let your melted dairy-free chocolate cool to room temperature. Mixing warm chocolate into CocoWhip will cause it to clump and seize.
- These chocolate mousse balls must be kept refrigerated after preparation to maintain their firm texture and freshness.
Nutrition
Nutrition information is automatically calculated, so should only be used as an approximation.
Additional Info
Dessert
American