
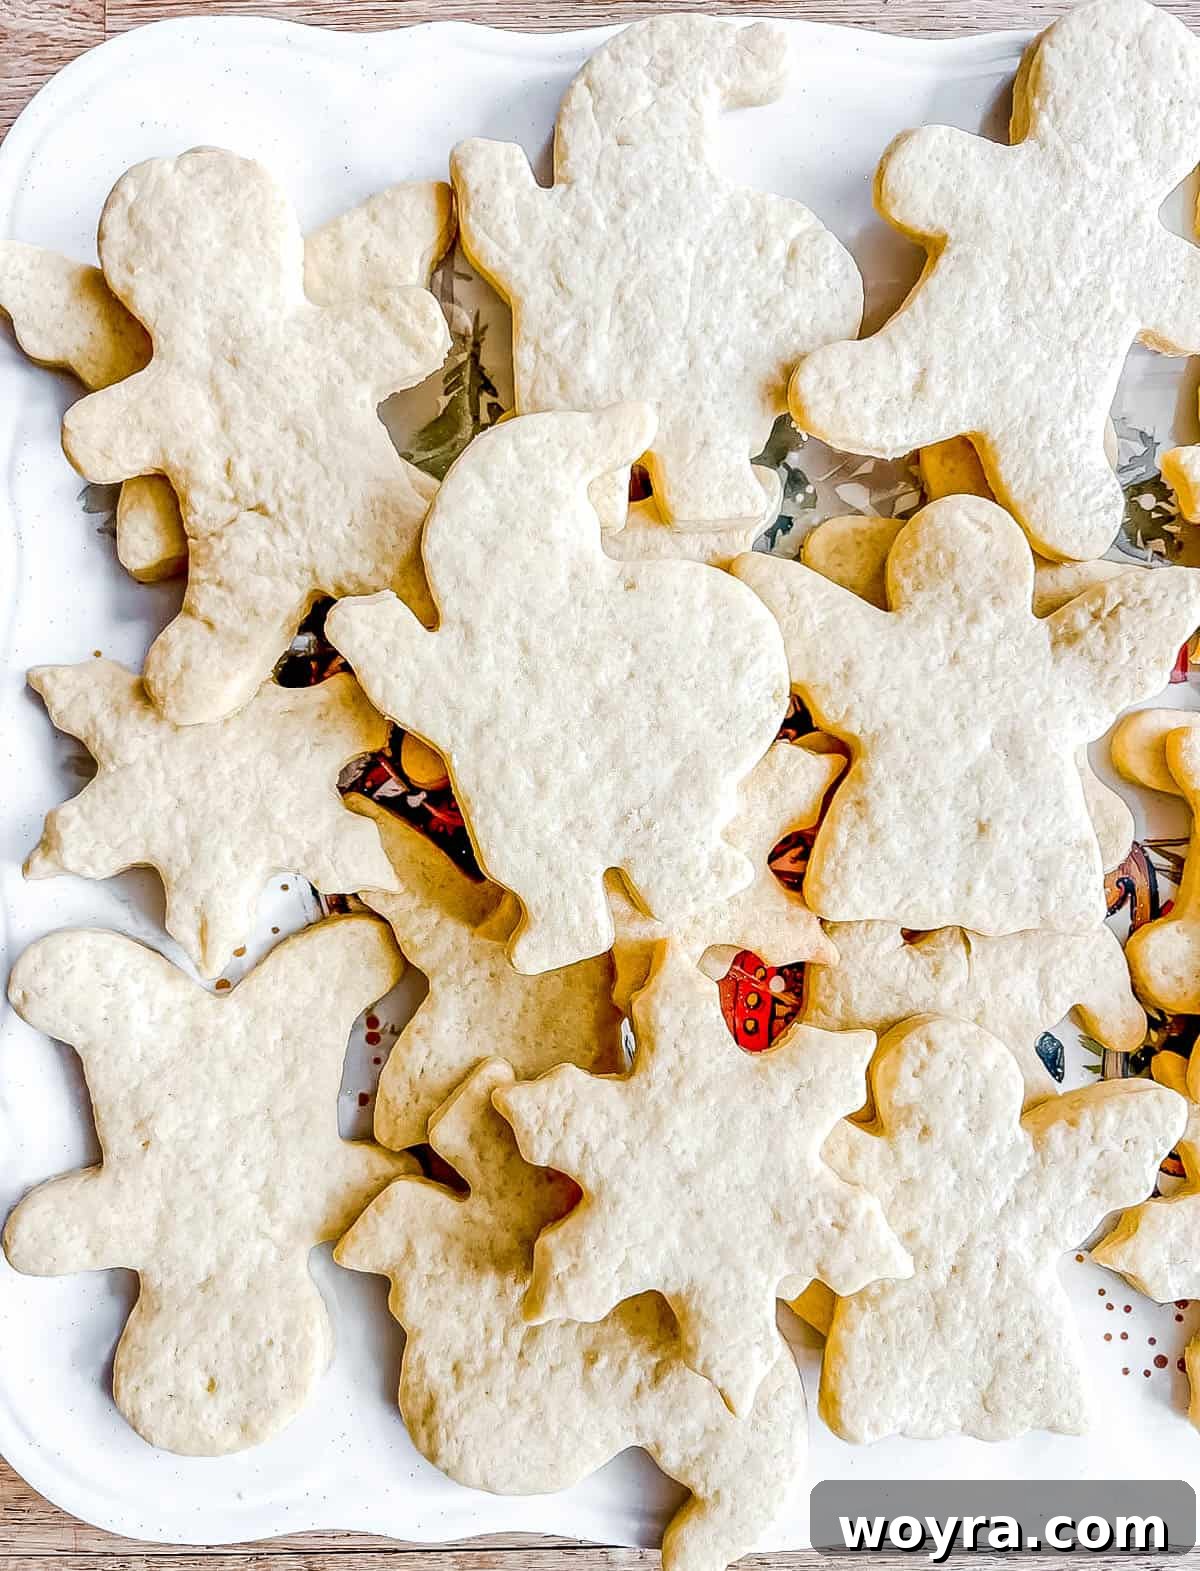
Exquisite Sable Cut Out Sugar Cookies: Your New Favorite Holiday Tradition
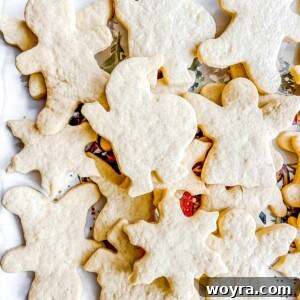
These sable cookies are truly exceptional cut out sugar cookies. They boast a rich, buttery flavor with a delicate, melt-in-your-mouth texture, and just the right amount of sweetness, making them ideal for decorating without becoming overwhelmingly sugary. Prepare to fall in love with these perfect festive treats!
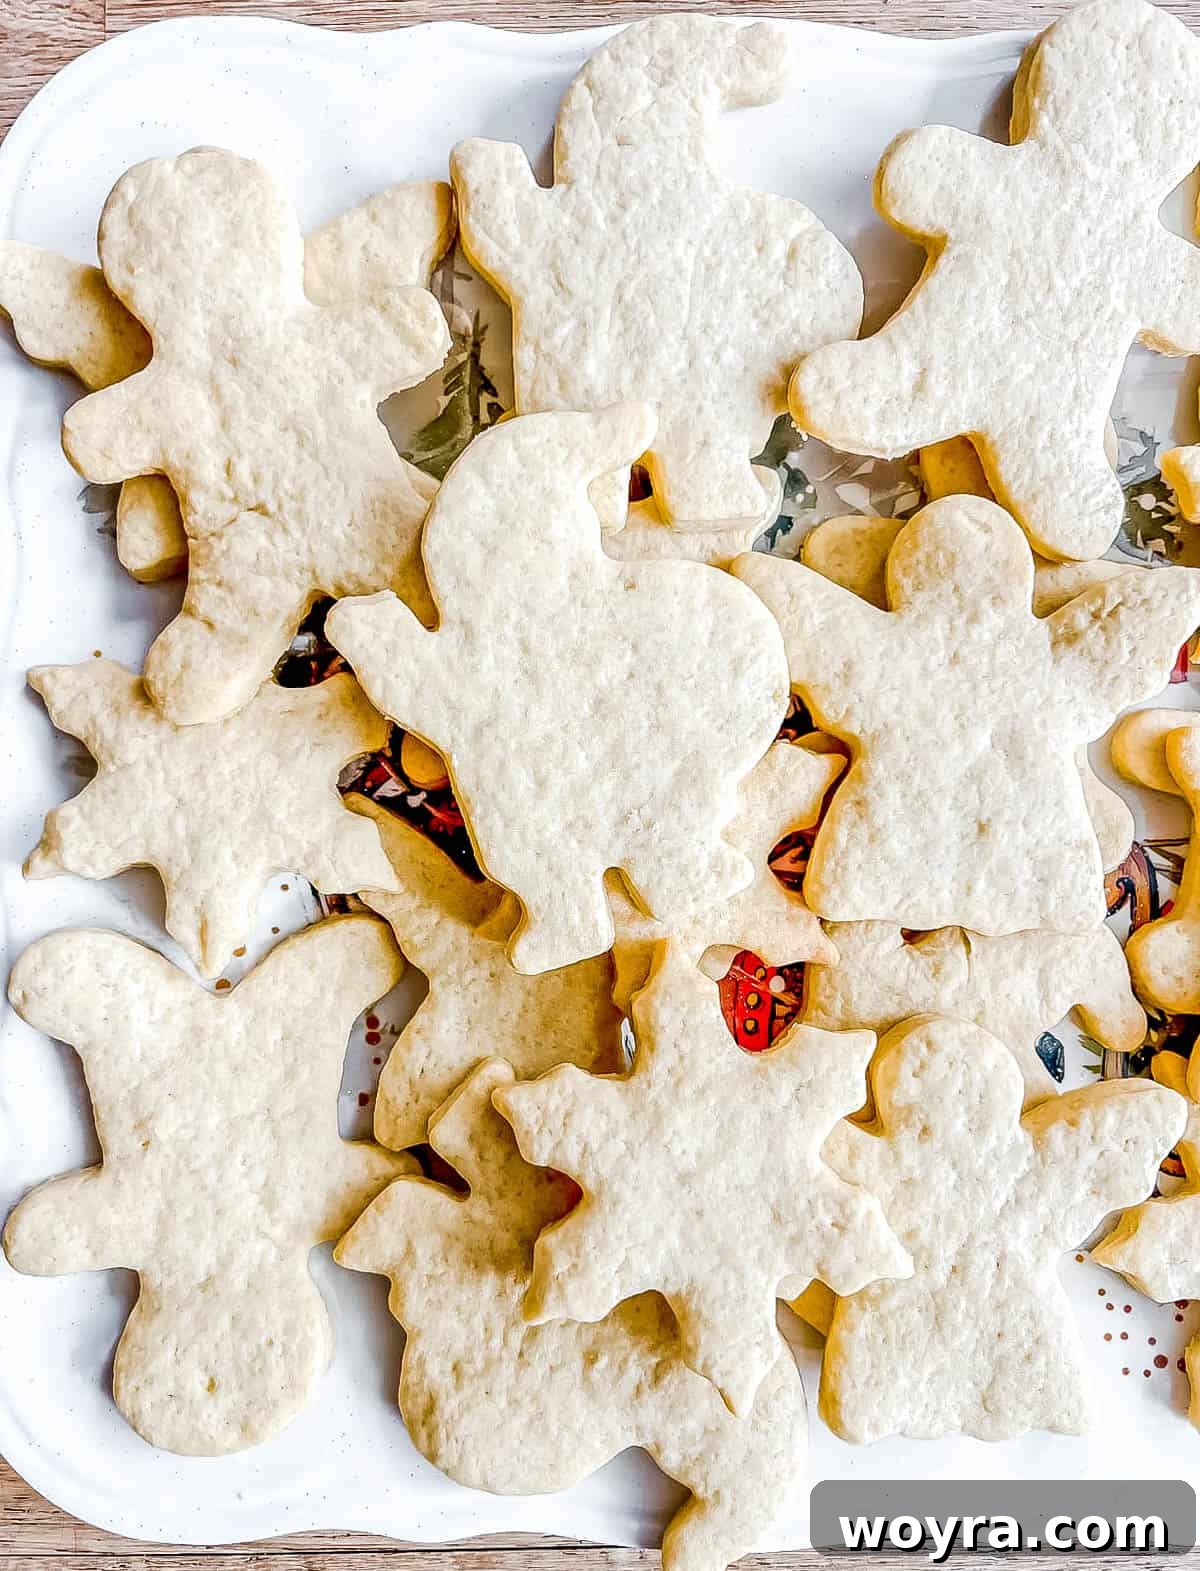
The holiday season often brings with it the irresistible aroma of freshly baked cookies, and for good reason! Each year, my kitchen fills with the delightful scents of my dairy-free olive oil chocolate chip cookies, festive Paleo almond flour gingerbread men, and these incredibly delightful sable cut out sugar cookies.
What sets this sable cookie recipe apart from typical sugar cookie recipes is its thoughtful balance of sweetness. With less sugar in the dough, these cookies serve as a perfect canvas for adding rich, sweet frosting without creating an overly saccharine experience. The result is a sophisticated French butter cookie that tastes absolutely divine even when left undecorated, making them a versatile addition to any dessert table.
The name “sable” translates to “sand” in French, a descriptor that beautifully captures the unique texture of the dough during its preparation. As you follow the step-by-step instructions below, you’ll witness the dough transform into a sandy consistency before coming together into a smooth, pliable form – a fascinating process that gives these cookies their distinctive character and name.
Originating from France, sablés are a type of rich, crumbly shortbread cookie, celebrated for their delicate texture and intense buttery flavor. Our recipe pays homage to this classic French baking tradition, ensuring each bite delivers a taste of European elegance. These cookies are not just a treat; they’re an experience, perfect for celebrating special occasions or simply enjoying a moment of pure culinary bliss.
Table of Contents
- Why These Sable Cookies Stand Out
- Essential Recipe Ingredients
- Step-by-Step Guide to Sable Cookies
- Expert Baking Tips for Sable Cookies
- Creative Frosting and Decorating Ideas
- Storage and Serving Suggestions
- Other Delightful Cookie Recipes You’ll Adore
- Sable Cut Out Sugar Cookies Recipe Card
Why These Sable Cookies Stand Out
This sable cookie recipe isn’t just another cookie recipe; it’s a carefully crafted approach to baking perfection. Here’s what makes these cookies an absolute must-try:
- Minimal Ingredients: You only need 6 simple ingredients to create these gourmet cookies, proving that extraordinary flavor doesn’t require a long list of obscure items.
- Perfectly Balanced Sweetness: Unlike traditional sugar cookies that can be overly sweet, these sablés feature a reduced sugar content. This thoughtful design ensures they are perfectly complemented by frosting, allowing both the cookie and the decoration to shine without clashing.
- Versatile for Any Occasion: Their elegant simplicity makes them suitable for any season, celebration, or holiday. From festive Christmas gatherings to charming Valentine’s Day treats, these cookies adapt beautifully to your decorating theme.
- Delicious Dressed Up or Plain: Whether you choose to lavish them with intricate frosting designs or enjoy them in their unadorned, buttery glory, these French butter cookies are guaranteed to be a hit. Their inherent flavor is so rich and satisfying, they truly don’t need embellishment to be enjoyed.
- Unique Texture: The “sable” or sandy texture of the dough leads to an incredibly delicate and crumbly cookie once baked, offering a sophisticated contrast to the usual chewy sugar cookie.
Essential Recipe Ingredients for Perfect Sable Cookies
Crafting these delectable French butter cookies requires a few high-quality, yet readily available ingredients. Each component plays a crucial role in achieving the signature delicate texture and rich flavor of our sable cookies.
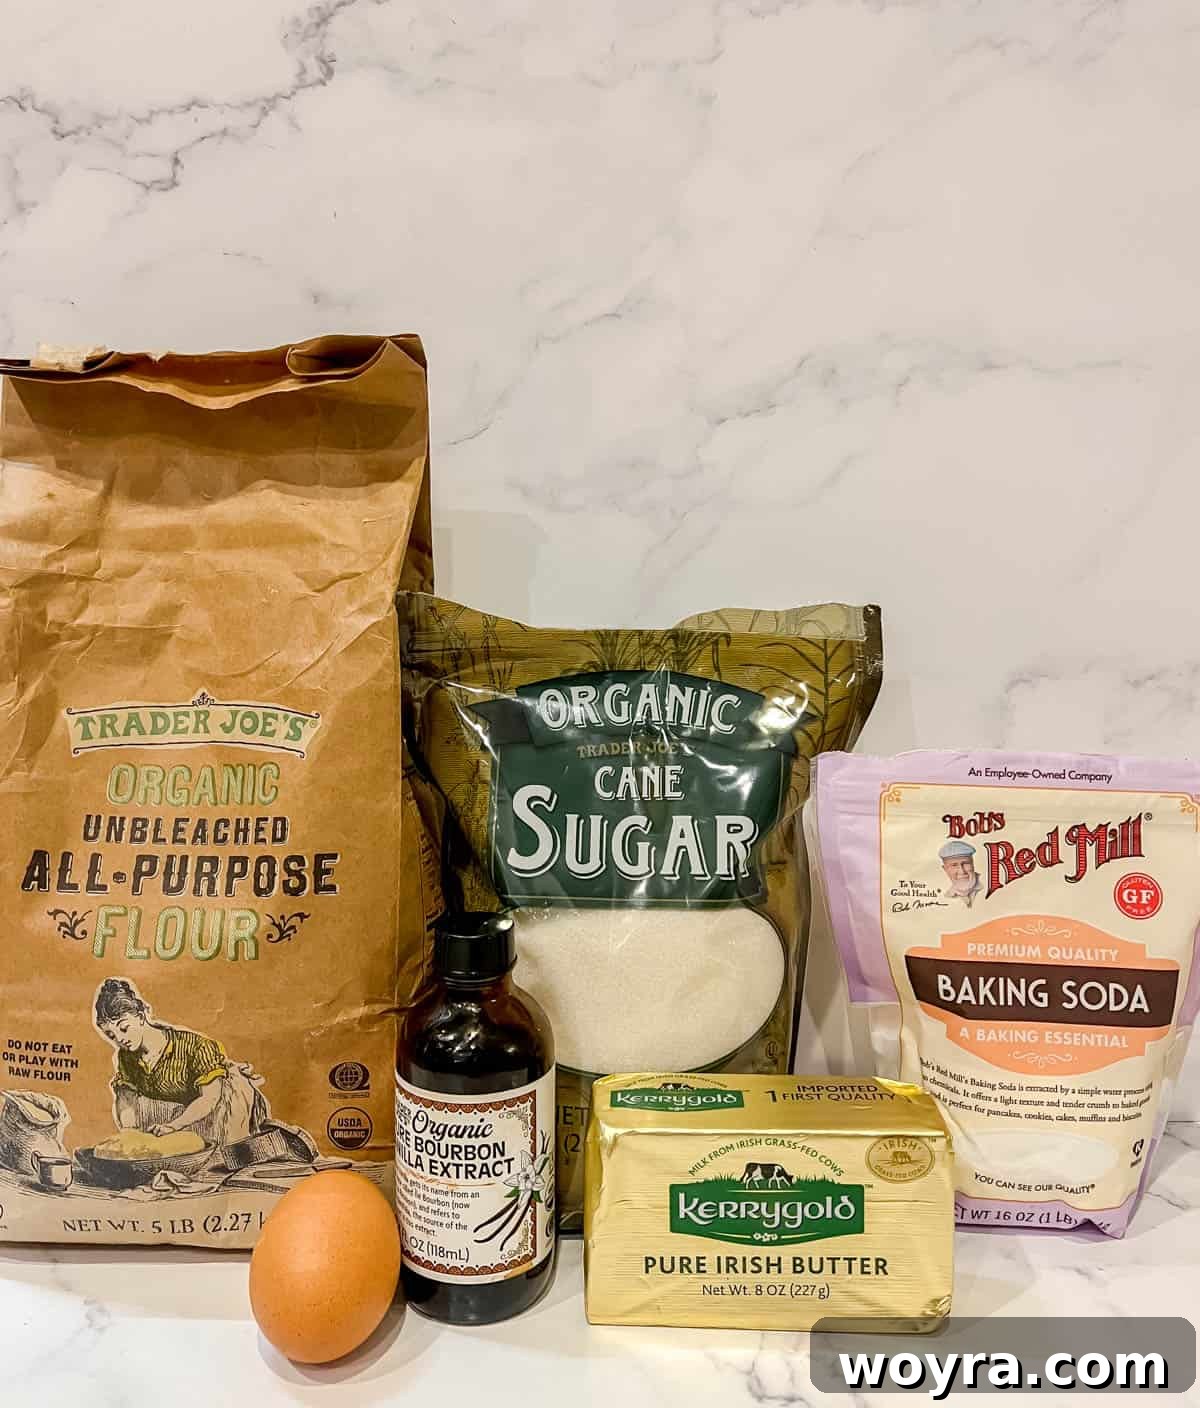
- All-Purpose Flour: For the best texture, an unbleached all-purpose flour is recommended. It provides the necessary structure without making the cookies too dense.
- Organic Cane Sugar: Using organic cane sugar is preferred not only for its natural quality but also for its slightly finer texture compared to granulated sugar, which helps achieve a smoother, more even dough when creamed with butter.
- Large Egg: A single large egg acts as a binder, adding moisture and richness to the dough, contributing to the cookie’s delicate structure.
- Vanilla Extract: High-quality vanilla extract is essential for imparting a warm, aromatic depth of flavor that complements the rich butter. Feel free to use your favorite brand.
- Good Quality Butter: As these are essentially French butter cookies, the butter is the star! Using a high-quality organic grass-fed butter significantly impacts the final taste and texture, giving the cookies their signature richness and delicate crumb. Ensure it’s softened for optimal creaming.
- Baking Soda: Just a half teaspoon of baking soda helps these cookies rise ever so slightly, contributing to their light and tender crumb.
- Water: A small amount of water is crucial at the end of mixing to bring the “sandy” dough together into a cohesive ball, making it pliable for rolling and cutting.
For precise measurements and detailed instructions, please refer to the complete recipe card found further down the page.
Step-by-Step Guide: How to Make Perfect Sable Cut Out Sugar Cookies
Creating these delightful sable cookies is a rewarding process. Follow these detailed steps to ensure your cookies turn out perfectly buttery, delicate, and ready for decoration.
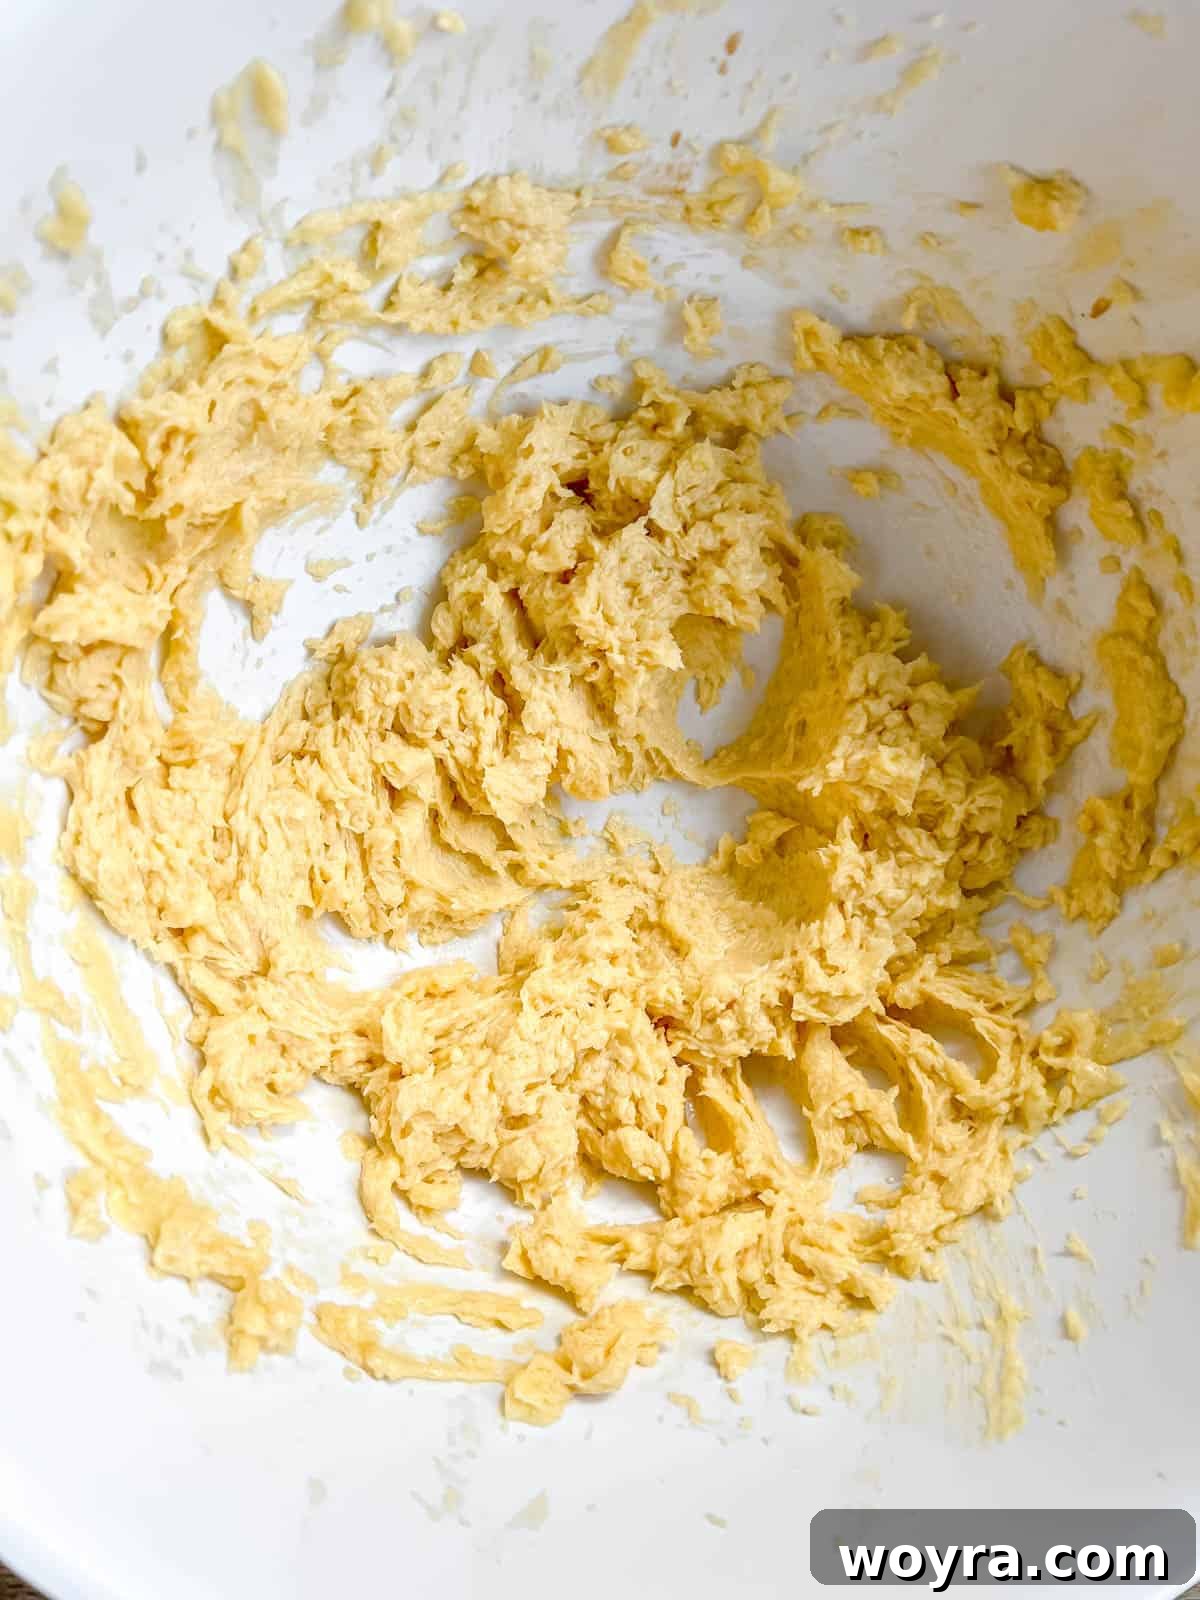
Step 1: Cream Butter and Sugar. In a large mixing bowl, combine the softened butter and sugar. Start beating them together with an electric hand-held mixer on low speed. Gradually increase the speed to high and continue to beat until the mixture becomes visibly light, fluffy, and pale yellow in color. This creaming process incorporates air, which is vital for the cookies’ delicate texture.
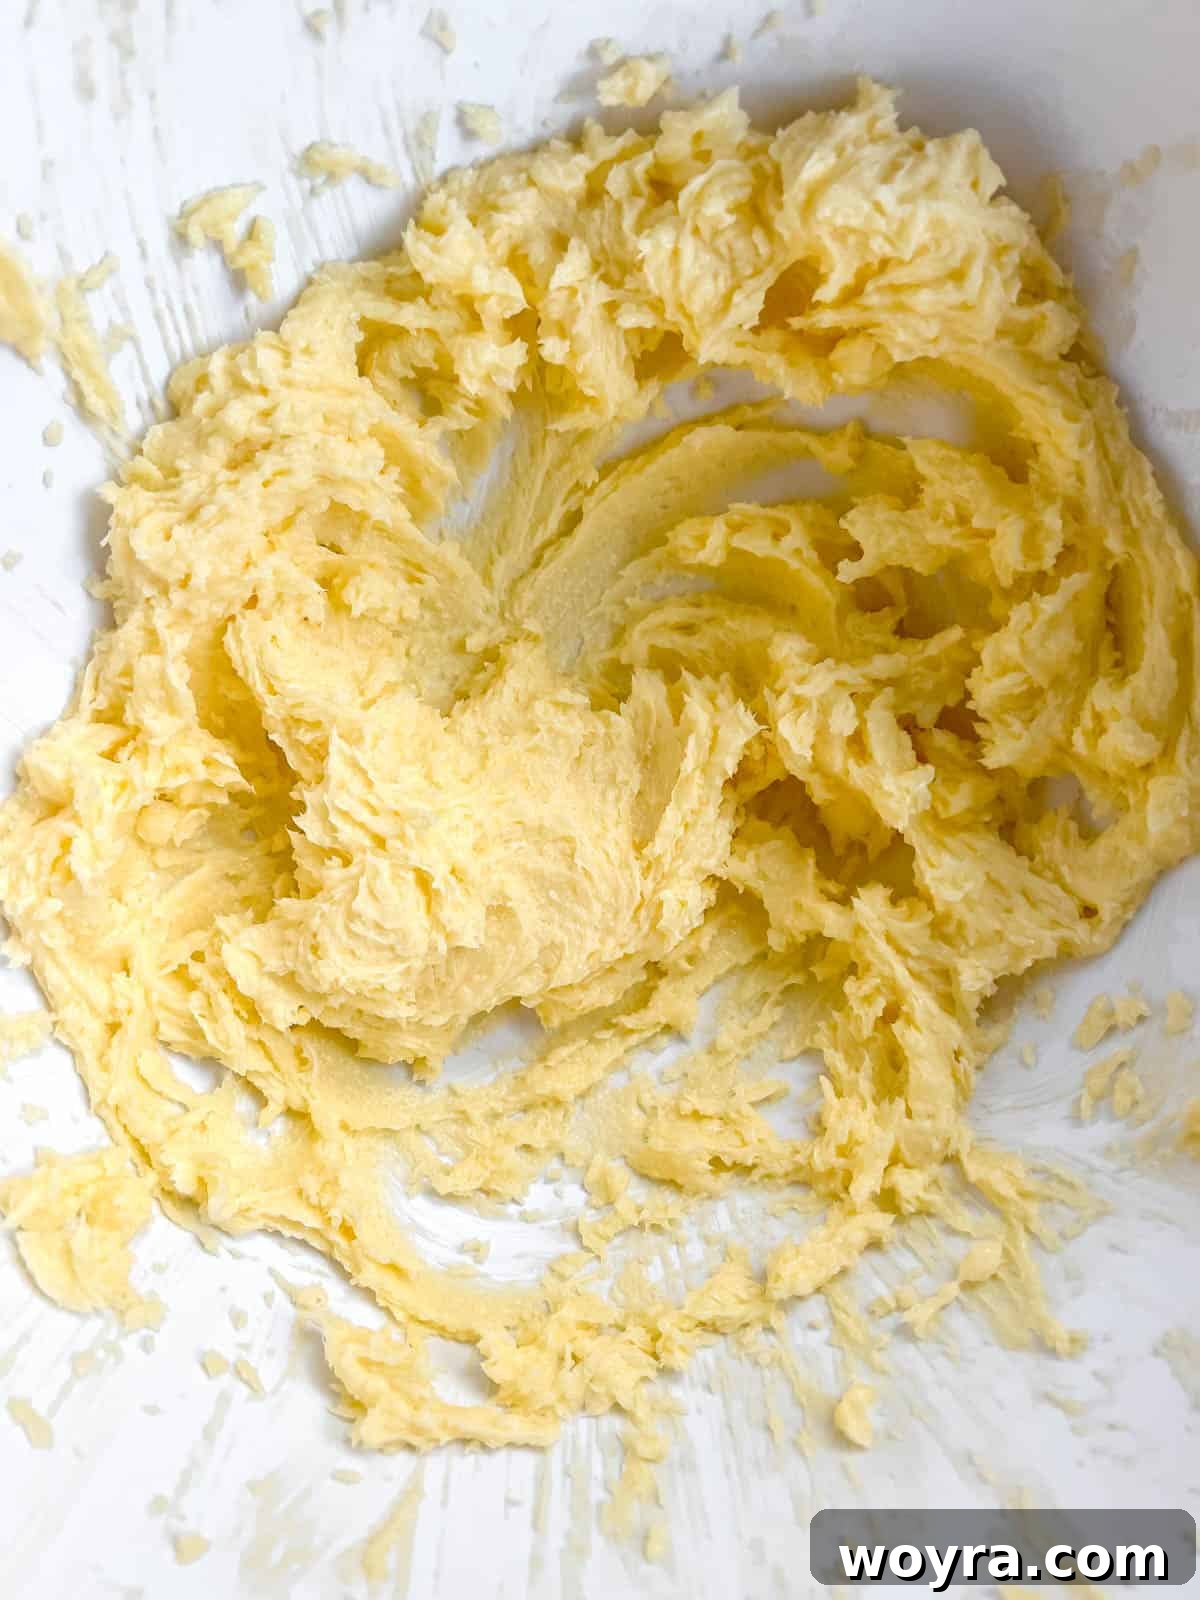
Step 2: Add Egg and Vanilla. Once the butter and sugar are perfectly creamed, crack in the large egg and pour in the vanilla extract. Mix on low speed until all ingredients are just combined and the mixture is smooth. Avoid overmixing at this stage to prevent developing too much gluten.
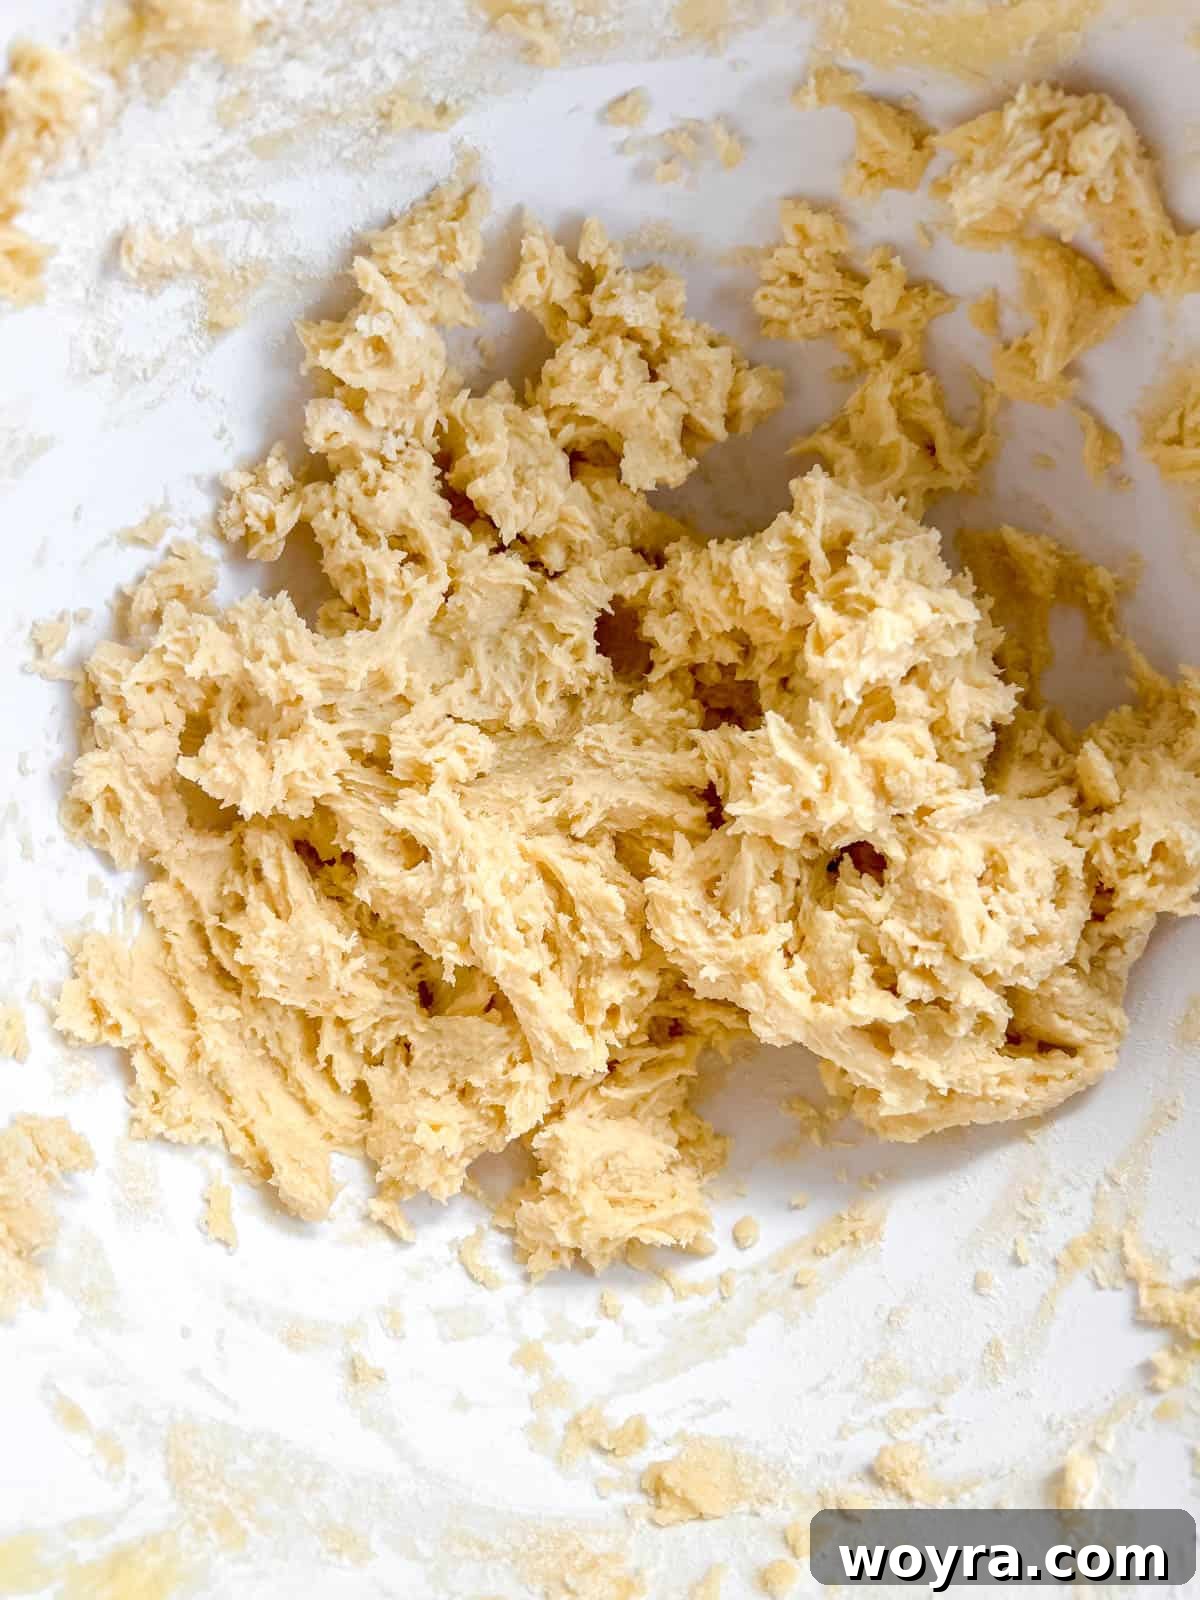
Step 3: Begin Adding Flour. Incorporate the baking soda into the wet mixture. Then, add the first cup of flour. Mix on low speed until the flour is just blended into the batter. This gradual addition helps prevent a dusty flour cloud and ensures even distribution.
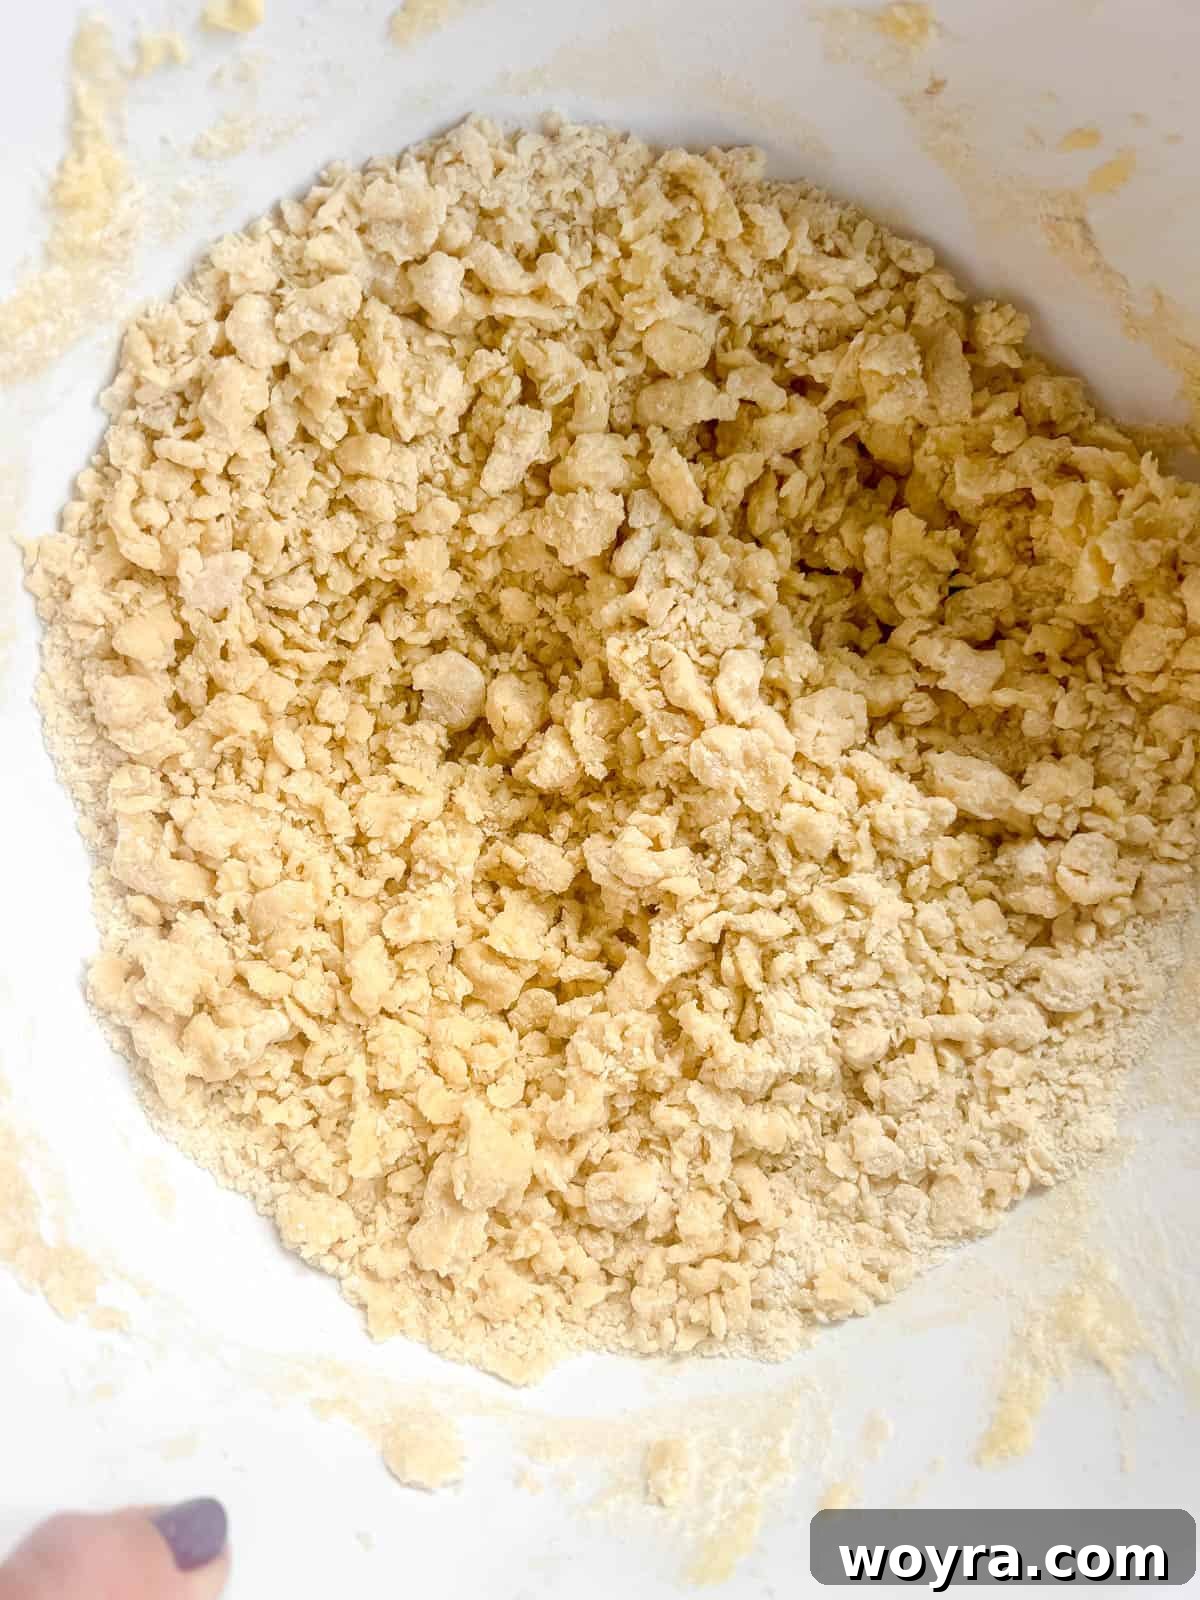
Step 4: Form the “Sable” Dough. Add the second cup of flour and mix until well blended. Finally, add the last cup of flour and mix until just combined. At this point, the mixture will indeed resemble coarse “sand” or “sable,” which is exactly what you want and how these cookies earned their name. The dough will appear crumbly and not yet cohesive.
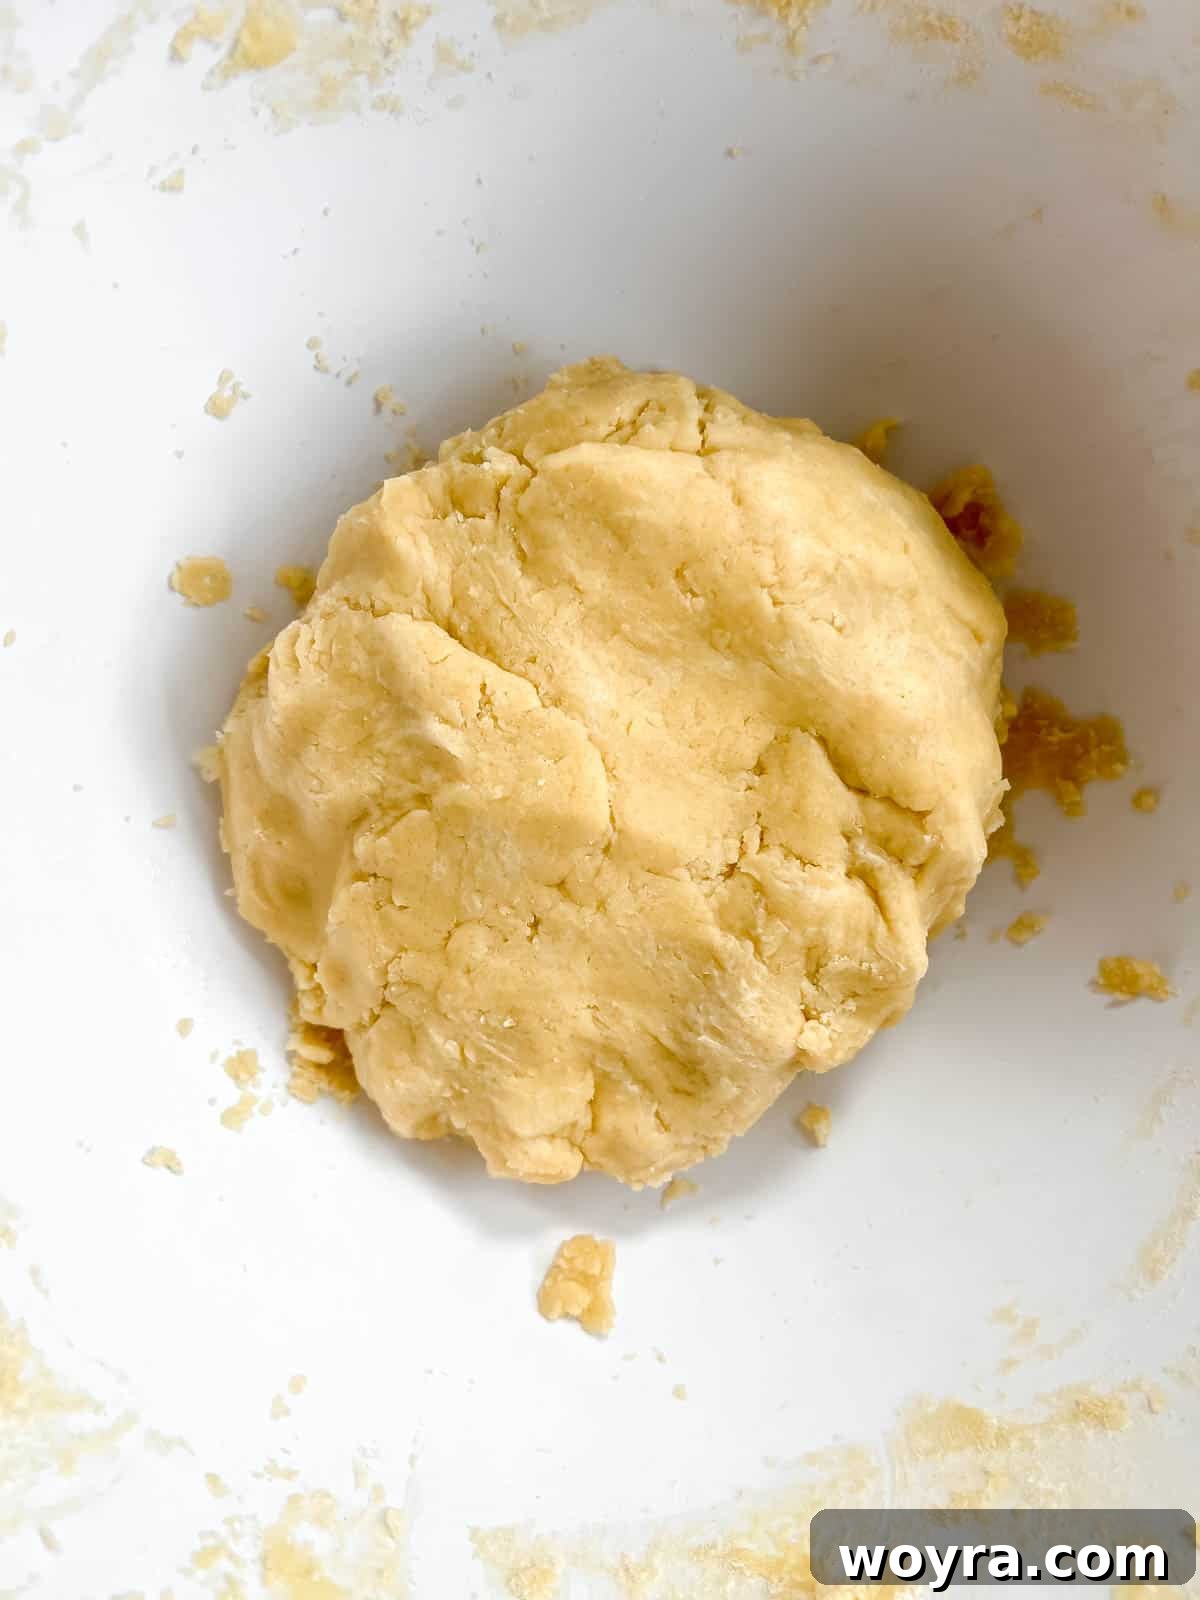
Step 5: Bring the Dough Together. Add 1 tablespoon of water to the sandy dough. Using your hands, begin to gently mush and press the dough together. It might seem dry at first, but with patience, it will start to cohere. If needed, add the second tablespoon of water and continue kneading until a smooth, uniform dough ball forms. Be careful not to add too much water; a little goes a long way here.
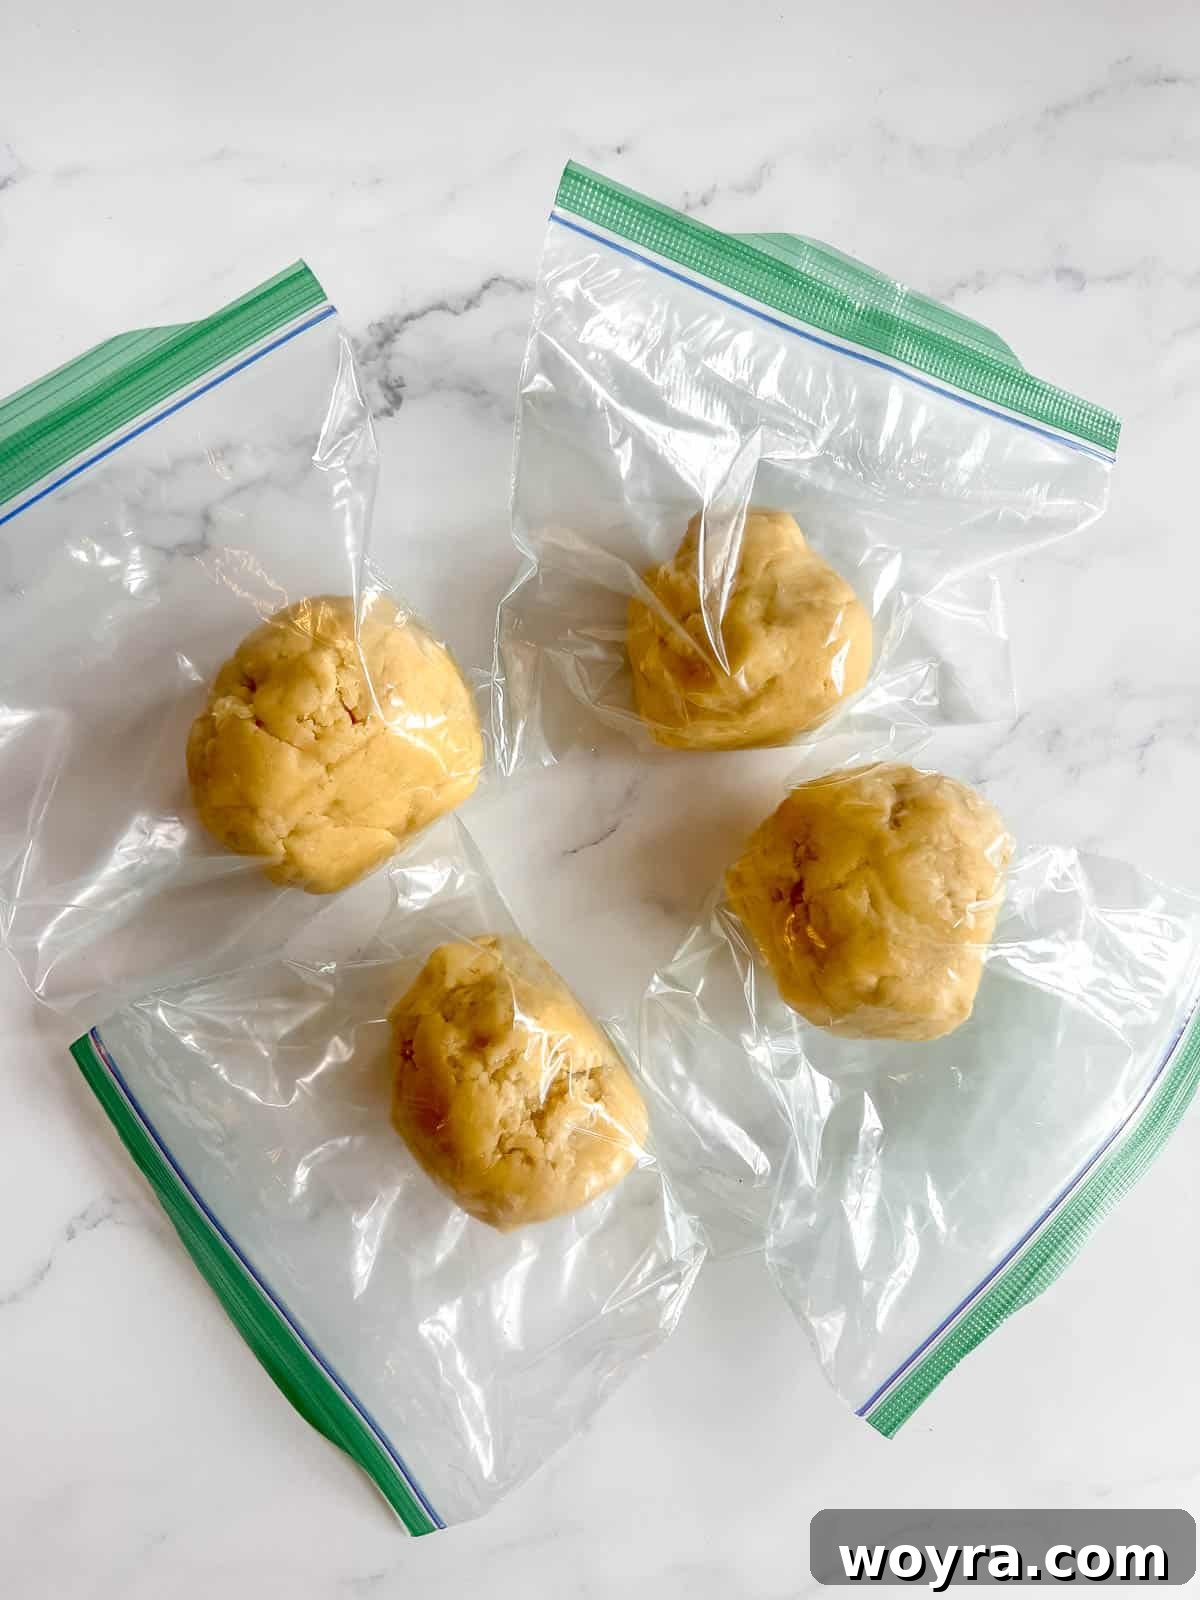
Step 6: Chill the Dough. Divide the newly formed dough into four equal pieces. Shape each piece into a flat disc or ball, then wrap each tightly in plastic wrap or place them into separate plastic bags. Refrigerate the dough for at least one hour. Chilling is crucial as it firms up the butter, making the dough easier to roll out and preventing the cookies from spreading excessively during baking.
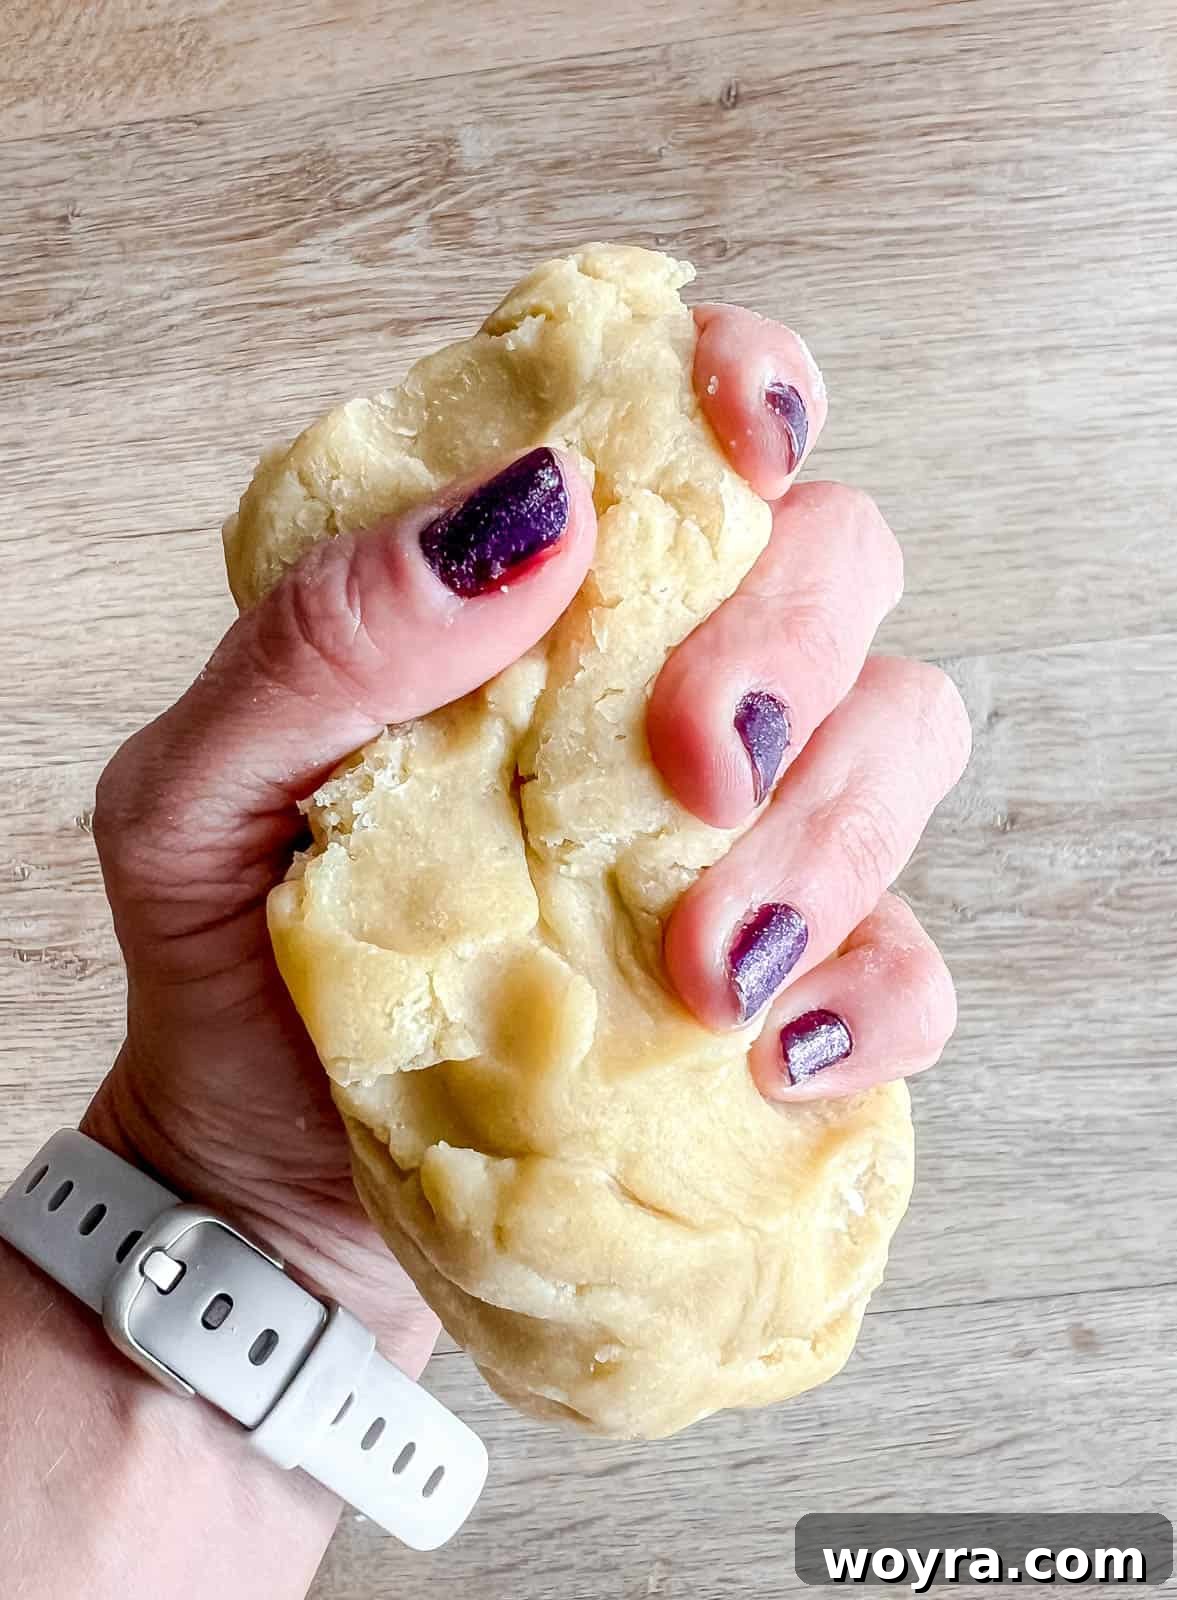
Step 7: Soften and Prepare Dough for Rolling. Once chilled, take one piece of dough out of the refrigerator. The dough will be firm, so gently knead it in your hands or on a clean, lightly floured surface for a minute or two until it softens and becomes pliable again. This makes it easier to roll without cracking.
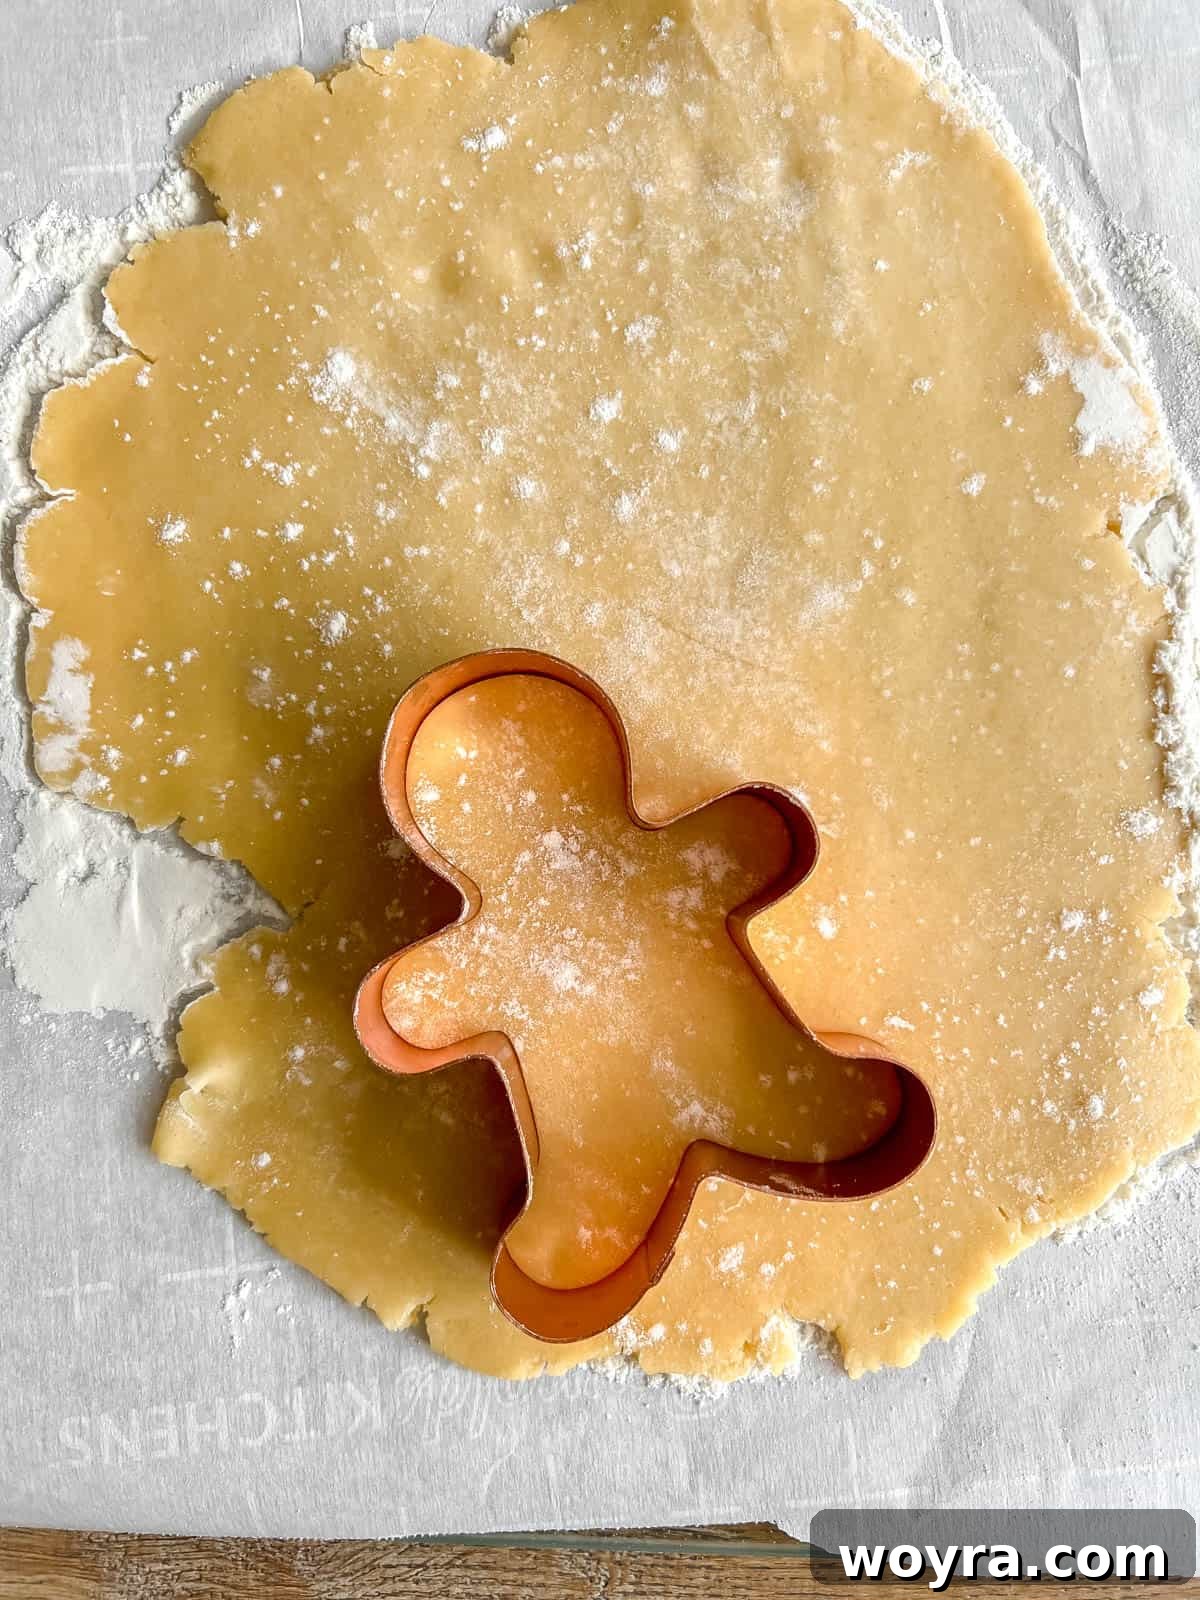
Step 8: Roll and Cut Cookies. On a lightly floured surface, or between two sheets of parchment paper (which helps prevent sticking), roll out the softened dough to your desired thickness, typically about 1/8 to 1/4 inch. Use your favorite cookie cutters to create various shapes. Collect any dough scraps, gently re-knead them, and re-roll to cut out more cookies.
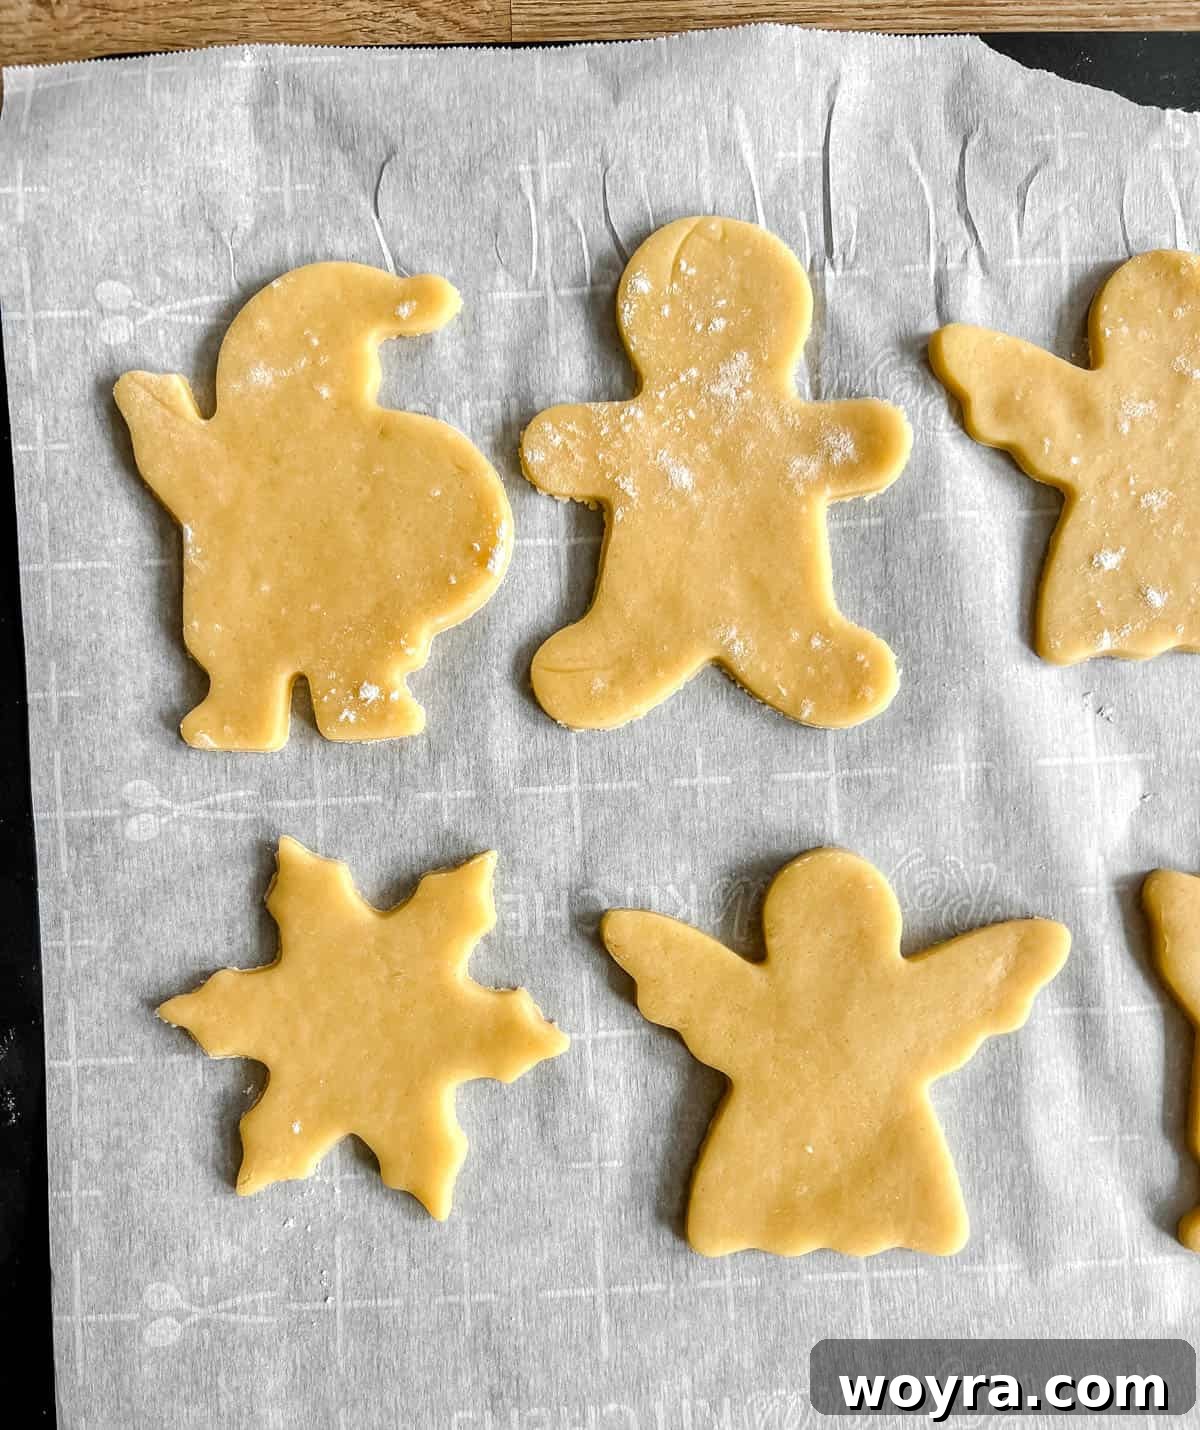
Step 9: Arrange on Baking Sheet. Carefully transfer the cut-out cookie dough shapes onto a baking sheet lined with parchment paper. Leave a small space between each cookie to allow for minimal spreading. Preheat your oven to 350°F (175°C).
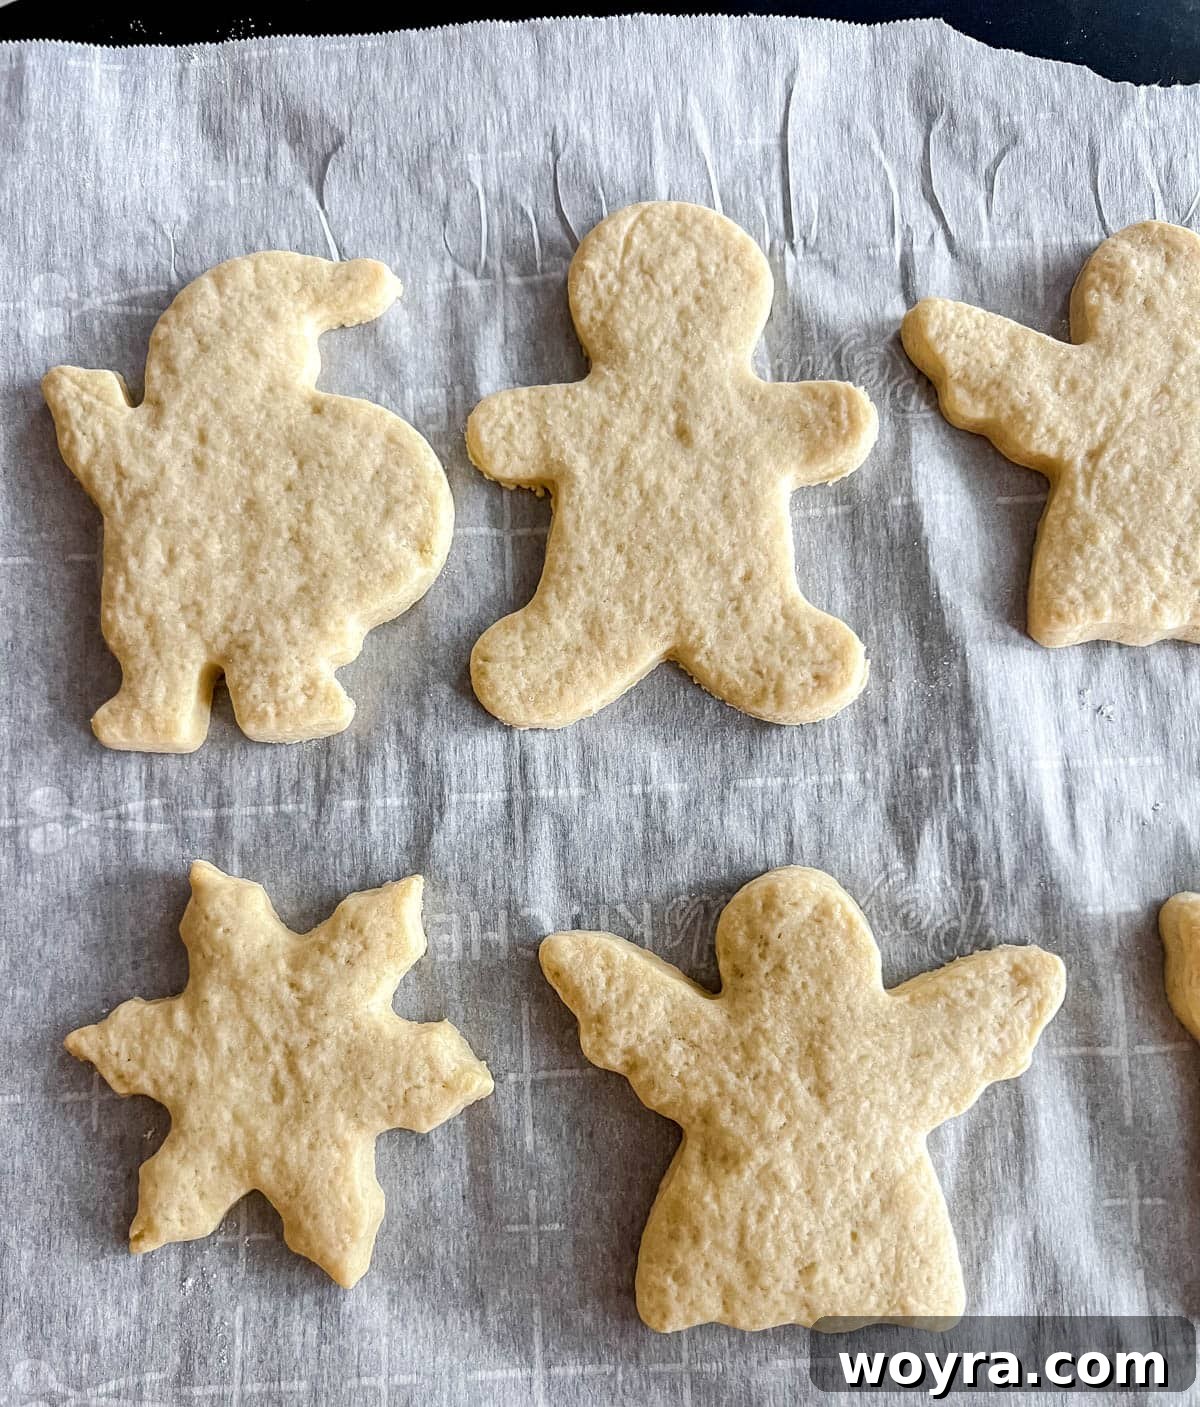
Step 10: Bake to Perfection. Bake the cookies in the preheated oven for 8-10 minutes. The baking time may vary slightly depending on your oven and the thickness of your cookies. Look for the edges to turn a light golden brown. It’s best to bake one cookie sheet at a time to ensure even baking. Once baked, let them cool on the baking sheet for a few minutes before transferring them to a wire rack to cool completely. You will likely bake several batches.
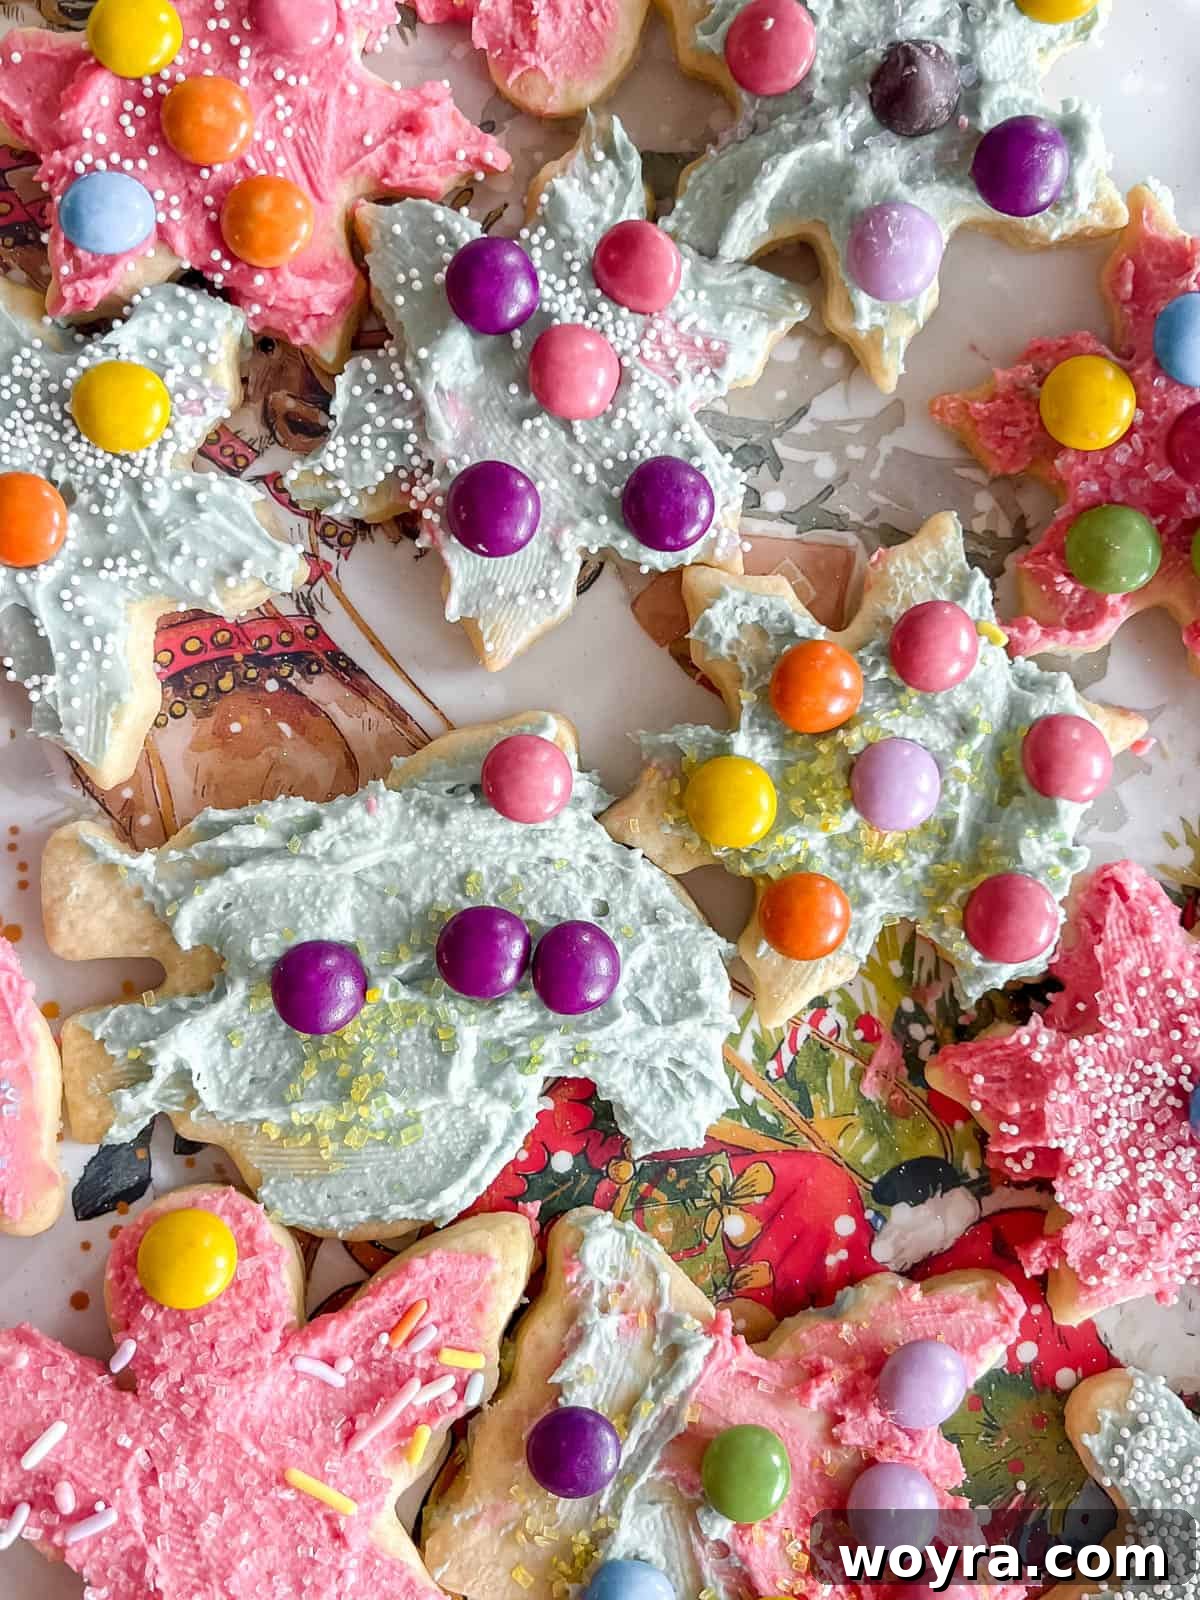
Step 11: Frost and Decorate! Once the cookies have completely cooled, unleash your creativity! Frost them with your chosen icing and add sprinkles, edible glitter, or other decorations to match your theme. These cookies are sturdy enough to hold intricate designs and their mild sweetness makes them the perfect base for any frosting.
Expert Baking Tips for Flawless Sable Cookies
To ensure your sable cut out sugar cookies are nothing short of perfect, keep these expert tips in mind:
- Dough Consistency is Key: Sable dough is naturally on the drier side. Resist the urge to add more than the specified 2 tablespoons of water. Over-hydrating the dough can change its delicate, sandy texture and make the cookies less crumbly and more tough.
- Softening Chilled Dough: If your dough feels too hard after refrigeration, don’t fret. Simply knead it gently in your hands or on a countertop for a minute or two. The warmth of your hands will quickly soften the butter, making the dough pliable and easy to roll out.
- Understanding Sable vs. American Sugar Cookies: It’s important to note that these are French-style sable cookies, more akin to a delicate shortbread or tart crust than a classic soft, chewy American sugar cookie. They are intentionally less sweet, allowing the rich butter flavor to shine and making them perfect for frosting without becoming cloyingly sweet. If you prefer a more traditional, sweeter sugar cookie or gluten-free options, consider these alternatives:
- For gluten-free and Paleo options: Try these Paleo Sugar Cookies or these delightful Maple Sugar Cut Out Cookies.
- Choosing Your Cookie Cutters: The beauty of cut-out cookies lies in their customizability! Select cookie cutters that fit your occasion. For festive seasonal baking, I love using these holiday cookie cutters for Christmas. For a romantic touch on Valentine’s Day, these heart cookie cutters are perfect.
- Baking Uniformly: For consistent baking, ensure your dough is rolled to an even thickness. Baking cookies of similar size and thickness together on the same sheet will help them cook at the same rate, preventing some from burning while others are underdone.
- Don’t Overbake: Sable cookies are delicate. They should be just lightly golden at the edges, not deeply browned. Overbaking will result in a dry, hard cookie rather than the desired melt-in-your-mouth texture.
- Use Parchment Paper: Lining your baking sheets with parchment paper prevents sticking and makes for easy cleanup. It also helps in maintaining the cookie’s shape during transfer.
- Chill Your Cut-Outs (Optional but Recommended): For very intricate shapes or if your kitchen is warm, briefly chilling the cut-out cookies on the baking sheet for 10-15 minutes before baking can help them hold their shape better.
- Explore Other Holiday Desserts: If you enjoy creating festive treats, also consider Texanerin’s charming Snowman Cupcakes for another fun holiday option. For a lighter, fruitier alternative that’s great year-round, check out this vibrant 4th of July Fruit Pizza.
Creative Frosting and Decorating Ideas for Sable Cookies
These subtly sweet sable cookies are the perfect canvas for your decorating imagination. Their balanced flavor ensures that any frosting you choose will enhance, rather than overpower, the cookie’s delicate taste. Here are some fantastic frosting options to inspire your culinary artistry:
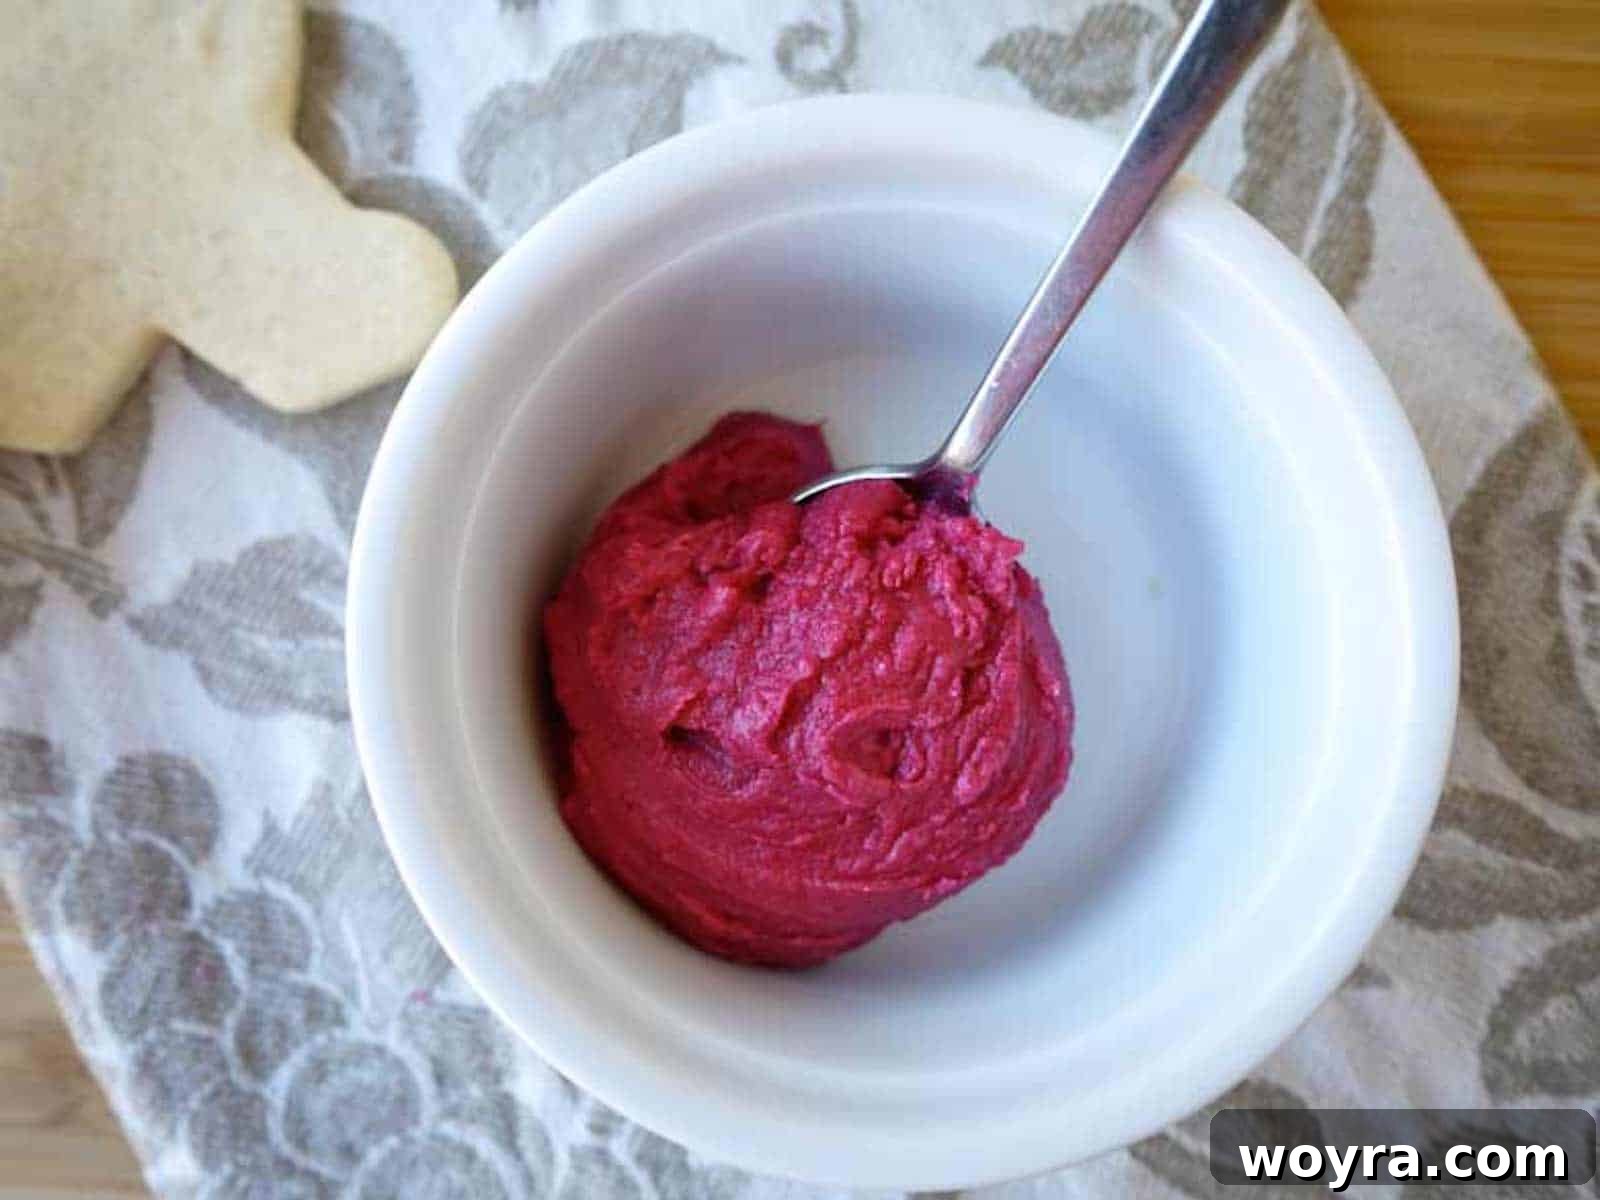
Option 1: Wholesome Homemade Beet Coconut Oil Frosting
For those who prefer a more natural approach to decorating, this homemade beet juice coconut oil frosting is an excellent choice. It provides a beautiful, vibrant color without the need for artificial food dyes or unwanted chemicals, making your decorated cookies as wholesome as they are delicious.
Beet Juice Frosting Ingredients:
- 1 ½ cups powdered sugar
- 3 Tablespoons melted coconut oil
- 1 Tablespoon vanilla extract
- 1 Tablespoon canned coconut cream (the thick cream from the top of a chilled can)
- 2 Tablespoons fresh beet juice (you can make this by blending and straining cooked beets or using store-bought pure beet juice)
To make it: Simply combine all ingredients in a food processor and blend until completely smooth and creamy. Store the frosting in an airtight container to prevent it from hardening prematurely. This vibrant pink frosting is perfect for adding a natural pop of color to your cookies.
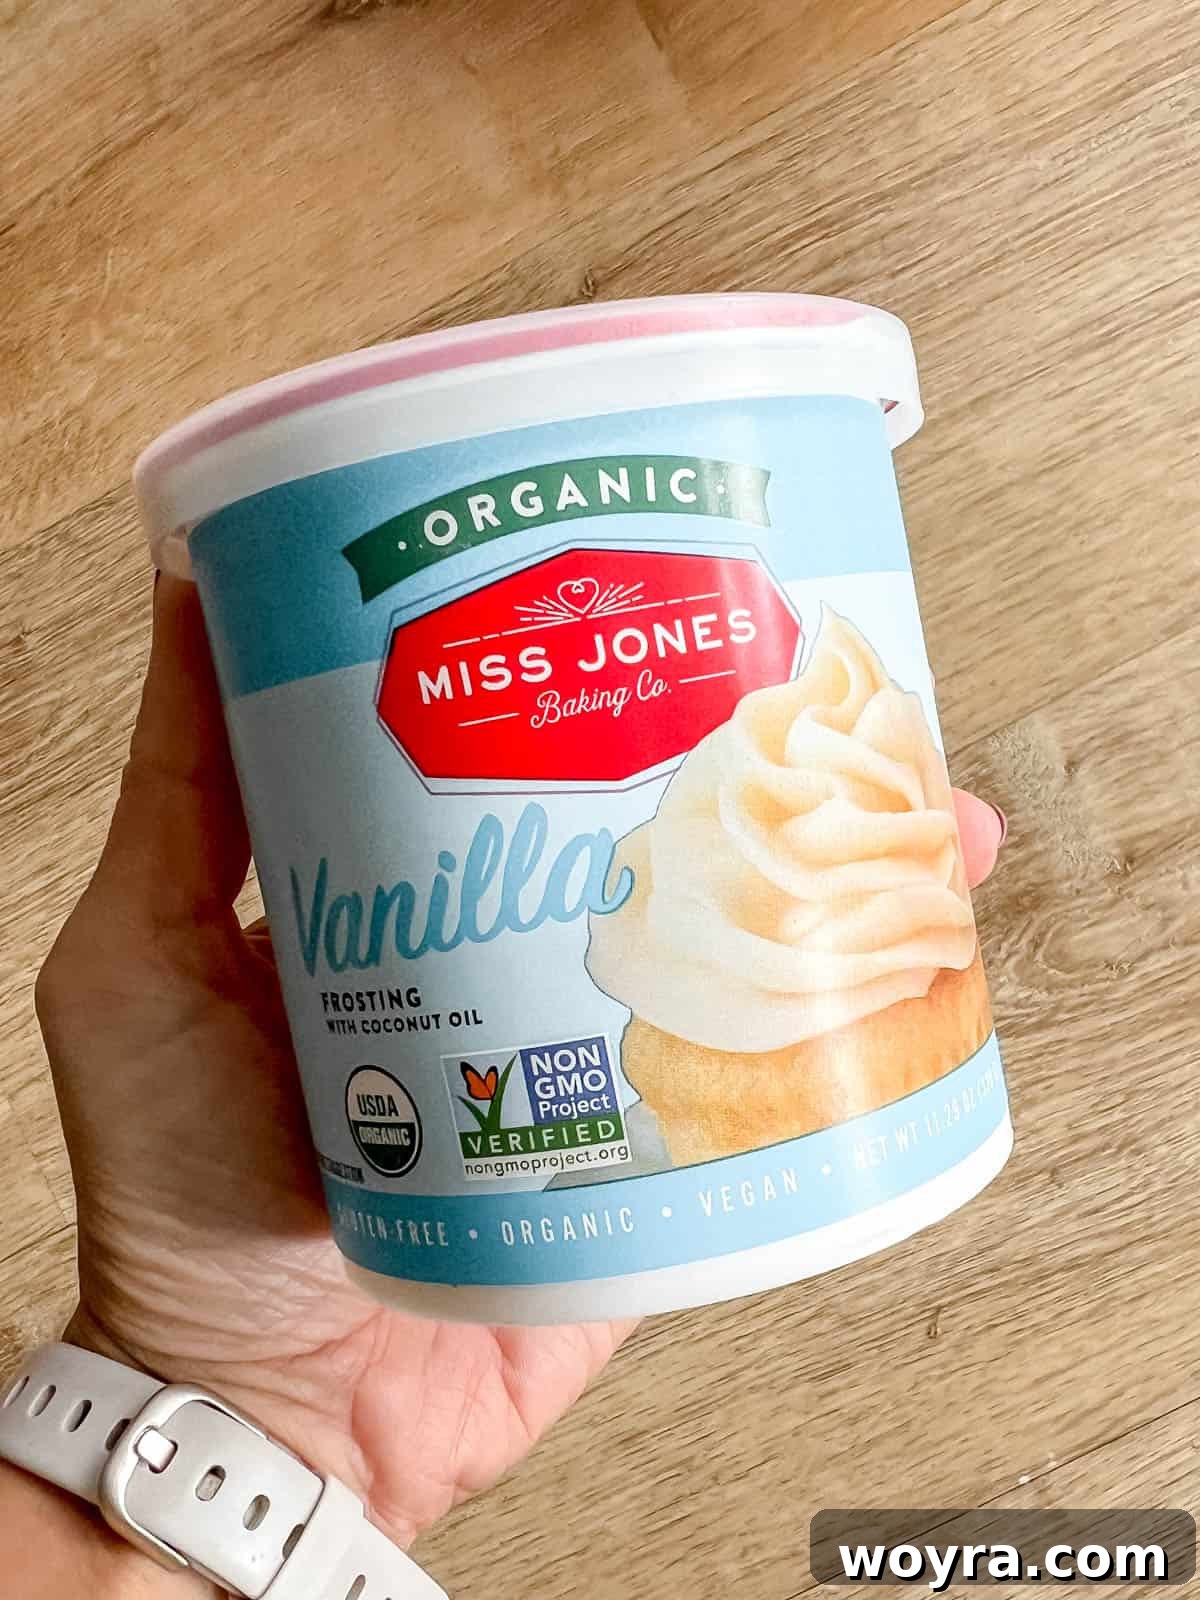
Option 2: High-Quality Store-Bought Frosting
For times when convenience is key, a good quality store-bought frosting can be a lifesaver. My top recommendation is Mrs. Jones frosting. This brand stands out because it’s not only dairy-free but also made without artificial dyes or harsh chemicals. It’s a delicious, ethical choice, often organic and vegan, crafted with only about 6 recognizable ingredients, unlike many other brands laden with high fructose corn syrup, titanium dioxide, and various food dyes. Using a healthy store-bought option like this allows you to save time without compromising on quality or health.
Option 3: Glossy Gluten-Free, Vegan, Dairy-Free Sugar Cookie Icing
Another fantastic and healthy frosting option is Veggie Balance’s Sugar Cookie Icing Recipe. This simple recipe requires just three ingredients and yields a beautifully glossy icing, perfect for professional-looking decorated cookies. It’s an excellent choice for those with dietary restrictions or anyone seeking a lighter, yet equally appealing, frosting.

Storage and Serving Suggestions for Sable Cookies
To keep your delectable sable cookies fresh and enjoyable for as long as possible, proper storage is key. Here are some tips for storing and serving these French-inspired treats:
- Airtight Container: Store unfrosted sable cookies in an airtight container at room temperature for up to one week. Their buttery nature keeps them fresh for a good while.
- Freezing Dough: The raw cookie dough can be wrapped tightly and frozen for up to 3 months. Thaw in the refrigerator overnight before rolling and baking.
- Freezing Baked Cookies: Baked and unfrosted cookies freeze exceptionally well. Place them in a single layer on a baking sheet to flash freeze, then transfer to an airtight freezer bag or container for up to 2-3 months. Thaw at room temperature before frosting.
- Frosted Cookies: If your frosting requires refrigeration (like cream cheese frosting or certain natural frostings), store frosted cookies in an airtight container in the fridge. Otherwise, they can typically be kept at room temperature for a few days, depending on the frosting type. Always check the specific frosting recipe for storage guidelines.
- Serving Suggestions: Sable cookies are incredibly versatile. Serve them as a refined dessert after a meal, alongside coffee or tea for a sophisticated snack, or as part of a festive cookie platter. Their delicate flavor also pairs wonderfully with fresh berries or a light dollop of whipped cream. For a special occasion, arrange them artfully on a tiered stand, showcasing your beautiful decorations.
Other Delightful Cookie Recipes You’ll Adore
If you’ve enjoyed baking these sable cookies, you’re sure to love exploring other delicious cookie recipes. Here are some of our favorites that offer diverse flavors and textures, perfect for any occasion:
Did you try this recipe? Please leave me a ⭐ review below! Your feedback helps other bakers!
Sable Cut Out Sugar Cookies
Dominique
24
10 mins
8 mins
1 hr
1 hr 18 mins
Ingredients
Cookie Ingredients:
- 8 ounces organic grass-fed butter, softened, (2 sticks)
- 1/2 cup white sugar
- 1 large egg
- 1 Tablespoon vanilla extract
- 3 cups organic white flour
- 1/2 teaspoon baking soda
- 2 Tablespoons water
Instructions
-
In a large bowl, beat the softened butter and sugar with an electric hand-held mixer at low speed. Increase the speed to high and beat until creamy and light yellow.
-
Add the egg and vanilla extract and beat at a low speed until thoroughly mixed.
-
Add the baking soda, then add 1 cup of the flour and beat until just blended. Add another cup of flour and beat until well blended. Add the final cup of flour and beat until just blended. You will notice the mixture now resembles “sand,” appearing in small, crumbly pieces.
-
Add 1 tablespoon of water to the dough. Using your hands, push down and work the dough to bring it together into a ball. If it’s still too crumbly, add the second tablespoon of water and continue mixing by hand until the dough forms a smooth, evenly textured ball. Remember, a little water goes a long way!
-
Divide the dough into 4 equal pieces and roll each piece into a ball or flatten slightly into a disc. Place each piece into a separate plastic bag and refrigerate for one hour, or freeze for 20 minutes for a quicker chill.
-
Preheat your oven to 350 degrees F (175 degrees C).
-
Take one ball of refrigerated dough out. Knead the dough in your hands or on a clean surface until it softens and becomes smooth and pliable.
-
On a lightly floured surface or between two sheets of parchment paper, roll the dough to about 1/8 to 1/4 inch thick (adjust to your preferred cookie thickness). Use cookie cutters of your choice to cut the dough into desired shapes.
-
Gather the dough scraps, gently re-form them into a ball, and roll the dough out again. Continue cutting shapes until you can no longer form cookies from the remaining dough.
-
Repeat steps 7-8 with all the remaining chilled dough balls. Combine all final scraps together, re-roll, and cut out any last cookies.
-
Place the cut cookies onto a baking sheet lined with parchment paper. Bake for 8-10 minutes. Only place one cookie sheet in the oven at a time to ensure even baking. The cookies should be lightly golden at the edges. Let the cookies cool on the baking sheet for a few minutes before transferring them to a wire rack to cool completely. You will be baking multiple batches.
Notes
Nutrition
Carbohydrates: 16g
Protein: 2g
Fat: 8g
Saturated Fat: 5g
Polyunsaturated Fat: 0.4g
Monounsaturated Fat: 2g
Trans Fat: 0.3g
Cholesterol: 27mg
Sodium: 87mg
Potassium: 22mg
Fiber: 0.4g
Sugar: 4g
Vitamin A: 246IU
Calcium: 6mg
Iron: 1mg
Nutrition information is automatically calculated and should be used as an approximation.
Additional Info
Dessert
French-Inspired American
Tried this recipe?
Mention @perchancetocook or tag #perchancetocook!