
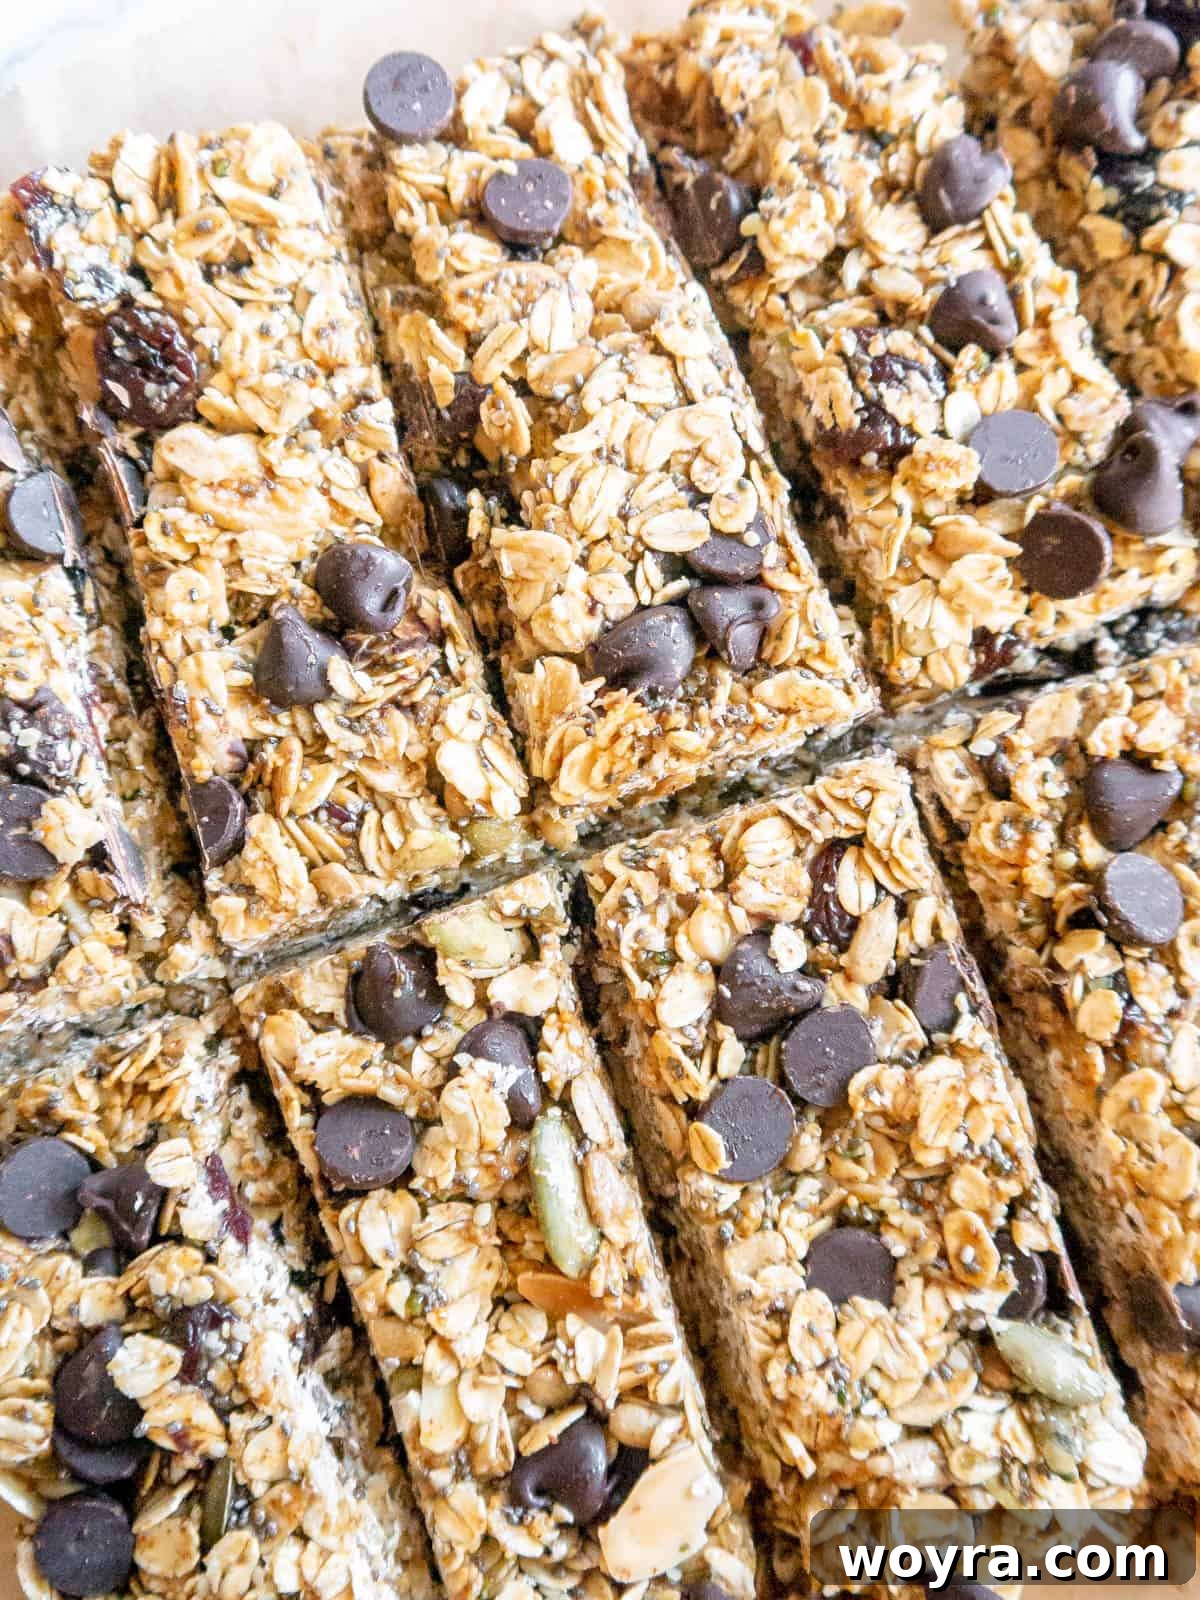
Delicious No-Bake Gluten-Free Almond Butter Granola Bars: Your Go-To Healthy Snack
Discover the ultimate recipe for almond butter granola bars – a truly exceptional homemade treat! These incredibly simple and quick-to-prepare bars are not only highly customizable but also serve as the perfect healthy snack for any time of day. Say goodbye to store-bought options and embrace the goodness of wholesome, natural ingredients.
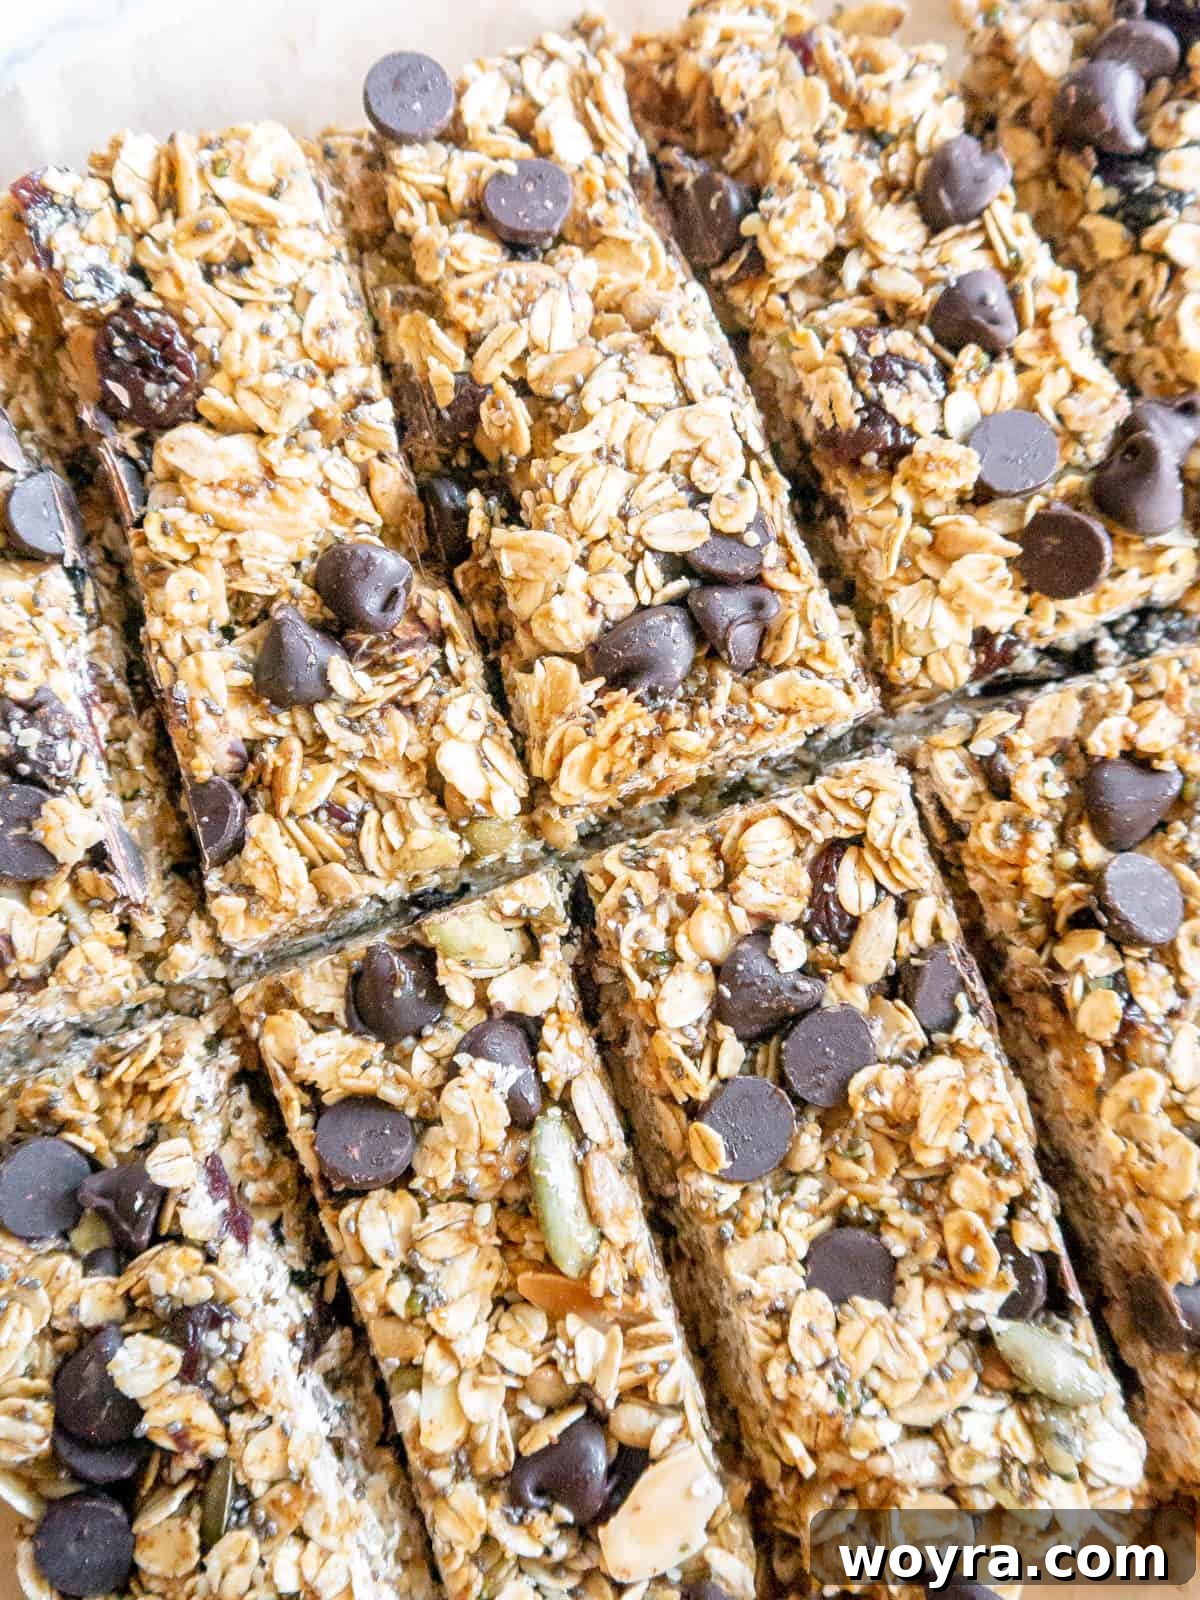
There’s nothing quite like having a stash of nutritious, homemade snacks readily available. Whether you’re rushing out the door in the morning, battling the afternoon slump, or craving a wholesome dessert, these no-bake gluten-free granola bars are a game-changer. They offer a delightful blend of flavors and textures, making them a satisfying choice that truly hits the spot.
What makes these homemade granola bars truly special is their commitment to whole, natural ingredients. Each bar is packed with beneficial elements like nutrient-dense chia seeds, hearty rolled oats, crunchy sunflower seeds, robust pumpkin seeds, and savory almonds. This powerful combination ensures that every bite is not only delicious but also incredibly filling and nourishing. Enjoy them as a quick breakfast on the go, a revitalizing mid-day snack, or even a guilt-free dessert!
If you love easy, healthy snack ideas, you might also enjoy these Chia Oatmeal Chocolate Chip Energy Balls or these delightful Apple Pie Energy Balls. These recipes perfectly complement a lifestyle focused on convenient, wholesome eating.
Table of Contents
- Why You’ll Adore These Homemade Granola Bars
- Essential Ingredients for Perfect No-Bake Granola Bars
- Customize Your Granola Bars: Easy Additions and Substitutions
- Step-by-Step Guide to Crafting Your No-Bake Granola Bars
- Pro Tips for Flawless No-Bake Granola Bars
- More Delicious Oat Recipes to Explore
- No-Bake Gluten-Free Almond Butter Granola Bars Recipe
Why You’ll Adore These Homemade Granola Bars
These no-bake almond butter granola bars aren’t just a recipe; they’re a lifestyle upgrade. Here’s why they will quickly become a staple in your kitchen:
- Effortlessly Customizable: One of the best features of this recipe is its incredible flexibility. You can easily adapt it to whatever ingredients you have in your pantry or tailor it to your specific taste preferences. From different nuts and seeds to various dried fruits and chocolate types, the possibilities are endless for creating your perfect personalized granola bar. This also means fewer trips to the grocery store and more creativity in the kitchen!
- Perfect On-the-Go Fuel: Life moves fast, and having healthy, convenient food options is essential. These granola bars are ideal for busy mornings when you need a quick bite, a sustained energy boost during your workday, or a wholesome addition to school lunchboxes. Their compact nature makes them easy to grab and enjoy anywhere, providing sustained energy without the mess or guilt of processed snacks.
- Naturally Gluten-Free & Dairy-Free: For those with dietary restrictions or specific health goals, these bars are a fantastic choice. By using certified gluten-free rolled oats, you ensure a truly gluten-free product, making them safe for individuals with celiac disease or gluten sensitivities. Plus, with almond butter and other plant-based ingredients, they are naturally dairy-free, catering to a wider range of dietary needs without sacrificing an ounce of flavor or satisfying texture.
- Remarkably Simple to Make: Forget complicated baking processes, long ingredient lists, and elaborate cleanup! This no-bake recipe is designed for ease and efficiency. With just a few simple mixing steps and minimal equipment, you can whip up a batch of these delicious bars in no time. It’s a perfect recipe for beginner cooks, busy parents, or anyone looking for a quick and satisfying kitchen project that delivers big results.
- Nutrient-Dense and Satisfying: Packed with a powerful blend of seeds and nuts, these bars are more than just a sweet treat. They provide essential protein, healthy fats, and a good amount of fiber, making them incredibly nourishing and truly filling. This means they’ll keep you satiated longer, preventing those unhealthy snack cravings and supporting your overall well-being with every wholesome bite.
Essential Ingredients for Perfect No-Bake Granola Bars
Crafting these delectable homemade almond butter granola bars begins with selecting high-quality ingredients. Each component plays a crucial role in both the taste and texture, ensuring a truly satisfying snack. Here’s a closer look at what you’ll need:
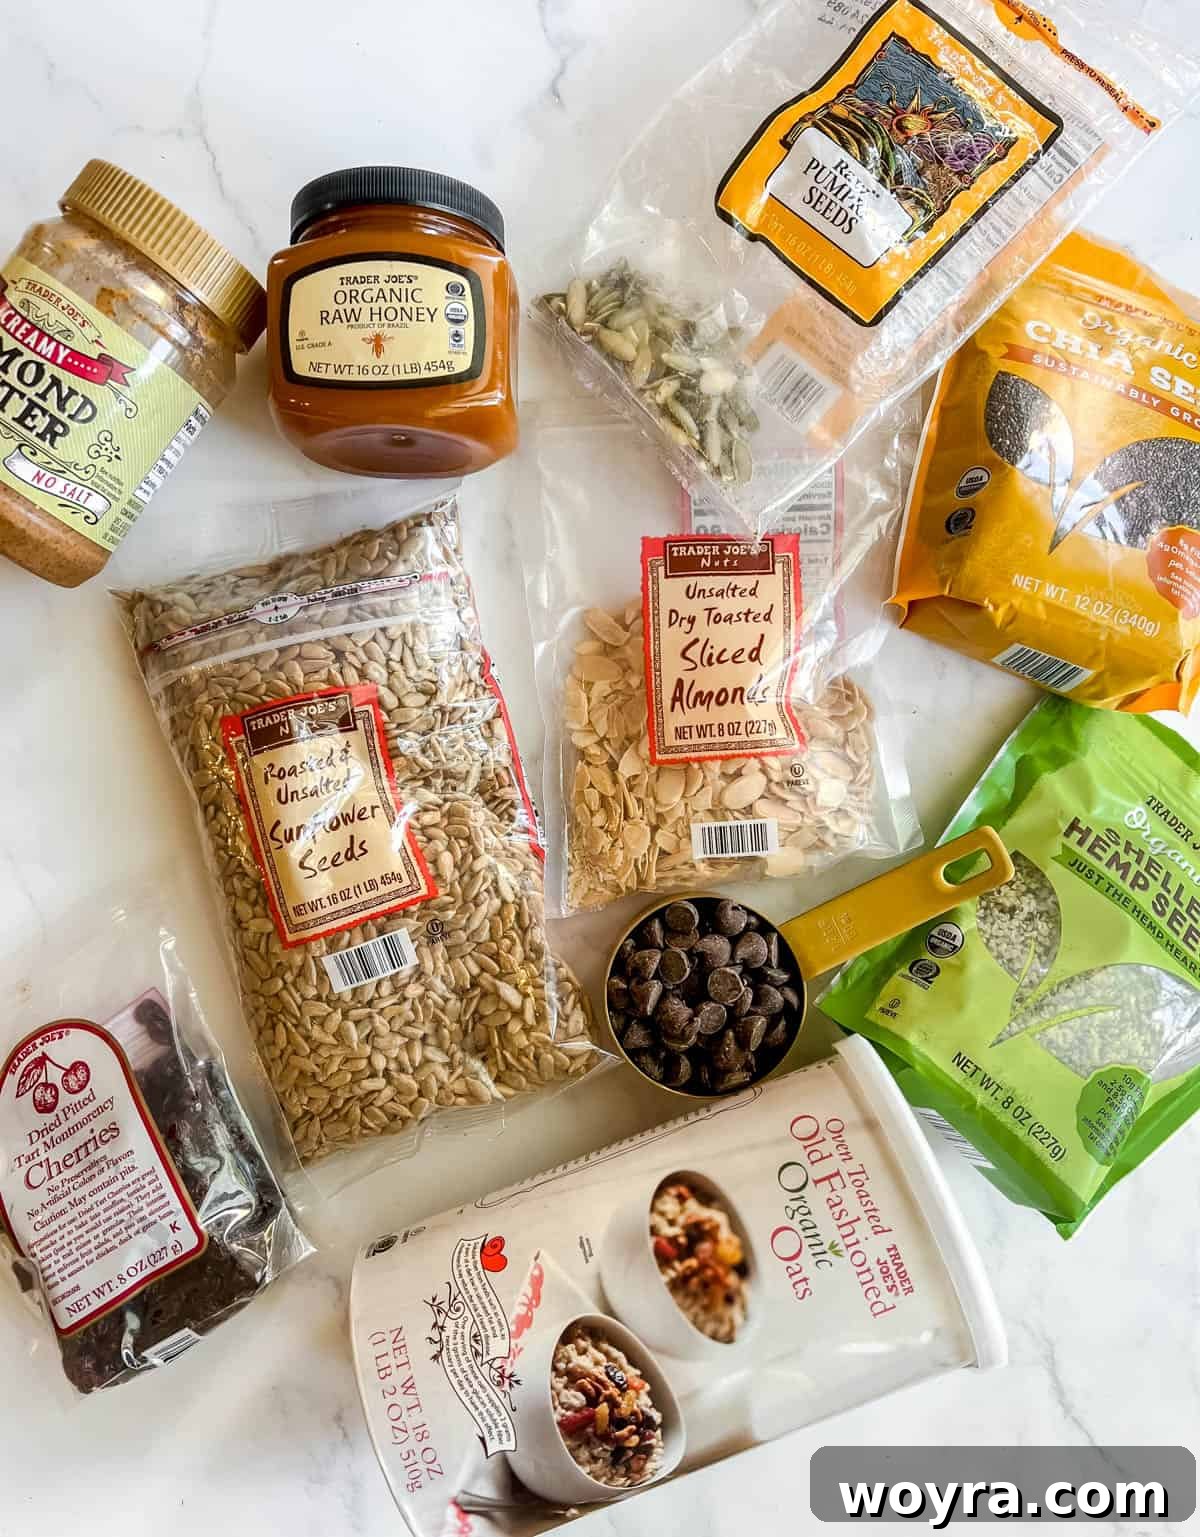
- Rolled Oats (Old-Fashioned): The absolute foundation of our granola bars, rolled oats provide a hearty, substantial chew and a significant dose of dietary fiber, promoting digestive health. It’s crucial to use old-fashioned or “jumbo” rolled oats, as quick oats can absorb too much liquid too fast and result in a mushy, less desirable texture. For those needing a gluten-free option, always opt for certified gluten-free rolled oats to prevent cross-contamination, ensuring your bars are safe and inclusive for everyone.
- Chia Seeds and Hemp Seeds: These tiny powerhouses contribute a delightful crunch and a significant nutritional boost to each bar. Chia seeds are renowned for their impressive content of omega-3 fatty acids, fiber, and plant-based protein, acting as a natural binder. Hemp seeds, on the other hand, offer a complete protein profile, healthy fats, and various minerals. Together, they enhance both the texture and the overall health benefits of your granola bars, making them truly superfood-packed.
- Pumpkin Seeds, Sunflower Seeds, and Sliced Almonds: This dynamic trio of nuts and seeds is essential for creating a rich, multifaceted flavor and an irresistible crunch. Pumpkin seeds (often called pepitas) add a distinct nutty, slightly earthy taste, sunflower seeds offer a mild, buttery note, and sliced almonds provide a delicate crispness and classic almond flavor. Beyond their taste, they are excellent sources of healthy monounsaturated and polyunsaturated fats, protein, and various micronutrients like Vitamin E and magnesium.
- Creamy Almond Butter: The crucial binding agent that holds all these delicious ingredients together! For the best results and a smooth, cohesive texture, use a natural, drippy, and creamy almond butter. Stiff or overly thick almond butter can make the mixture difficult to combine evenly and may result in crumbly bars that don’t hold their shape. The natural oils in a good quality creamy almond butter help create that perfect, firm yet chewy consistency.
- Pure Vanilla Extract: A splash of vanilla extract is a flavor enhancer that elevates the overall profile of these granola bars. It adds a warm, aromatic note that complements the nutty flavors of the almond butter and oats, pairing particularly well with the sweet undertones of the chocolate chips and dried fruit.
- Honey (or Maple Syrup): Honey serves as the primary sweetener and plays a vital role in binding all the ingredients, giving the bars their characteristic stickiness and chew. Any variety of honey will work, lending its unique sweetness and subtle floral notes. For a completely vegan alternative, pure maple syrup can be used effectively, offering a similar binding quality and distinct sweetness.
- Dried Cherries: These vibrant little fruits are more than just a pop of color; they introduce a fantastic burst of sweet-tart flavor, adding a pleasant chewiness and a juicy contrast to the nuts and seeds. Dried cranberries, with their similar tartness, are also an excellent substitute if cherries are unavailable.
- Semi-Sweet Chocolate Chips: The ultimate indulgence that makes these bars feel like a treat! Semi-sweet chocolate chips provide delightful pockets of rich, melty chocolate throughout the bars, satisfying any sweet craving. Feel free to choose your preferred type of chocolate, whether it’s dark chocolate for a deeper flavor, milk chocolate for extra sweetness, or even dairy-free chocolate chips to suit your taste or dietary needs.
For precise measurements and detailed quantities, please refer to the comprehensive recipe instructions provided further down.
Customize Your Granola Bars: Easy Additions and Substitutions
One of the joys of making these no-bake gluten-free granola bars at home is the freedom to customize them to your heart’s content. Don’t have a specific ingredient? Want to experiment with different flavors? Here are some simple additions and substitutions to make the recipe truly your own, ensuring delicious results every time:
- Seed Swaps: If your pantry is missing chia seeds or hemp seeds, you can certainly omit them without significantly impacting the core structure of the bar. However, be aware that you might lose some of the valuable nutritional benefits (like omega-3s and protein) and the subtle crunch they provide. If you have ground flax seeds, those would also make a fantastic addition, offering similar binding properties and nutrients.
- Nut and Seed Versatility: Feel free to adjust the combination of pumpkin seeds and sunflower seeds based on what you have available. If you only have one type, simply increase the quantity of that single seed to make up the total volume. For instance, if you’re out of sunflower seeds, use ½ cup of pumpkin seeds to maintain the desired dry ingredient ratio.
- Alternative Nuts: Instead of sliced almonds, get creative with other nuts! Roughly chopped walnuts, pecans, or even cashews would make excellent substitutes, each adding its own unique flavor profile and textural dimension to your homemade granola bars. Ensure they are coarsely chopped to distribute evenly and prevent any one nut from dominating.
- Dried Fruit Options: While dried cherries offer a fantastic sweet-tart profile, you can easily swap them for other dried fruits. Dried cranberries will provide a similar tartness, chopped dried apricots offer a chewy sweetness, or classic raisins can bring a familiar and comforting taste to your bars. Feel free to mix and match for unique flavor combinations.
- Chocolate Variations: The chocolate chips are a highlight, but don’t limit yourself to semi-sweet! White chocolate chips can add a creamier, sweeter touch, while dark chocolate chips offer a richer, more intense flavor. You could even use miniature chocolate candies or chopped chocolate bars for a fun twist, especially if making them for kids.
- Flavor Boosters: Elevate the taste further by incorporating additional spices or extracts. A pinch of ground cinnamon, a dash of nutmeg, or even a tiny bit of almond extract (in addition to vanilla) can enhance the flavor profile. A tablespoon of unsweetened cocoa powder can transform these into delightful chocolate-oat bars!
- Protein Powder: For an extra protein kick, you can try mixing in a scoop (about 15-20g) of your favorite unflavored or vanilla protein powder with the dry ingredients. Be mindful that protein powder can sometimes absorb extra moisture, so you might need to add a touch more almond butter or honey to ensure the mixture binds well.
Step-by-Step Guide to Crafting Your No-Bake Granola Bars
Creating these delightful almond butter granola bars is a straightforward process that requires no baking! Follow these simple steps to ensure perfect, chewy, and delicious results every time. Remember, the key to success is using the right ingredients and allowing adequate chilling time for optimal texture.
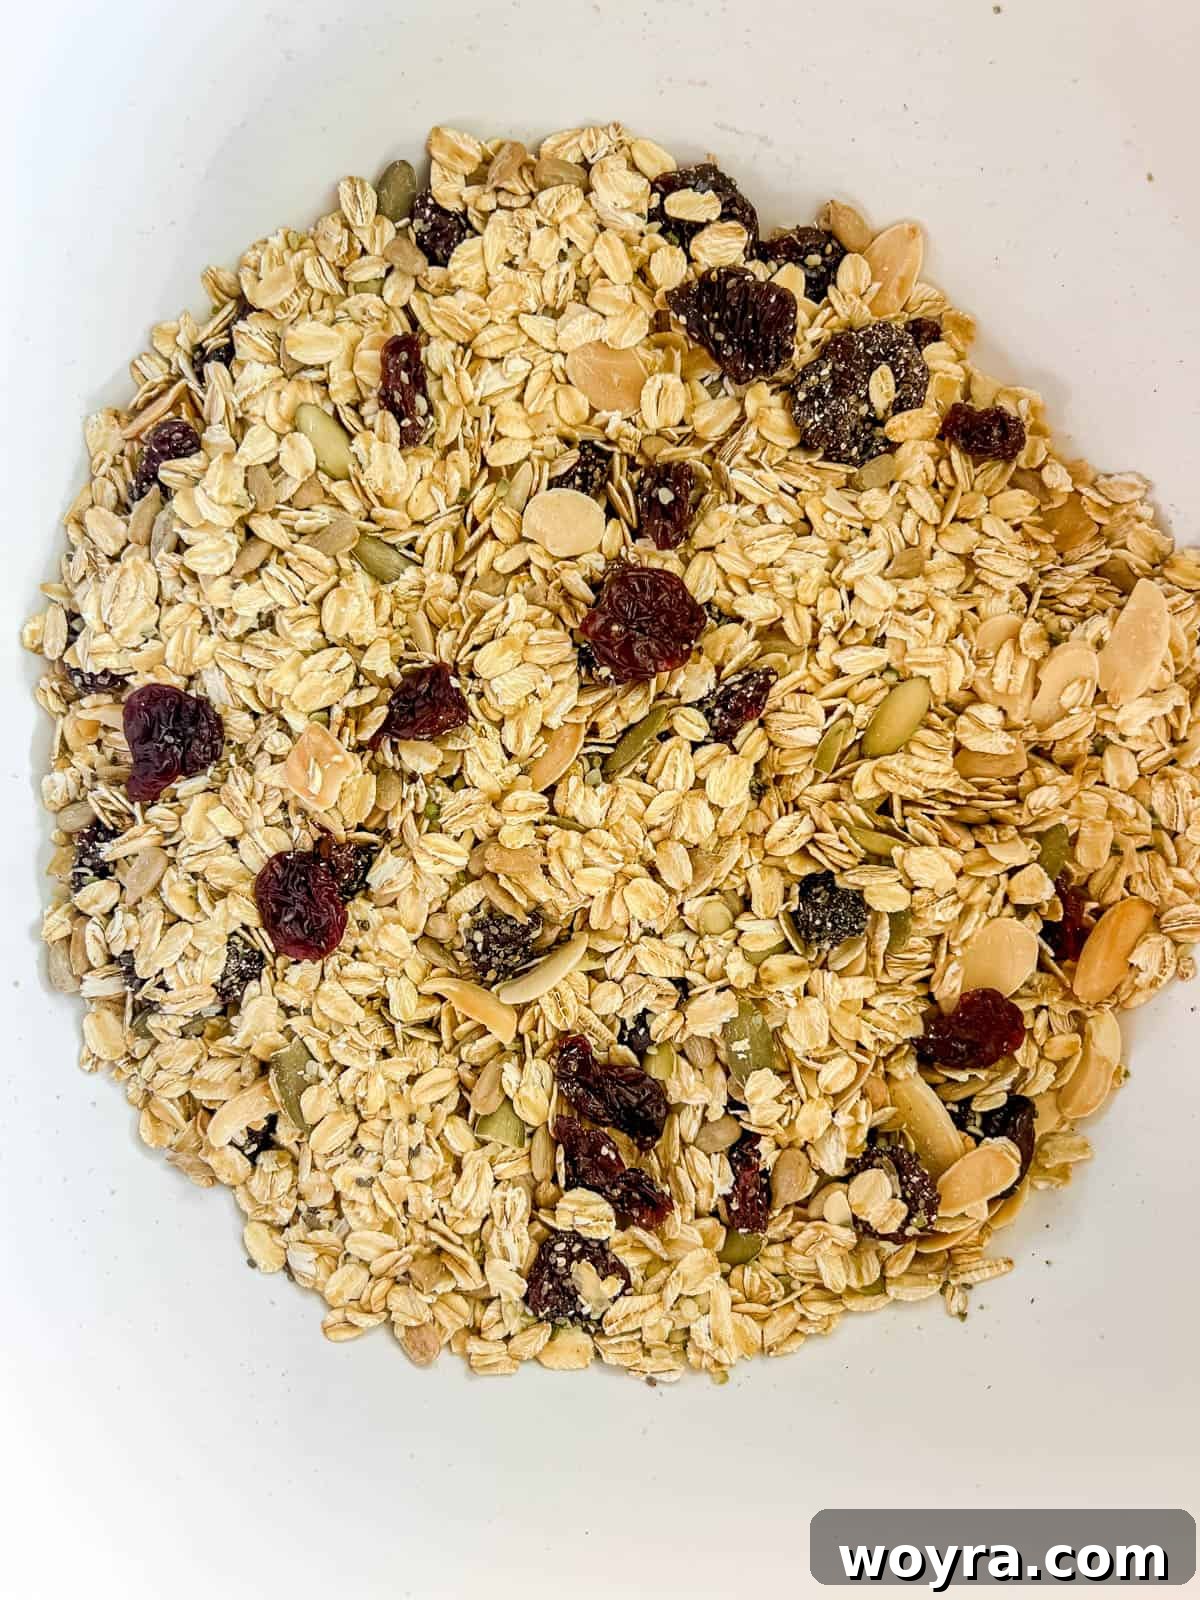
Step 1: Prepare Your Dry Mix. Begin by lining an 8×8 inch square baking pan with parchment paper or wax paper, ensuring there’s an overhang on the sides. This will make removing the finished bars much easier. In a large mixing bowl, thoroughly combine all your dry ingredients: the rolled oats, chia seeds, hemp seeds, pumpkin seeds, sunflower seeds, sliced almonds, and dried cherries. Stir until everything is evenly distributed. This ensures that each bite of your homemade granola bar will have a balanced mix of flavors and textures.
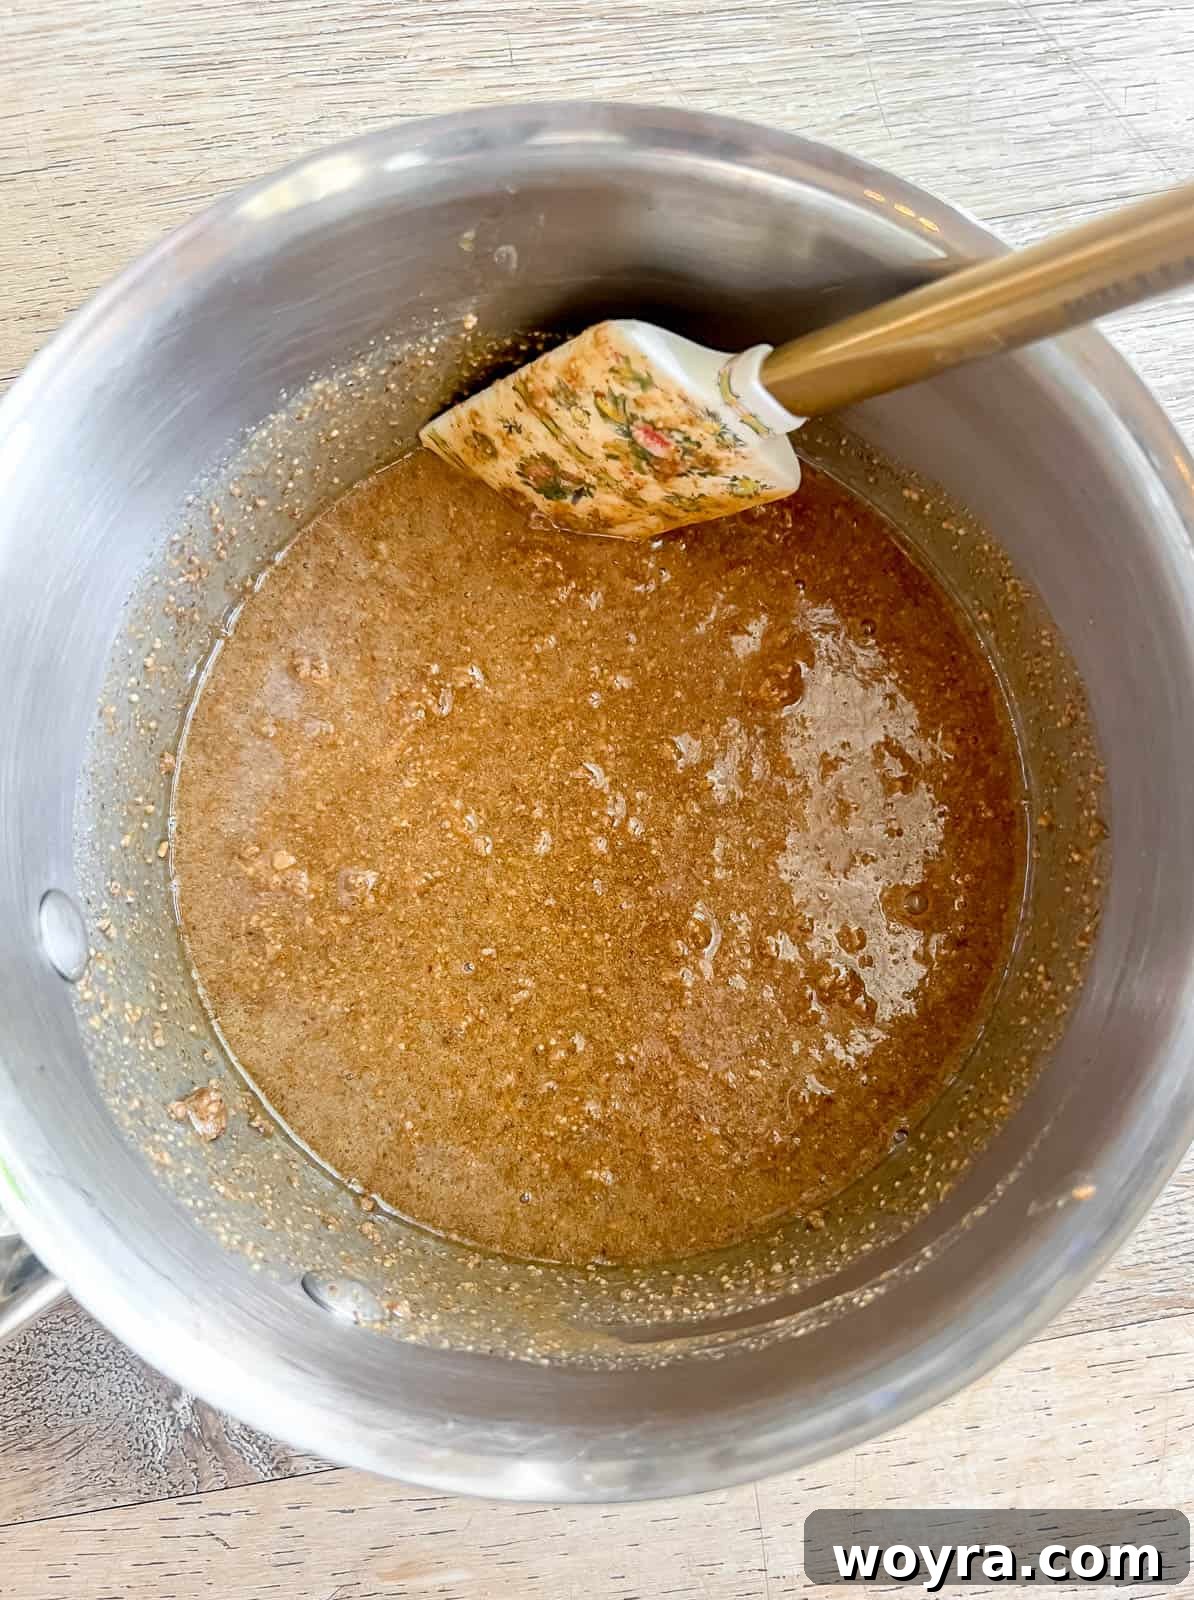
Step 2: Create the Binding Mixture. In a small saucepan, gently heat the creamy almond butter, honey (or maple syrup if you’re making them vegan), and vanilla extract over medium-low heat. Stir continuously with a spatula or whisk until the mixture is hot, smooth, and completely melted. It should be fluid and well combined. Be careful not to let it boil vigorously; a gentle simmer is sufficient to combine the ingredients and make them workable. This sticky, warm base is crucial for effectively binding all your dry ingredients for these no-bake bars.
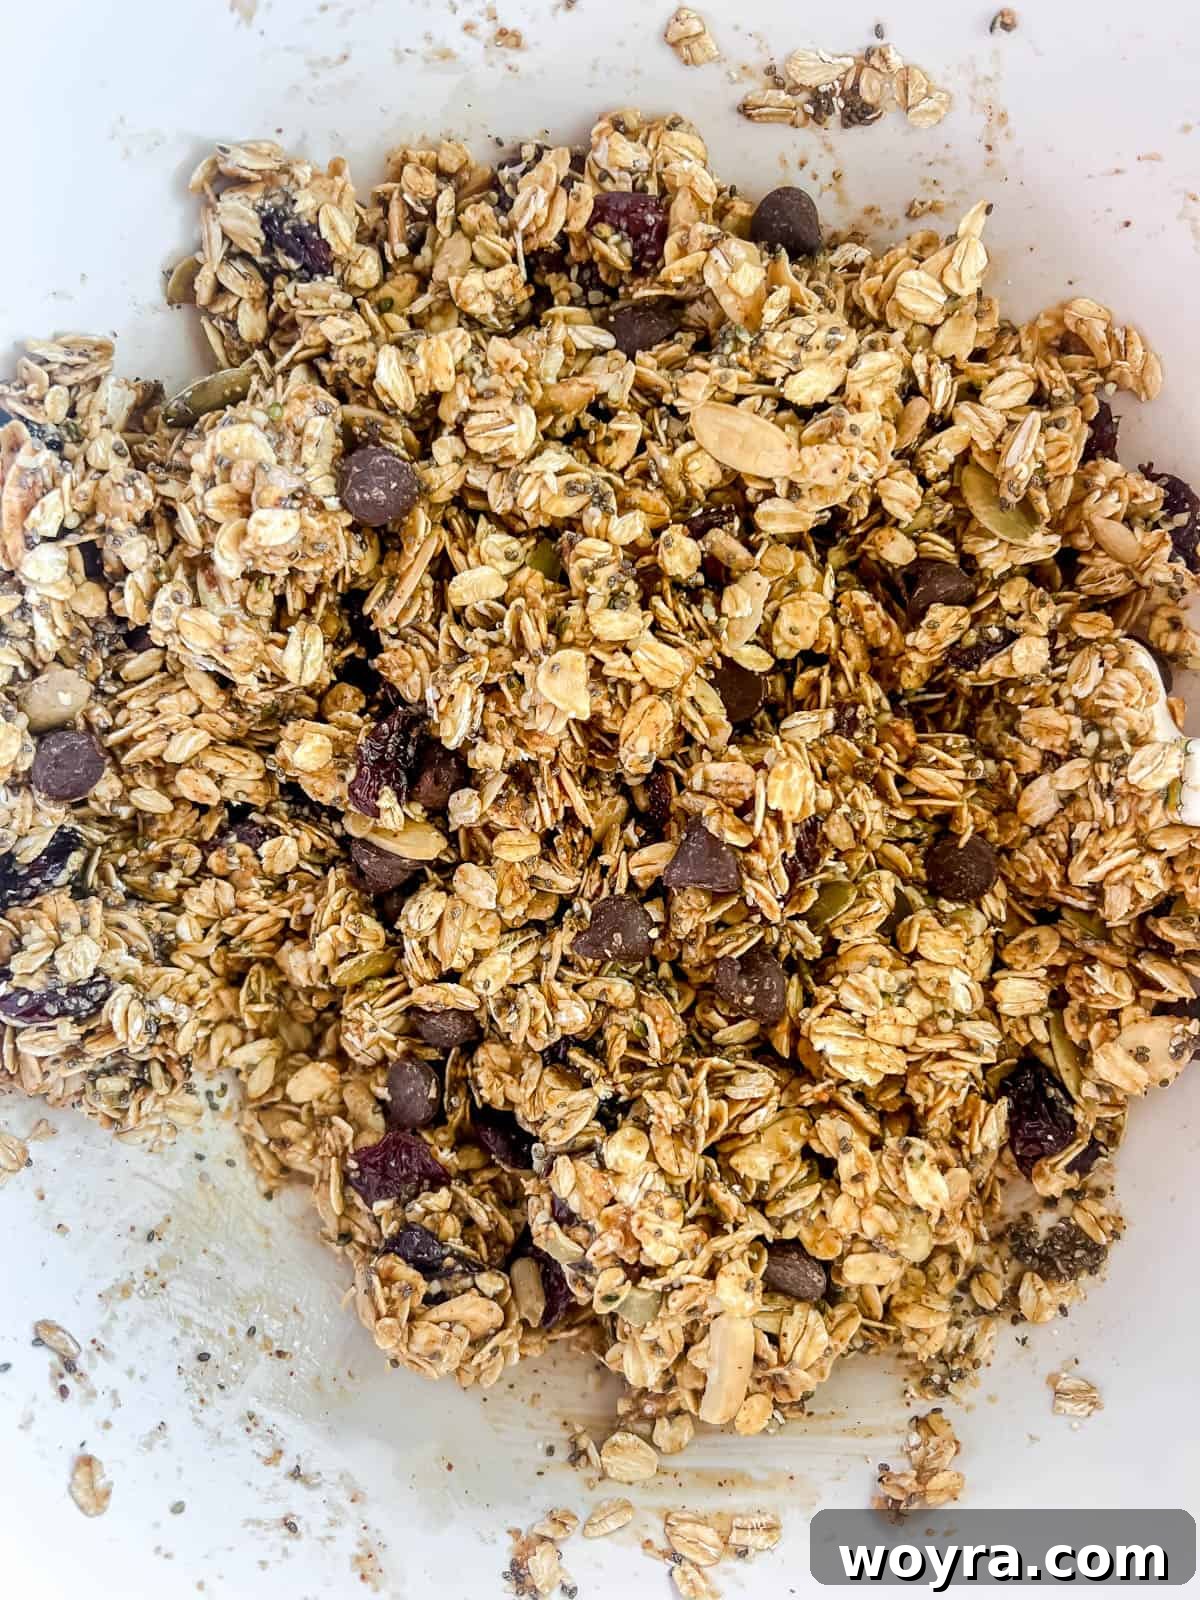
Step 3: Integrate and Mix. Carefully pour the warm almond butter and honey mixture directly over your prepared dry ingredients in the large bowl. Stir vigorously with a sturdy spatula until all the dry components are thoroughly coated and moistened by the binder. Ensure there are no dry spots left. Once combined, gently fold in about half of your semi-sweet chocolate chips. This ensures they are distributed throughout the bars without melting completely from the warm binder, leaving some nice chocolate chunks.
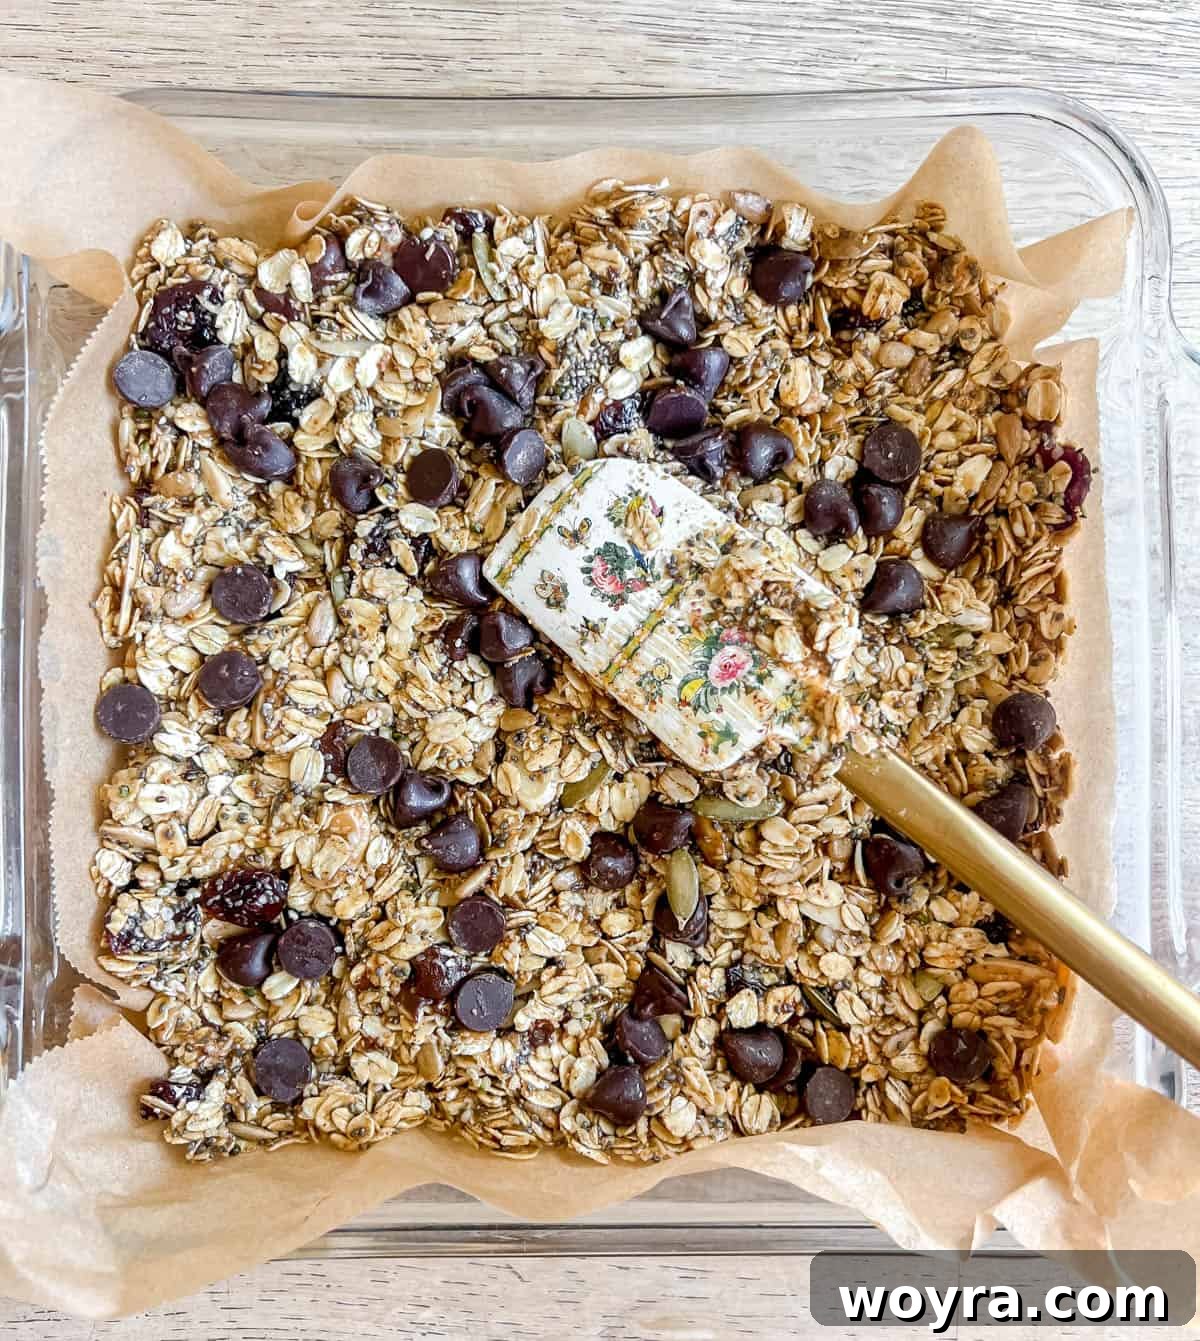
Step 4: Press into the Pan. Transfer the entire granola bar mixture into the prepared parchment-lined pan. Using the back of a sturdy spatula or your hands (lightly dampened with water to prevent sticking), press the mixture down firmly and evenly across the pan. This compaction is absolutely key for ensuring that your no-bake gluten-free granola bars hold together beautifully once chilled. Sprinkle the remaining chocolate chips on top and gently press them into the surface for an appealing finish.
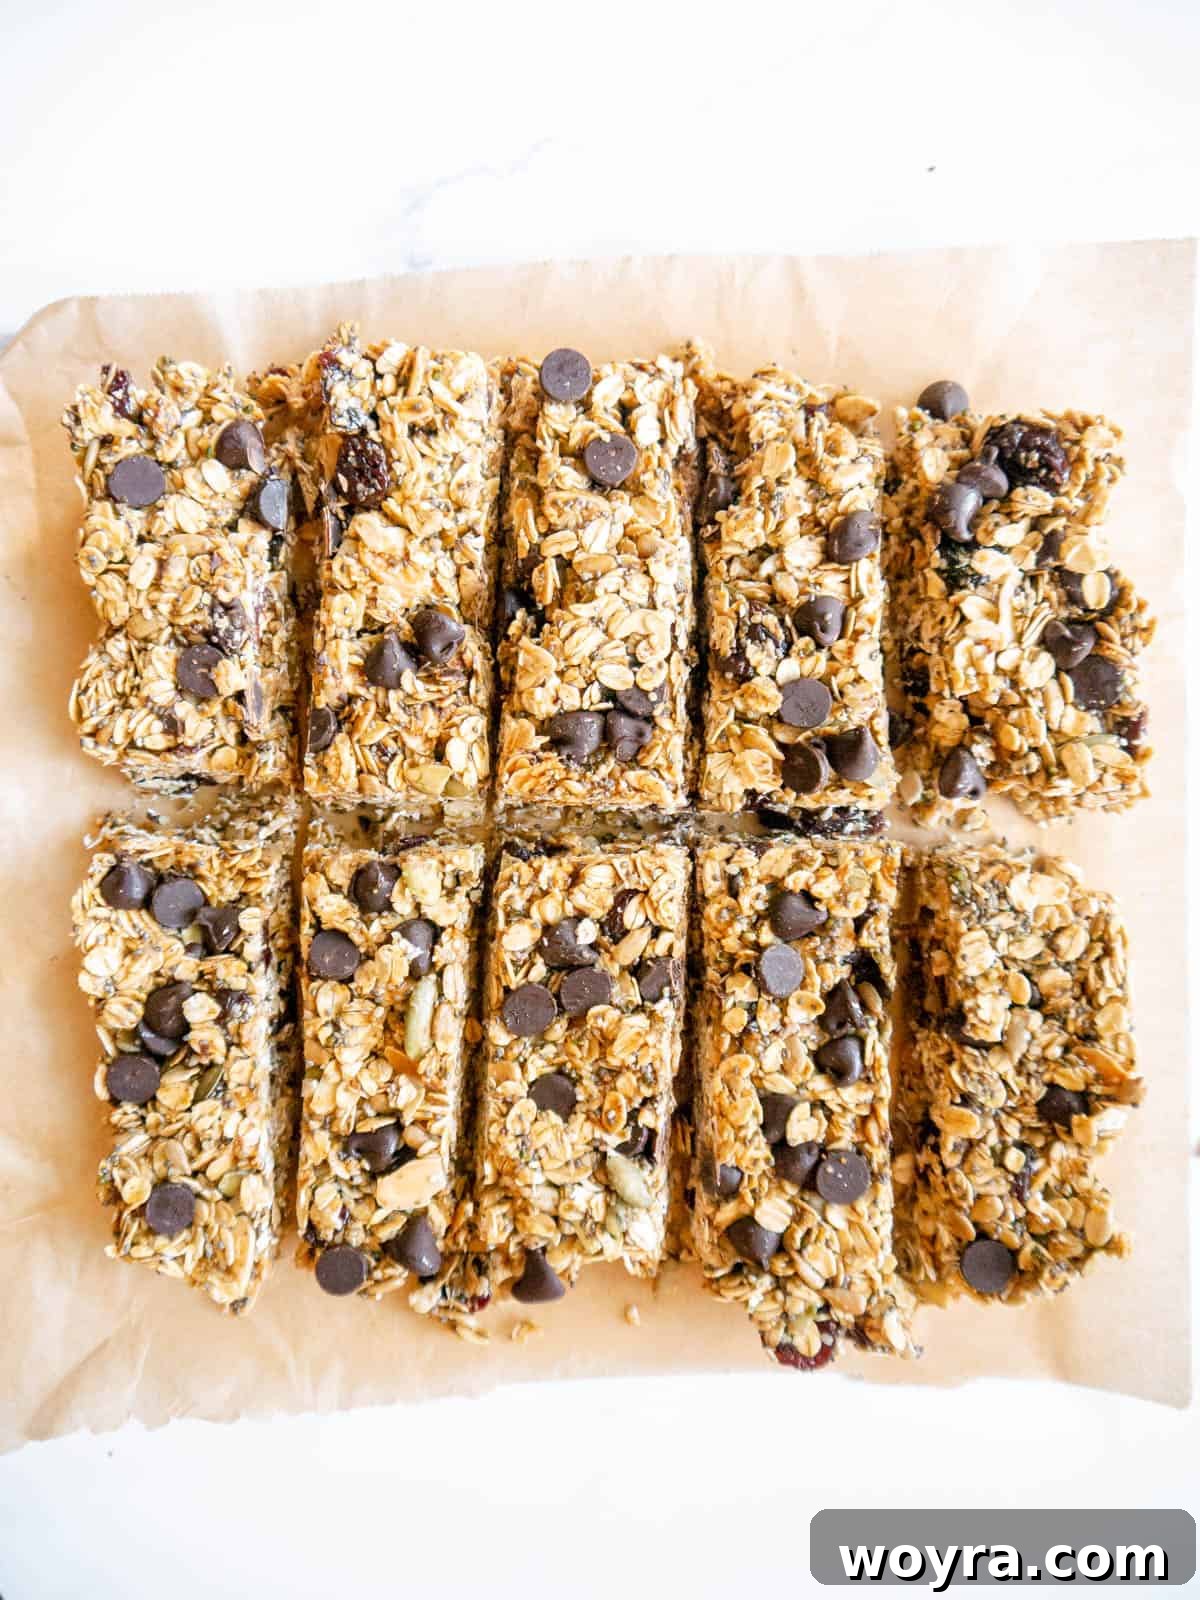
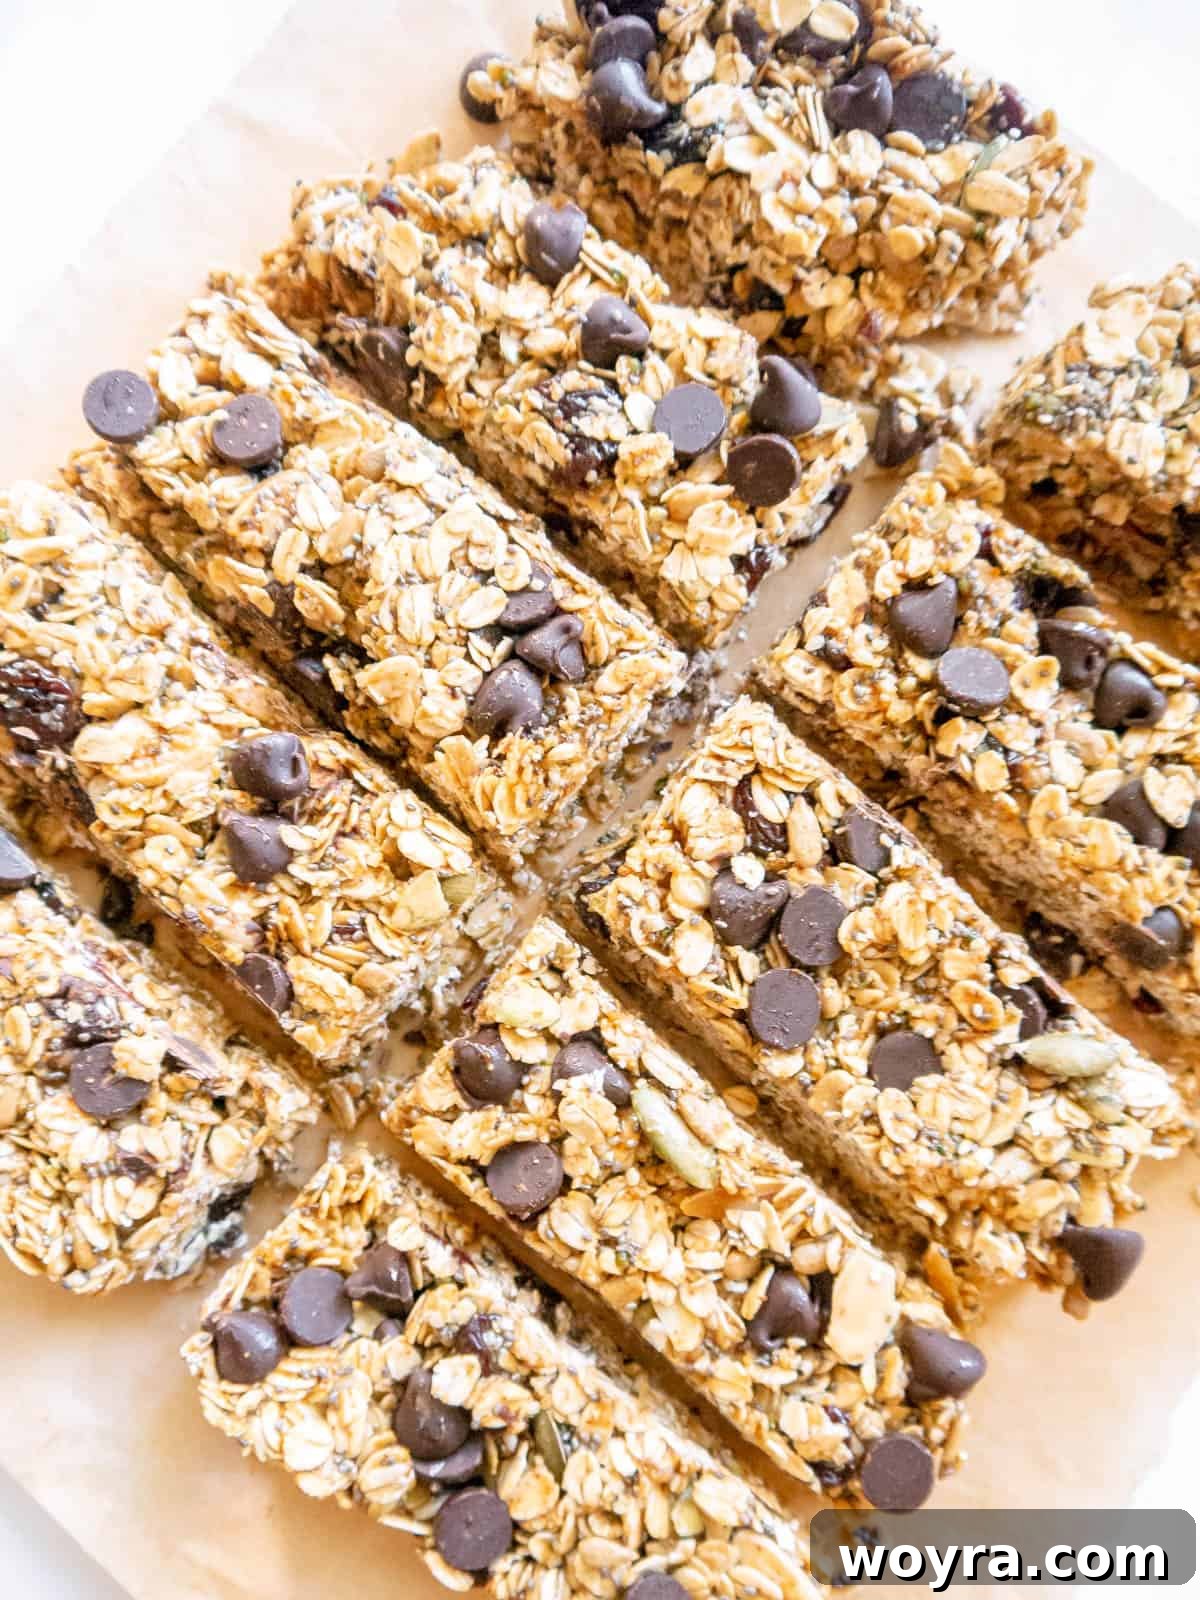
Step 5: Chill and Slice. Cover the pan tightly with plastic wrap or a lid and refrigerate for at least two hours (or longer, up to four hours) to allow the bars to firm up completely. This chilling time is non-negotiable for perfectly set bars. Once thoroughly chilled and set, use the parchment paper overhang to carefully lift the entire slab of granola from the pan. Place it on a sturdy cutting board and, with a very sharp knife, slice it into your desired shapes. For classic granola bars, cut into 12 even rectangles. You can also cut them into smaller squares if you prefer, yielding approximately 20 bite-sized pieces.
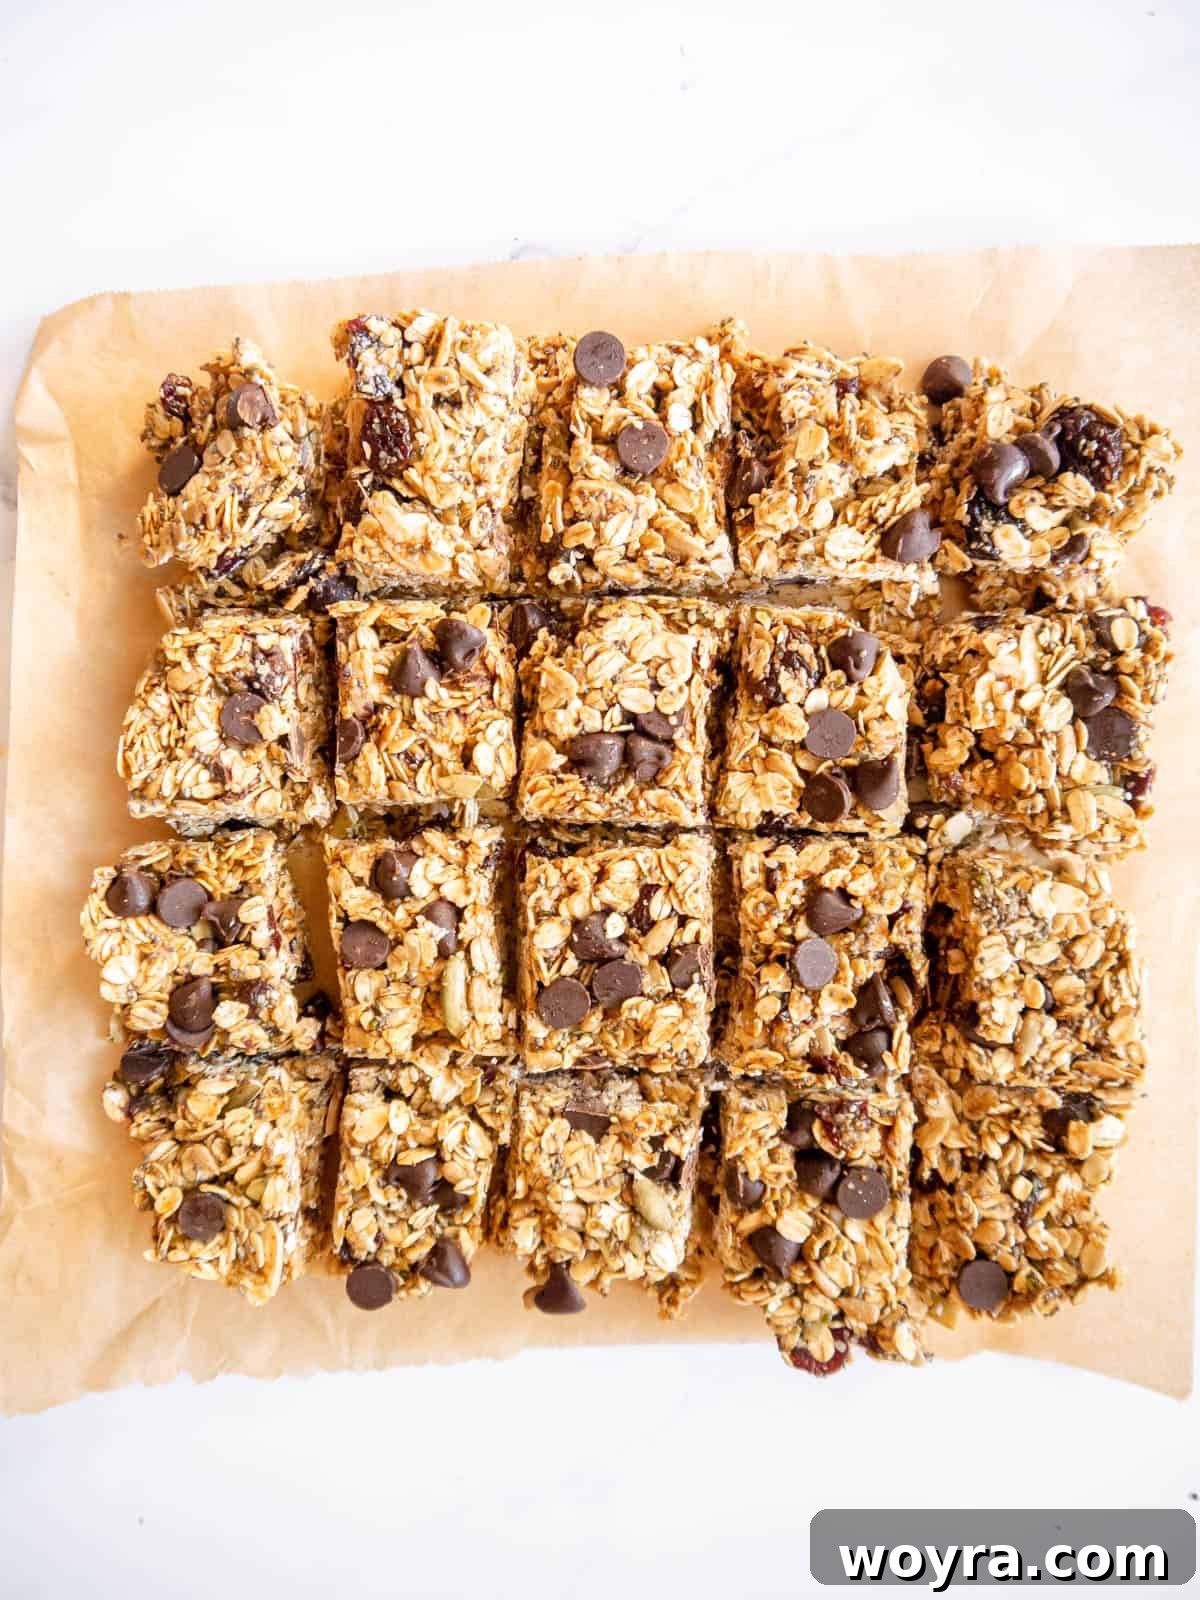
The beauty of these bars is their versatility in serving. Whether you prefer a traditional rectangular bar for a hearty snack or a more snackable square, a sharp knife will ensure clean, appealing cuts. If your knife gets sticky, simply rinse it with warm water and wipe dry between cuts. Enjoy your wholesome, healthy, and incredibly easy homemade creation!
Pro Tips for Flawless No-Bake Granola Bars
Achieving the perfect consistency and ensuring easy preparation for your homemade almond butter granola bars often comes down to a few key techniques and expert advice. Heed these tips for the best possible results, making your granola bar experience truly exceptional:
- Prevent Sticking During Pressing: The granola bar mixture can be quite sticky due to the almond butter and honey. To make the pressing process effortless and mess-free, lightly dampen your hands or the spatula with water before compacting the mixture into the pan. This simple trick creates a non-stick surface, preventing the ingredients from adhering to your tools and ensuring an even, firm layer, which is essential for well-formed and perfectly dense bars.
- The Importance of Runny Almond Butter: The consistency of your almond butter is paramount for the success of this recipe. A natural, drippy, and creamy almond butter will integrate smoothly with the honey and effectively bind all the dry ingredients together into a cohesive mass. If your almond butter is too stiff or overly thick, it will make the mixture crumbly, difficult to press, and may result in bars that fall apart easily. Always opt for a good quality, runny variety for optimal binding.
- Do Not Skimp on Chilling Time: This is arguably the most critical step for any no-bake bar recipe! Adequate chilling time is absolutely essential for the ingredients to set and firm up properly, creating that satisfying chew and preventing crumbling. Refrigerate your bars for a minimum of two hours, but four hours or even overnight is ideal. If you try to cut them too soon, they will likely be soft, sticky, and crumbly. If you’re pressed for time, placing them in the freezer for 30-60 minutes can significantly speed up the setting process.
- Optimal Refrigerator Storage: To keep your delicious gluten-free granola bars fresh, flavorful, and intact, store them in an airtight container in the refrigerator. They will maintain their quality and taste for 5-6 days. For best results and to prevent the bars from sticking together in a clump, place a sheet of parchment paper or wax paper between layers. This ensures easy grab-and-go access!
- Freezer Storage for Long-Term Enjoyment: For extended freshness and convenient meal prep, these granola bars freeze beautifully. Once thoroughly chilled and cut, wrap each individual bar tightly in parchment paper or plastic wrap, then store them in a freezer-safe container or resealable bag for up to three months. When you’re ready to enjoy one, simply remove it from the freezer and let it thaw at room temperature for a few minutes or in the fridge overnight.
- Clean Slices for Perfect Presentation: Once thoroughly chilled and rock-solid, use a very sharp chef’s knife to cut your bars. For even cleaner cuts and to prevent any stickiness from dragging, you can slightly warm the knife under hot water and wipe it completely dry between slices. This small effort will yield beautifully presented homemade granola bars that look as good as they taste.
More Delicious Oat Recipes to Explore
If you’ve fallen in love with the versatility and wholesome goodness of oats in these almond butter granola bars, you’re in for a treat! Oats are a fantastic, fiber-rich ingredient for a variety of healthy and delicious creations, perfect for any meal or snack time. Here are some other oat-based recipes that you are sure to enjoy:
Tried this recipe? Share your thoughts! We’d love for you to leave a ⭐ review below!
No-Bake Gluten-Free Almond Butter Granola Bars Recipe
Email Recipe |
Print Recipe
These healthy homemade granola bars are packed with nutritious ingredients like chia seeds, oats, sunflower seeds, pumpkin seeds, and almonds. A perfect, wholesome, and energizing snack for any time of day!
Ingredients
- 1/2 cup honey (or maple syrup for vegan option)
- 2 teaspoons vanilla extract
- 3/4 cup creamy almond butter
- 2 cups rolled oats (certified gluten-free if needed)
- 3 Tablespoons hemp seeds
- 3 Tablespoons chia seeds
- ¼ cup sunflower seeds
- ¼ cup pumpkin seeds
- ¼ cup sliced almonds
- 1/2 cup dried cherries
- 1/2 cup semi-sweet chocolate chips (plus extra for topping)
Instructions
- Line an 8×8 inch square pan with wax paper or parchment paper, leaving an overhang on all sides for easy removal later.
- In a large mixing bowl, combine the rolled oats, chia seeds, hemp seeds, sunflower seeds, pumpkin seeds, sliced almonds, and dried cherries. Stir all the dry ingredients well to ensure even distribution. Set aside.
- In a small saucepan, gently heat the honey (or maple syrup), vanilla extract, and creamy almond butter over medium-low heat. Stir continuously until the mixture is smooth, hot, and fully melted. Do not allow it to come to a vigorous boil; a gentle simmer is sufficient. Remove from heat immediately once thoroughly combined.
- Pour the warm honey-almond butter mixture directly over the dry oat mixture in the large bowl. Mix thoroughly with a sturdy spatula until all the dry ingredients are completely coated and moistened. Once combined, gently fold in half of the chocolate chips.
- Transfer the entire mixture into the prepared parchment-lined pan.
- Using a spatula or your hands (lightly dampened with water to prevent sticking), press the mixture down very firmly and evenly into the pan until it’s compact and smooth. Sprinkle the remaining chocolate chips over the top and gently press them into the surface to adhere.
- Cover the pan tightly with plastic wrap or a lid and refrigerate for at least two hours, or ideally up to four hours, to allow the bars to set and harden completely. This chilling time is essential for the bars to hold their shape.
- Once thoroughly chilled, use the parchment paper overhang to lift the entire slab of hardened granola from the pan. Place it on a sturdy cutting board.
- With a very sharp knife, cut the slab into 12 even granola bars. For smaller, bite-sized snacks, you can also cut them into 20 squares, depending on your preferred serving size and shape.
Notes & Customization Tips
- For an alternative to chia and hemp seeds, flax seeds (ground or whole) can also be used, or these seeds can be omitted if unavailable, though you might lose some nutritional benefits and crunch.
- Feel free to use only pumpkin seeds or only sunflower seeds if you don’t have both. Simply adjust the quantity to maintain the desired dry ingredient volume (e.g., use ½ cup of one type of seed).
- Substitute sliced almonds with other chopped nuts like walnuts, pecans, or cashews for a different flavor profile and texture.
- Instead of dried cherries, consider using dried cranberries, chopped dried apricots, or raisins for variety in taste and chewiness.
- Experiment with different types of chocolate chips – dark chocolate, milk chocolate, or even white chocolate work wonderfully. Dairy-free options are also great.
- For an added depth of flavor, consider including a pinch of cinnamon or a dash of almond extract with the wet ingredients.
- Refrigerator Storage: Store these healthy granola bars in an airtight container in the refrigerator for 5-6 days. Place parchment paper between layers to prevent the bars from sticking together.
- Freezer Storage: For longer storage, wrap individual bars tightly in parchment paper or plastic wrap and store them in a freezer-safe container or bag for up to 3 months. Thaw at room temperature or in the refrigerator before enjoying.
Nutrition Information (per serving)
Carbohydrates: 35g
Protein: 9g
Fat: 17g
Saturated Fat: 3g
Polyunsaturated Fat: 6g
Monounsaturated Fat: 7g
Trans Fat: 0.01g
Sodium: 5mg
Potassium: 242mg
Fiber: 6g
Sugar: 19g
Vitamin A: 373IU
Vitamin C: 0.2mg
Calcium: 105mg
Iron: 2mg
Nutrition information is automatically calculated and should be considered an approximation. Individual results may vary based on exact ingredients and preparation.
Additional Recipe Information
Tried this delicious recipe?
Mention @perchancetocook or tag #perchancetocook on social media! We love seeing your creations!