
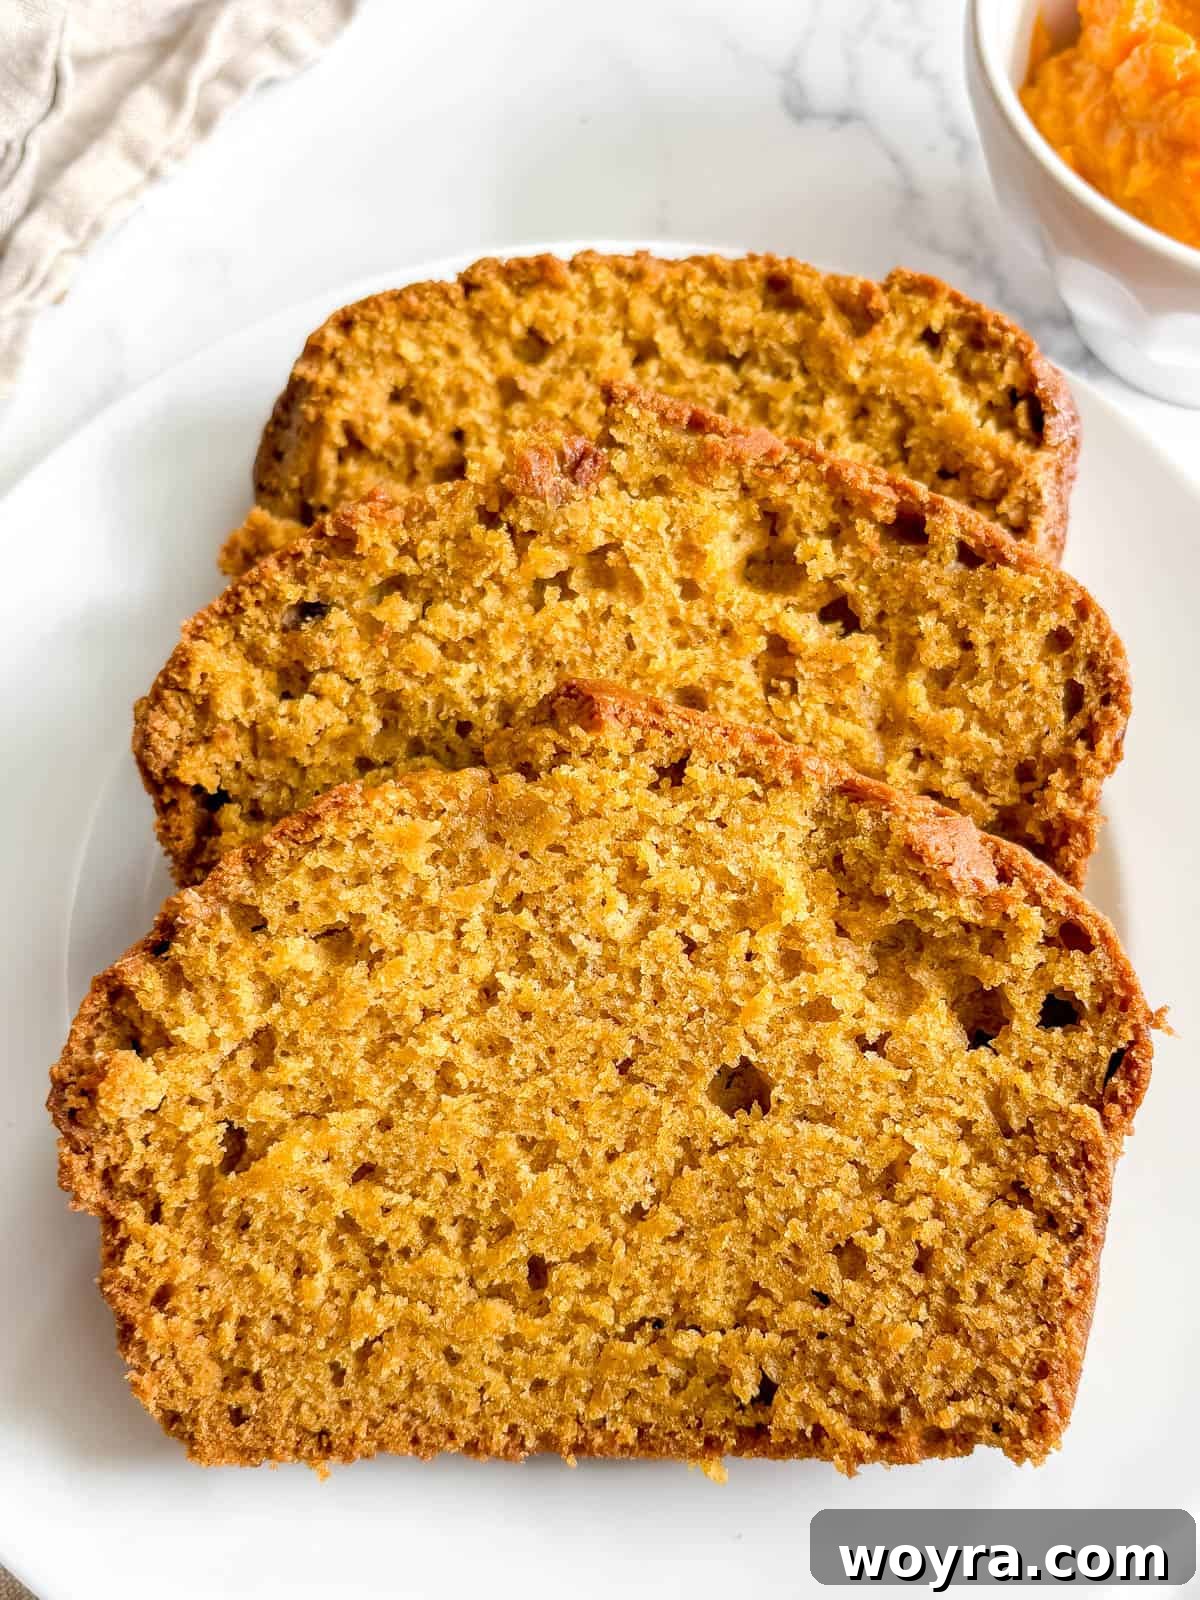
Embrace the flavors of autumn with this incredibly easy, one-bowl dairy-free pumpkin bread recipe. It’s perfectly spiced with cinnamon and nutmeg, offering a rich pumpkin flavor that’s ideal for all your fall baking desires!
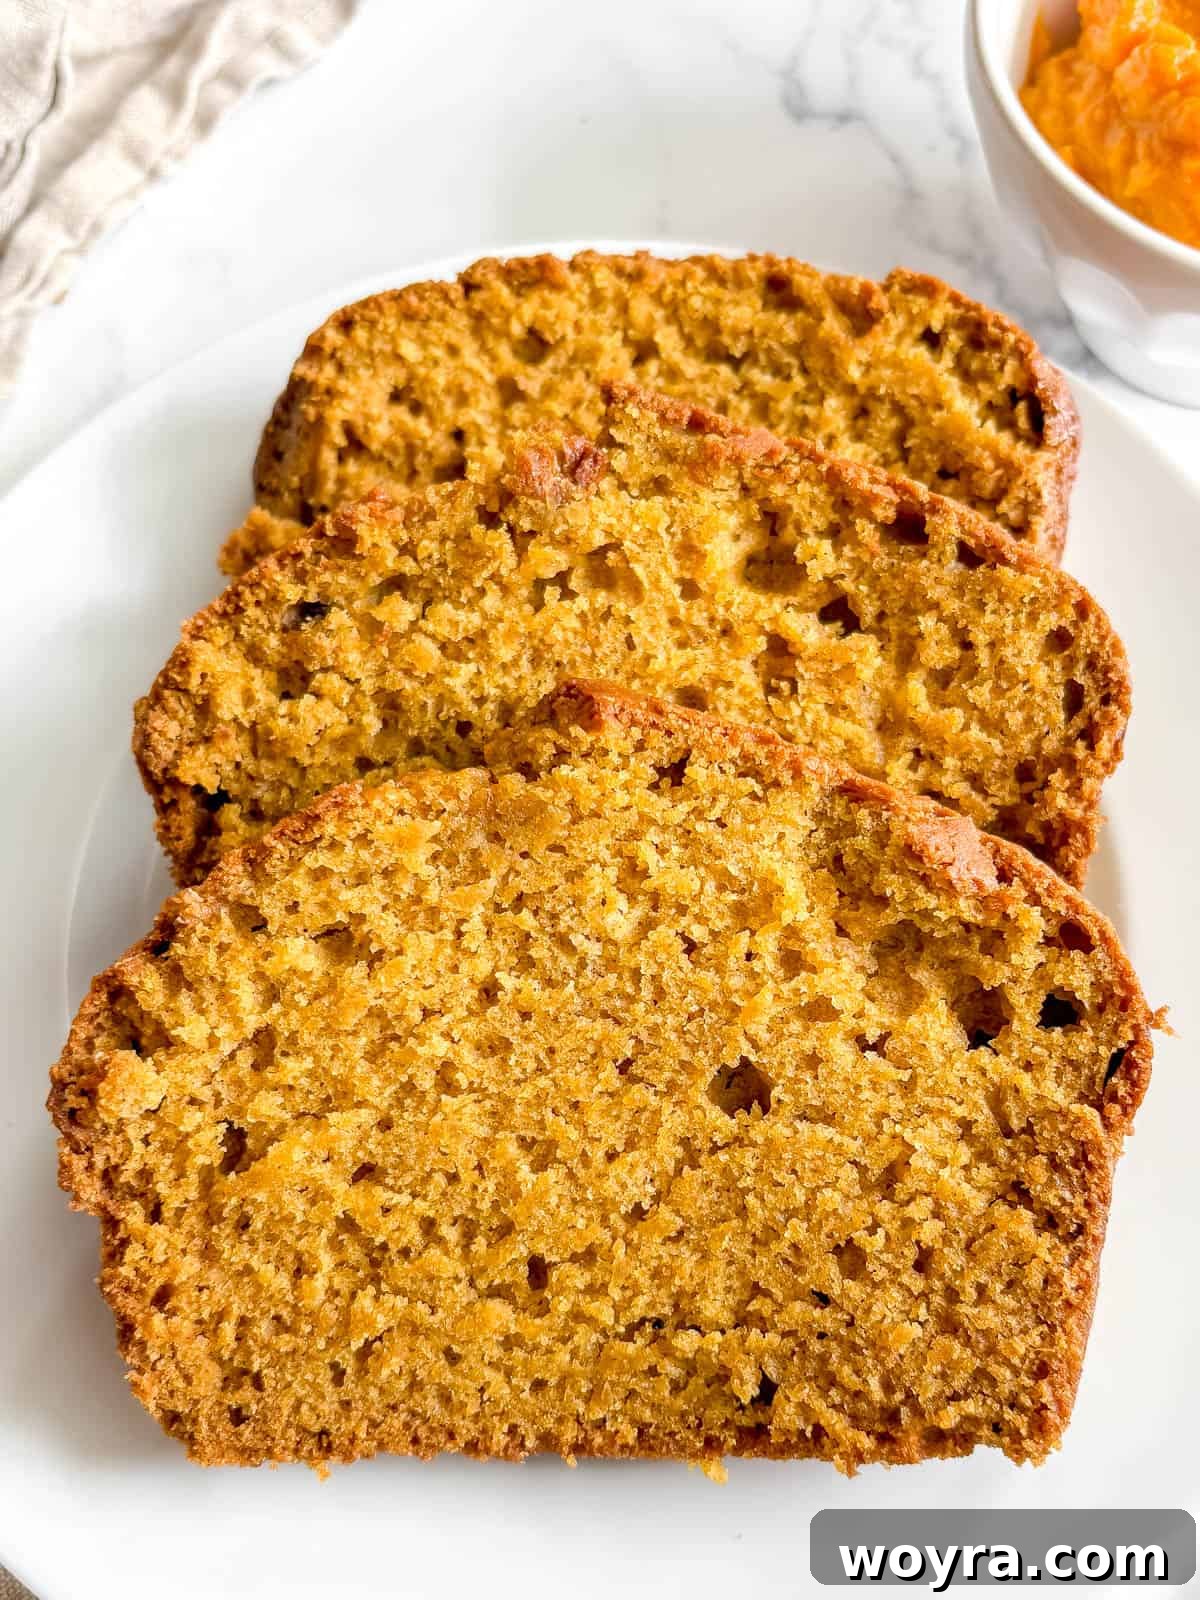
The Ultimate One-Bowl Dairy-Free Pumpkin Bread for Fall
There’s nothing quite like the comforting aroma of freshly baked pumpkin bread filling your kitchen, especially as the crisp air of fall sets in. This homemade pumpkin bread recipe isn’t just a treat; it’s an experience. It boasts an irresistibly moist and flavorful profile, with a soft, tender crumb that practically melts in your mouth with every bite. Infused with a harmonious blend of classic fall spices, it truly captures the essence of the season.
What makes this recipe truly special for many is its naturally dairy-free nature. By utilizing oil instead of traditional butter, we achieve a wonderfully moist texture without compromising on taste or richness, making it accessible for those with dairy sensitivities or preferences. My personal favorite is baking with high-quality olive oil, which not only contributes to the bread’s incredible moisture but also adds a subtle, healthful depth of flavor. If you enjoy the unique qualities olive oil brings to baking, be sure to explore my other popular recipes like olive oil banana bread, olive oil sugar cookies, or my delightful dairy-free olive oil chocolate chip cookies.
Table of Contents
- Why This Dairy-Free Pumpkin Bread Recipe Shines
- Essential Recipe Ingredients
- Additions and Substitutions for Your Perfect Loaf
- Step-by-Step Baking Guide
- Expert Baking Tips for Success
- Serving and Storage Suggestions
- More Delightful Pumpkin Recipes You’ll Love
- Dairy-Free Pumpkin Bread Recipe Card
Why This Dairy-Free Pumpkin Bread Recipe Shines
This isn’t just another pumpkin bread recipe; it’s designed for maximum enjoyment with minimal fuss. Here’s why it stands out as a must-try for your fall baking:
- Effortless One-Bowl Preparation: Say goodbye to stacks of dirty dishes! This recipe minimizes cleanup, allowing you to enjoy your delicious pumpkin bread sooner and with less stress. All the mixing happens in a single bowl, making it incredibly convenient for busy bakers.
- Naturally Dairy-Free: Perfect for those with dairy allergies, intolerances, or anyone seeking a plant-based option. By intelligently using oil instead of butter, we ensure a tender crumb and rich flavor without any dairy products.
- Baked with Heart-Healthy Olive Oil: We opt for olive oil, a cornerstone of Mediterranean cuisine, known for its numerous health benefits. It imparts a subtle, fruity note and contributes to the bread’s wonderfully moist texture, making this a wholesome choice.
- Incredibly Easy to Customize: This recipe is a fantastic canvas for your creativity. Whether you want to make it gluten-free, add a delightful crunch with nuts, or experiment with different spice blends, it adapts beautifully to your preferences.
- Bursting with Authentic Fall Flavors: The combination of real pumpkin puree with warm spices like cinnamon and nutmeg creates an unparalleled aromatic and flavor experience. Each slice transports you to the heart of autumn.
- Perfectly Moist and Tender: Achieving the ideal balance of moisture and tenderness is key to great quick bread, and this recipe delivers. The careful ratio of wet to dry ingredients ensures a consistently soft and delightful texture that stays fresh for days.
Essential Recipe Ingredients
Crafting the perfect dairy-free pumpkin bread begins with selecting quality ingredients. Each component plays a vital role in creating the moist texture and signature fall flavor profile of this beloved treat.
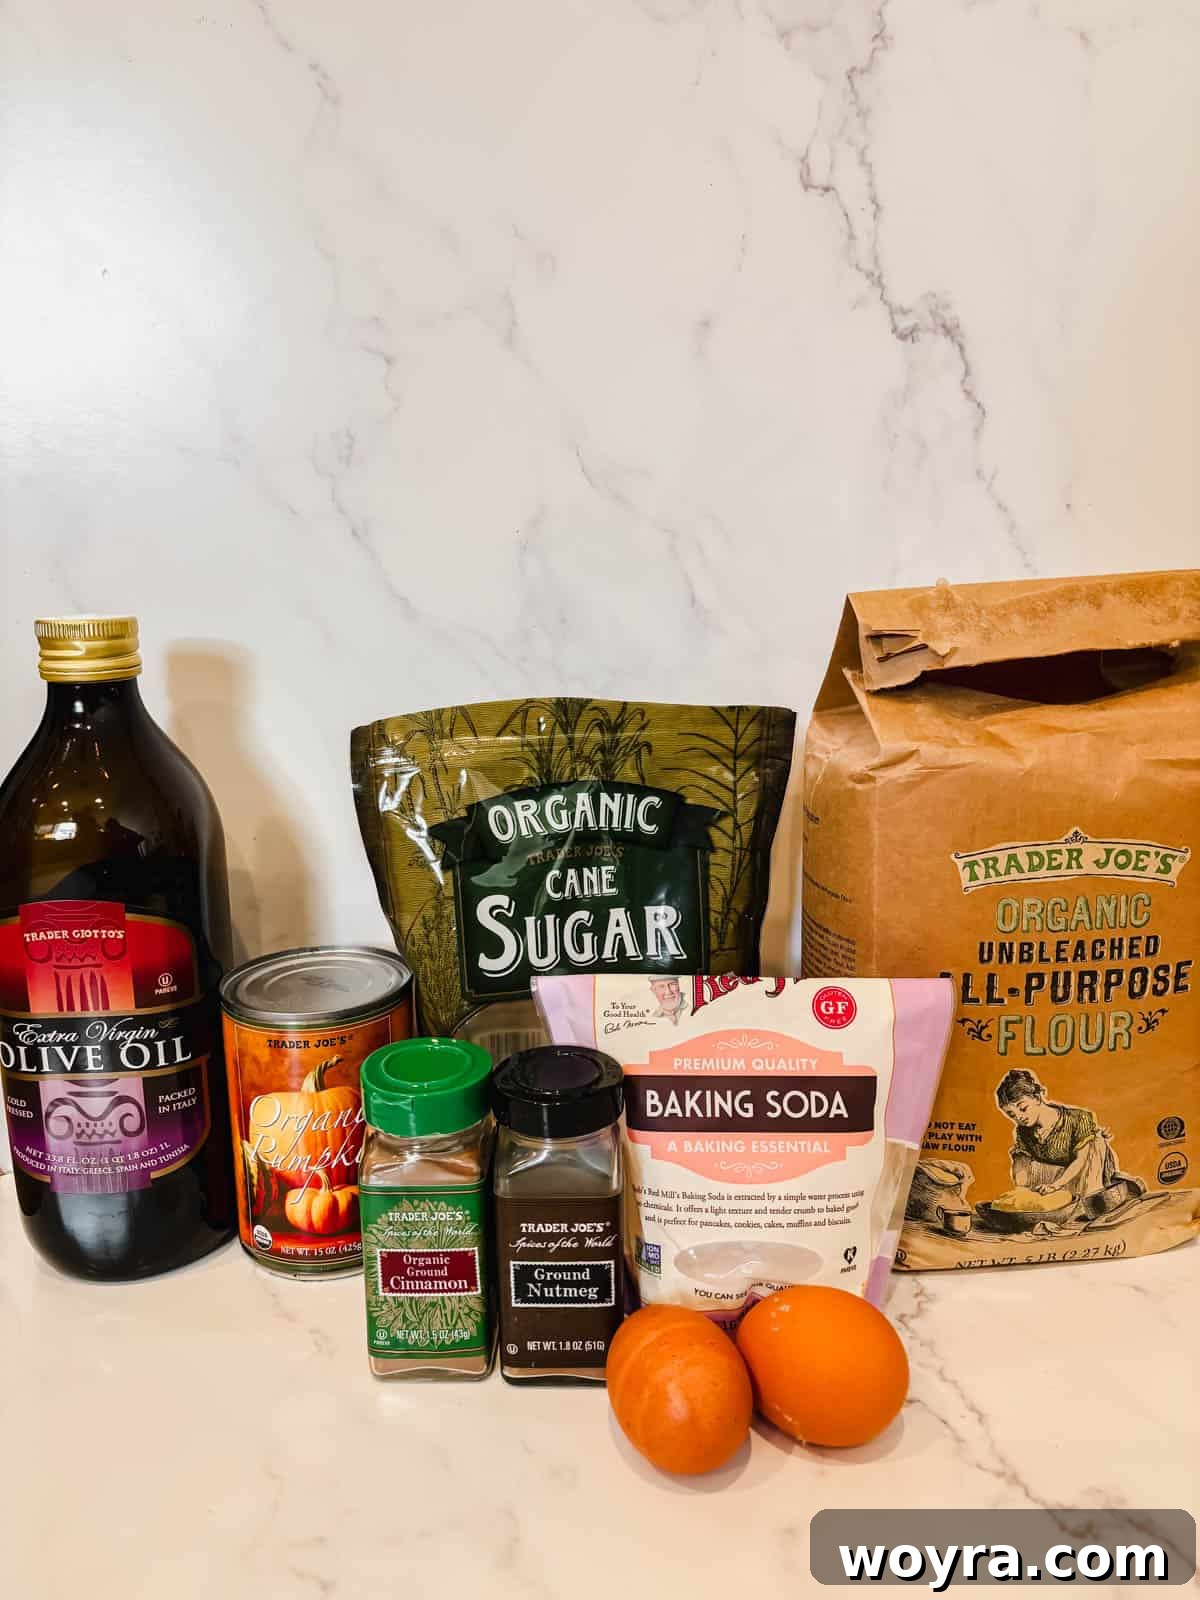
- All-Purpose Flour: For the best results, use unbleached all-purpose flour. It provides the ideal structure and texture for the bread, ensuring it’s not too dense or too crumbly. For gluten-free options, see our substitution notes below.
- Granulated Sugar: I typically use cane sugar for its natural sweetness and fine texture, but standard white granulated sugar works perfectly as well. It provides the necessary sweetness and also contributes to the bread’s moistness and golden-brown crust.
- Baking Soda: This is our primary leavening agent. When combined with the acidic pumpkin puree, baking soda creates carbon dioxide bubbles, which are essential for making the bread rise and achieve a light, airy crumb.
- Ground Cinnamon and Nutmeg: These aromatic spices are non-negotiable for that quintessential fall flavor. They bring warmth, depth, and a comforting fragrance to every slice. Ensure your spices are fresh for maximum potency.
- Large Eggs: Eggs act as a binder, holding the batter together and providing structure. They also contribute to the richness and overall moisture of the bread. Make sure they are at room temperature for better emulsification with the oil.
- Pumpkin Puree: The star of the show! Whether canned or homemade, ensure you use 100% pure pumpkin puree, not pumpkin pie filling. Pie filling contains added spices and sugar that would alter the recipe’s balance.
- Olive Oil: My preferred fat for this dairy-free recipe. Extra virgin olive oil lends a delicate flavor and exceptional moisture, resulting in a bread that stays tender for days. It’s a healthier alternative to butter while still delivering a rich texture.
- Water: A small amount of water helps to perfectly balance the consistency of the batter, ensuring it’s smooth and pourable, leading to an evenly baked loaf.
For precise measurements and a detailed step-by-step guide, please refer to the comprehensive recipe card located at the end of this article.
Additions and Substitutions for Your Perfect Loaf
One of the joys of baking is the ability to personalize recipes to your taste or dietary needs. This dairy-free pumpkin bread is incredibly versatile, offering many options for delicious customization:
- Spice It Up: While cinnamon and nutmeg are classics, you can enhance the flavor profile by using a pre-made pumpkin spice blend (also known as pumpkin pie spice) in place of, or in addition to, the individual spices. A touch of ground ginger or cloves can also add extra warmth.
- Alternative Oils: If olive oil isn’t your preference or you’re looking for a more neutral flavor, avocado oil or corn oil are excellent dairy-free alternatives. Both are heart-healthy and have a high smoke point, making them great for baking.
- Add a Nutty Crunch: For extra texture and flavor, fold in about ½ cup of chopped nuts to the batter. Walnuts and pecans are traditional choices that complement pumpkin beautifully. You can lightly toast them beforehand for an enhanced nutty aroma.
- Rustic Topping: Before baking, sprinkle the top of your pumpkin bread with a handful of raw pumpkin seeds (pepitas). This adds a lovely visual appeal, a slight crunch, and an extra touch of pumpkin essence. A dusting of cinnamon sugar also creates a delightful crust.
- Go Gluten-Free: Easily adapt this recipe by using a 1:1 gluten-free flour blend. Ensure your chosen blend contains xanthan gum for optimal texture. The bread will still be wonderfully moist, though the crumb might be slightly different.
- Chocolate Lover’s Dream: For an indulgent twist, stir in ½ to 1 cup of dairy-free chocolate chips (dark chocolate is often naturally dairy-free) into the batter. The combination of pumpkin and chocolate is surprisingly delicious.
- Sweet Swirl: For a hidden layer of sweetness, mix 2 tablespoons of brown sugar with 1 teaspoon of cinnamon. After pouring half the batter into the loaf pan, sprinkle half of the cinnamon-sugar mixture, add the remaining batter, and top with the rest. Swirl gently with a knife.
Step-by-Step Baking Guide for Perfect Pumpkin Bread
Follow these simple steps to create a moist and flavorful dairy-free pumpkin bread with ease. Remember, precision in preparation leads to perfection in baking!
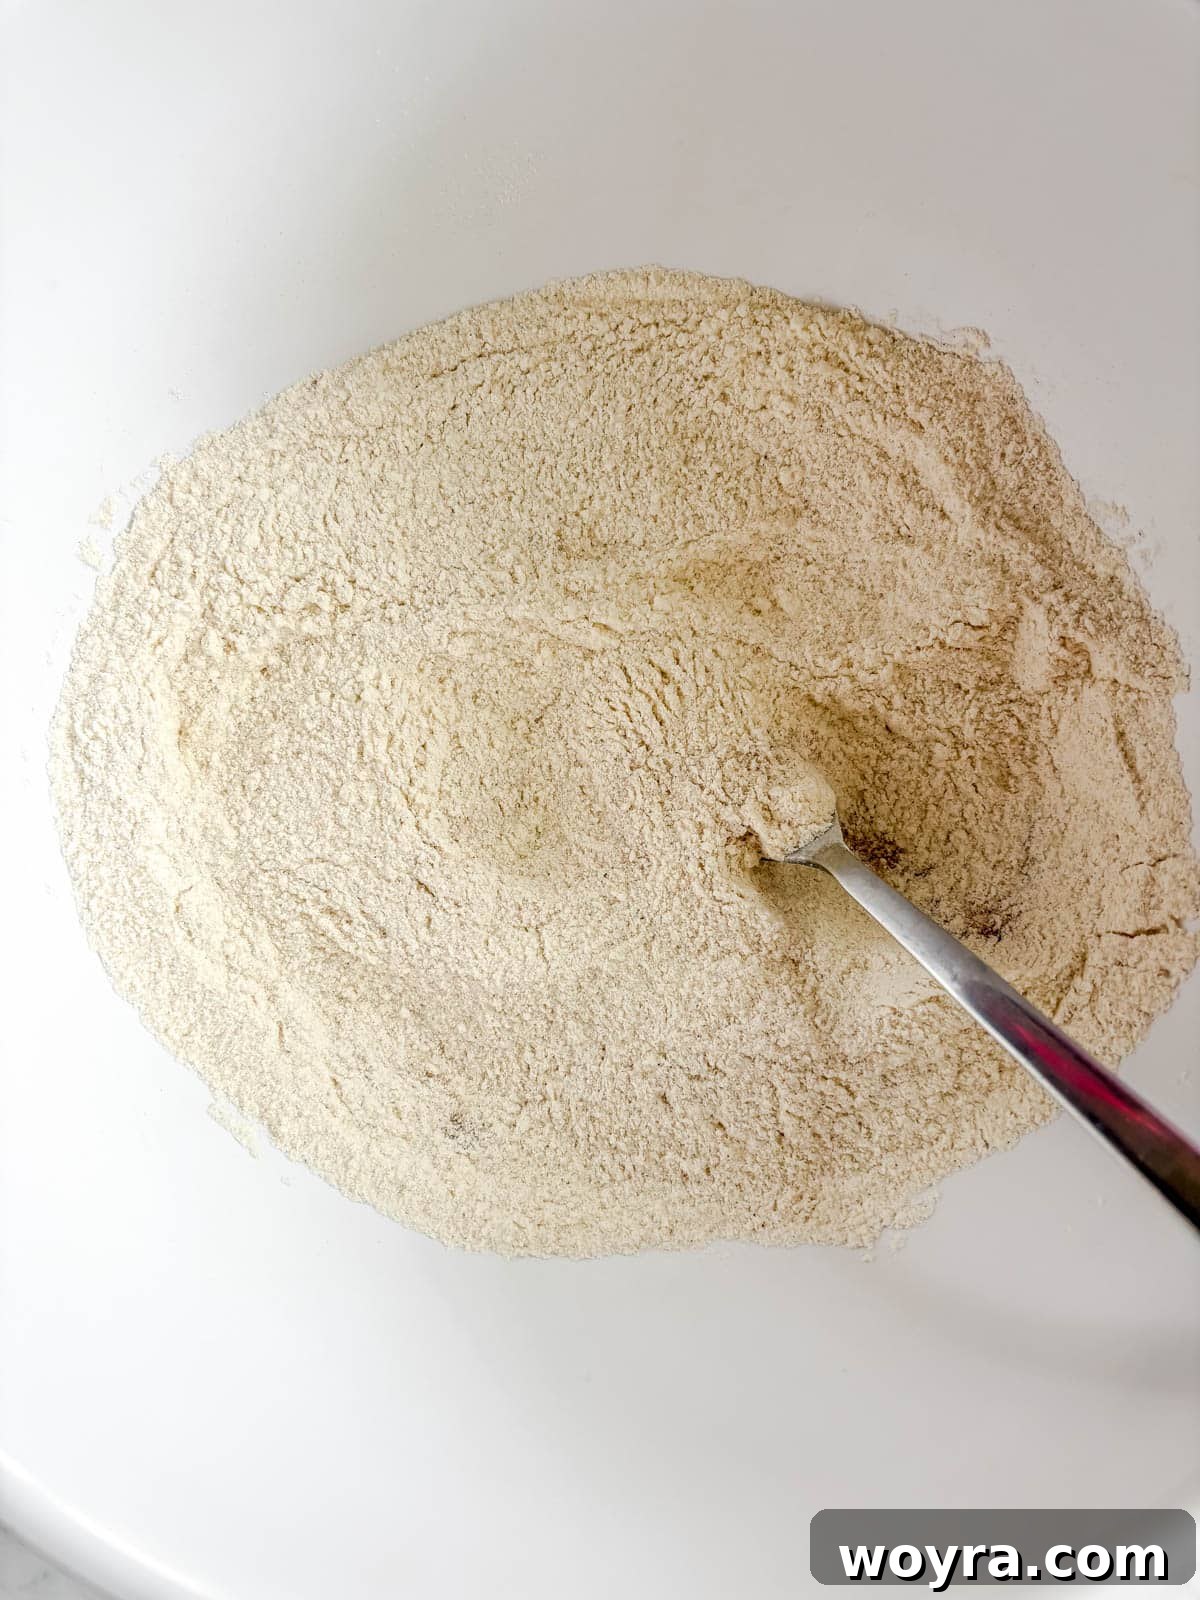
Step 1: In a large mixing bowl, combine all the dry ingredients: flour, sugar, baking soda, salt, cinnamon, and nutmeg. Whisk them together thoroughly until they are uniformly distributed. This ensures that the leavening agents and spices are evenly incorporated throughout the bread for consistent flavor and rise.
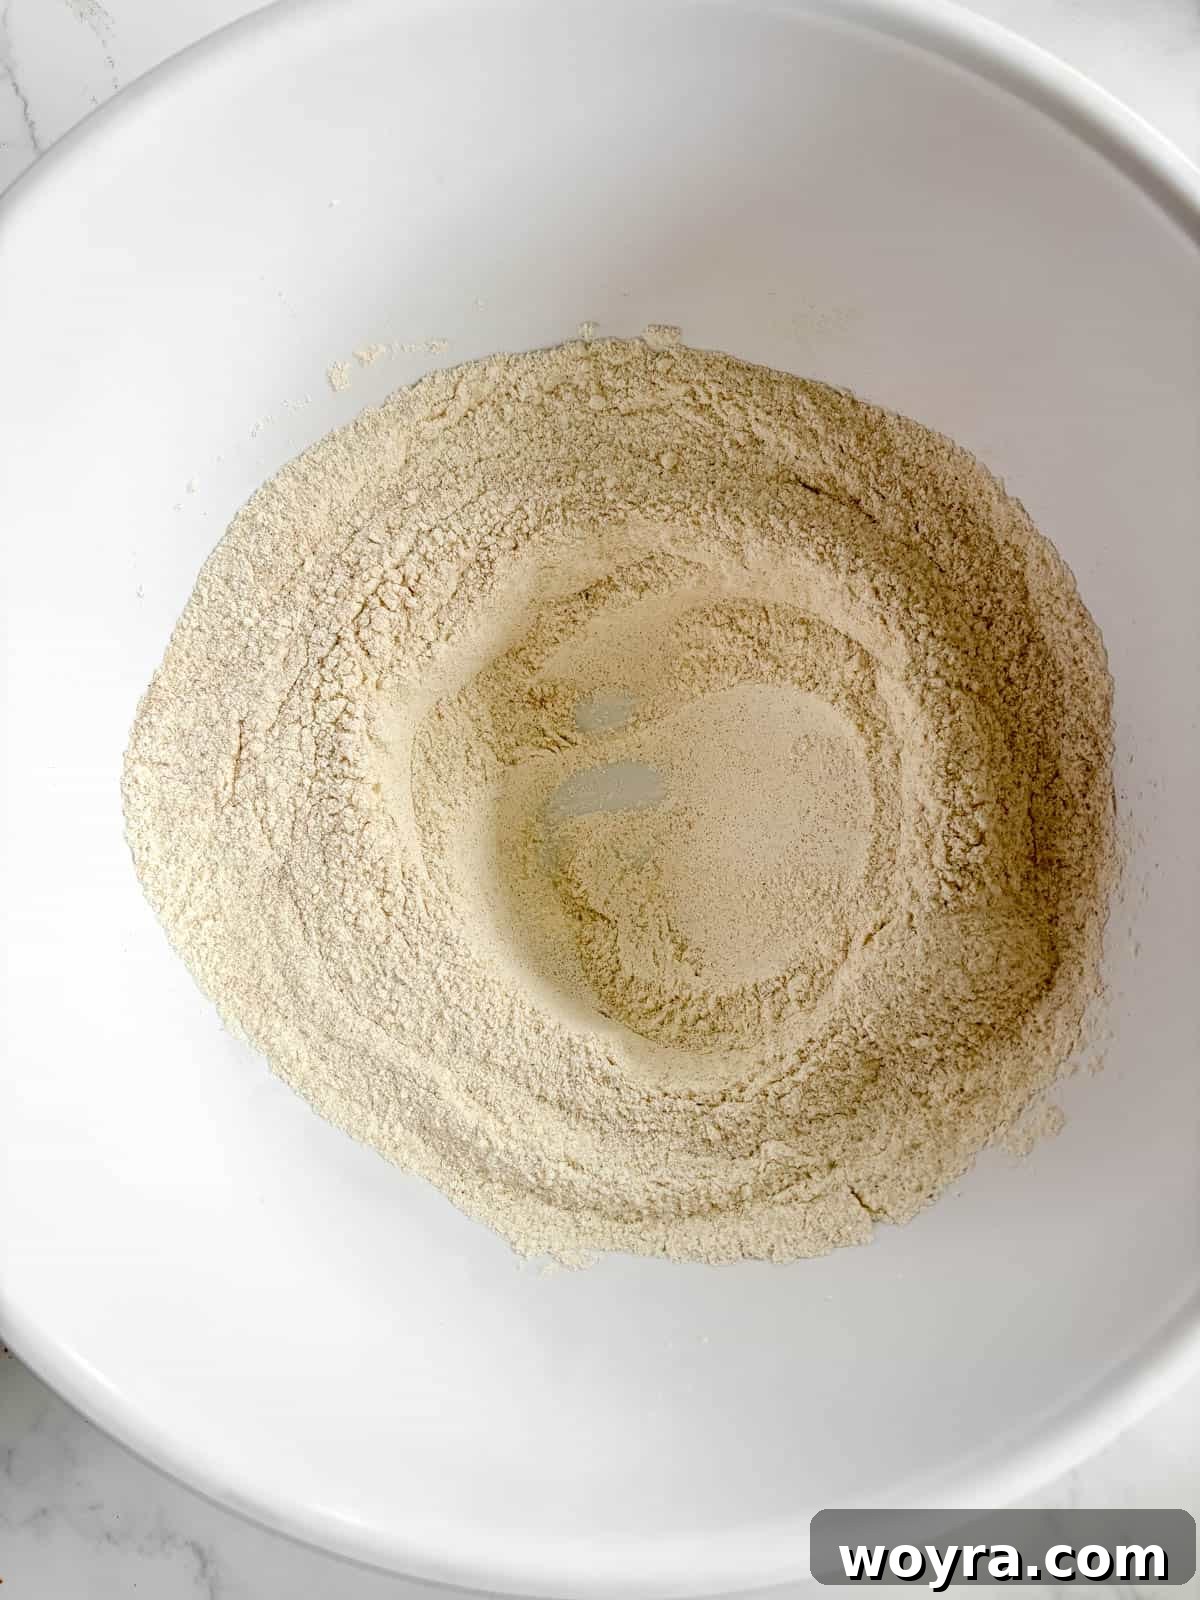
Step 2: Once your dry ingredients are well-mixed, use the back of a spoon or your hand to create a noticeable “well” or hole in the center of the mixture. This method is crucial for ensuring that the wet ingredients are incorporated gradually and evenly, minimizing overmixing later on.
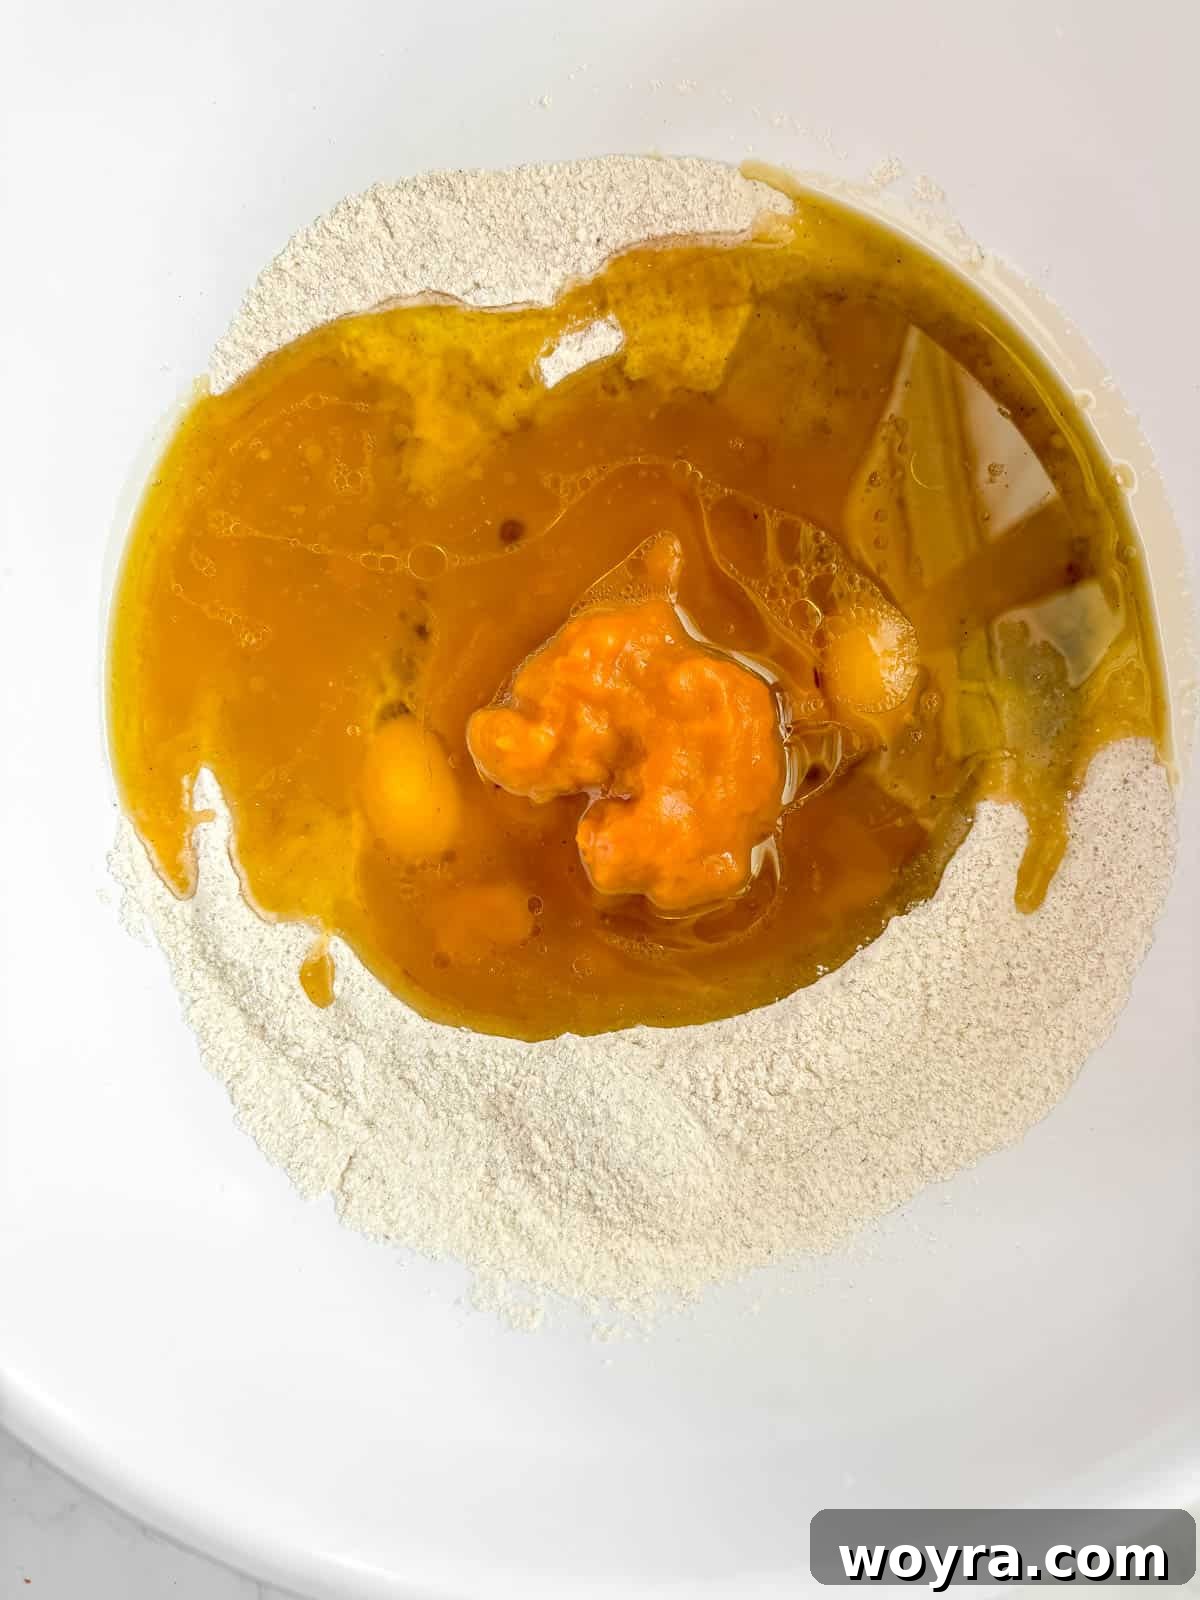
Step 3: Carefully pour all the wet ingredients – the eggs, pumpkin puree, olive oil, and water – directly into the well you’ve created. This central placement helps to keep the initial mixing confined to the wet components before gradually drawing in the dry ingredients.
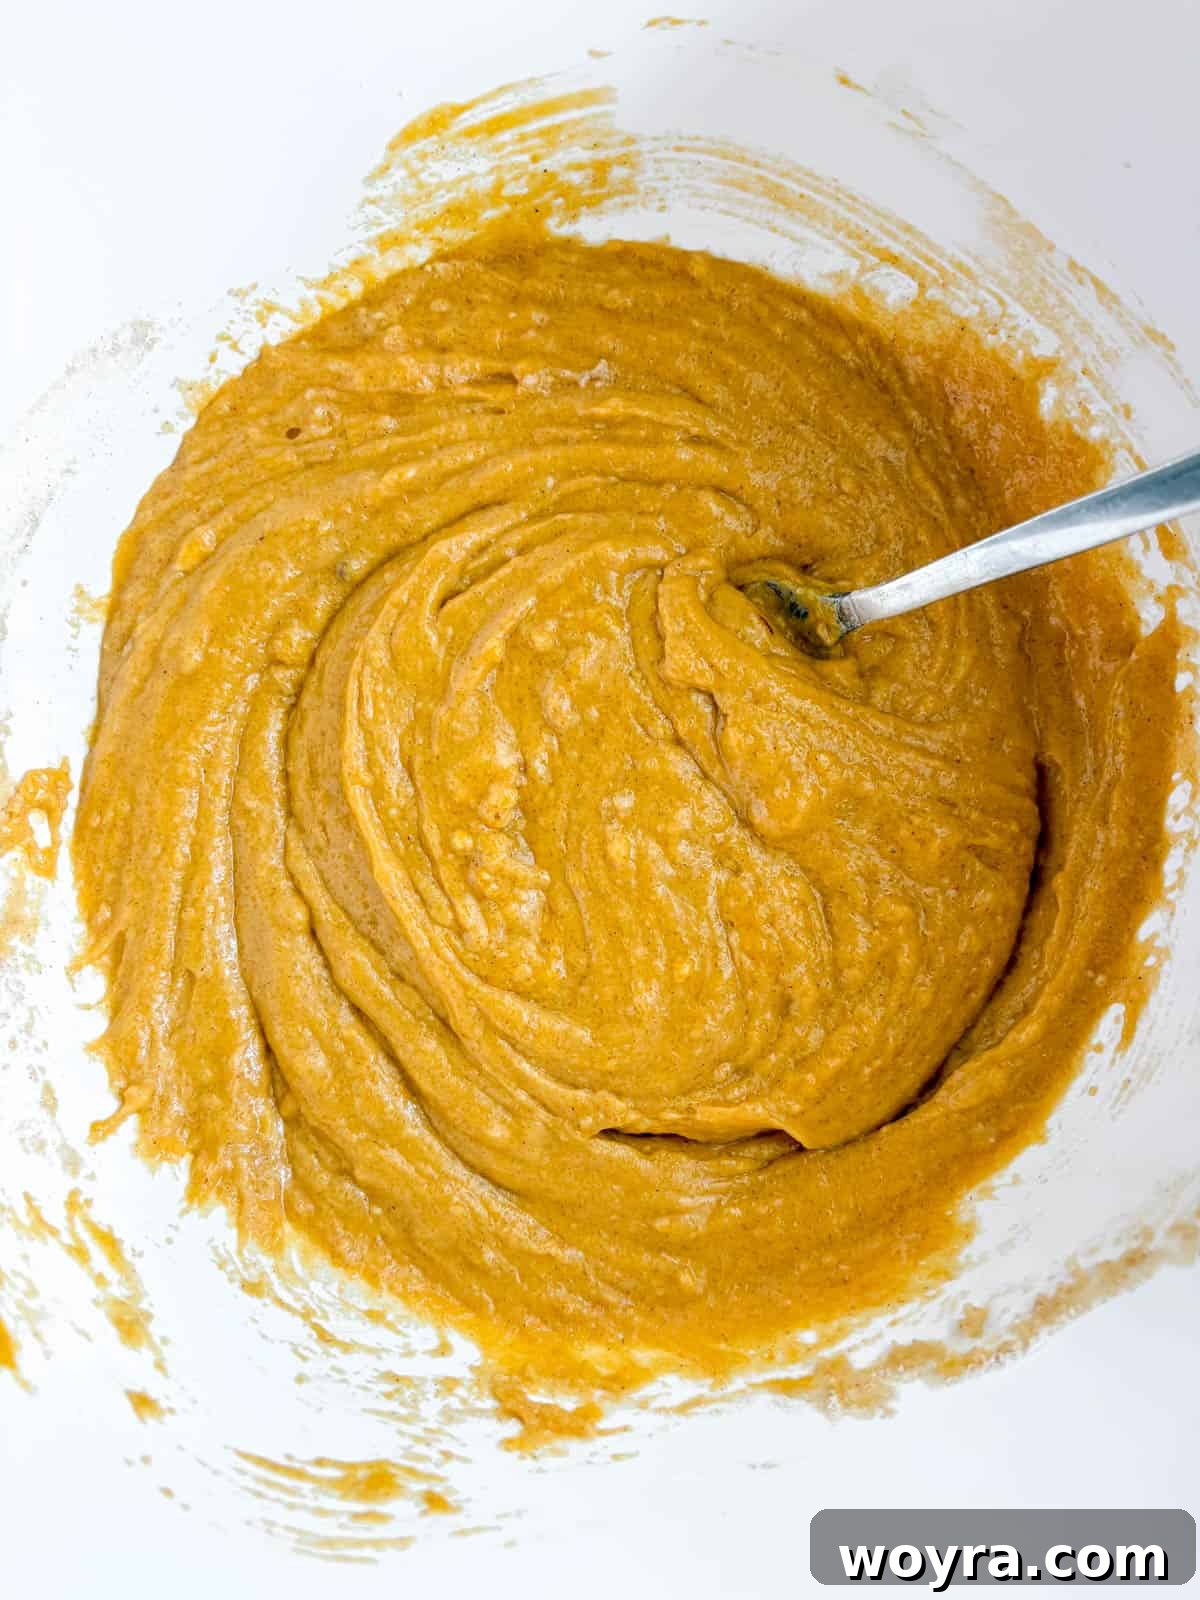
Step 4: Begin mixing the batter. Using a fork or a spatula, gently combine the wet and dry ingredients. Mix just until everything is incorporated and the batter achieves an even, smooth consistency. Be careful not to overmix, as this can lead to a tough, dense bread. A few small lumps are perfectly fine!
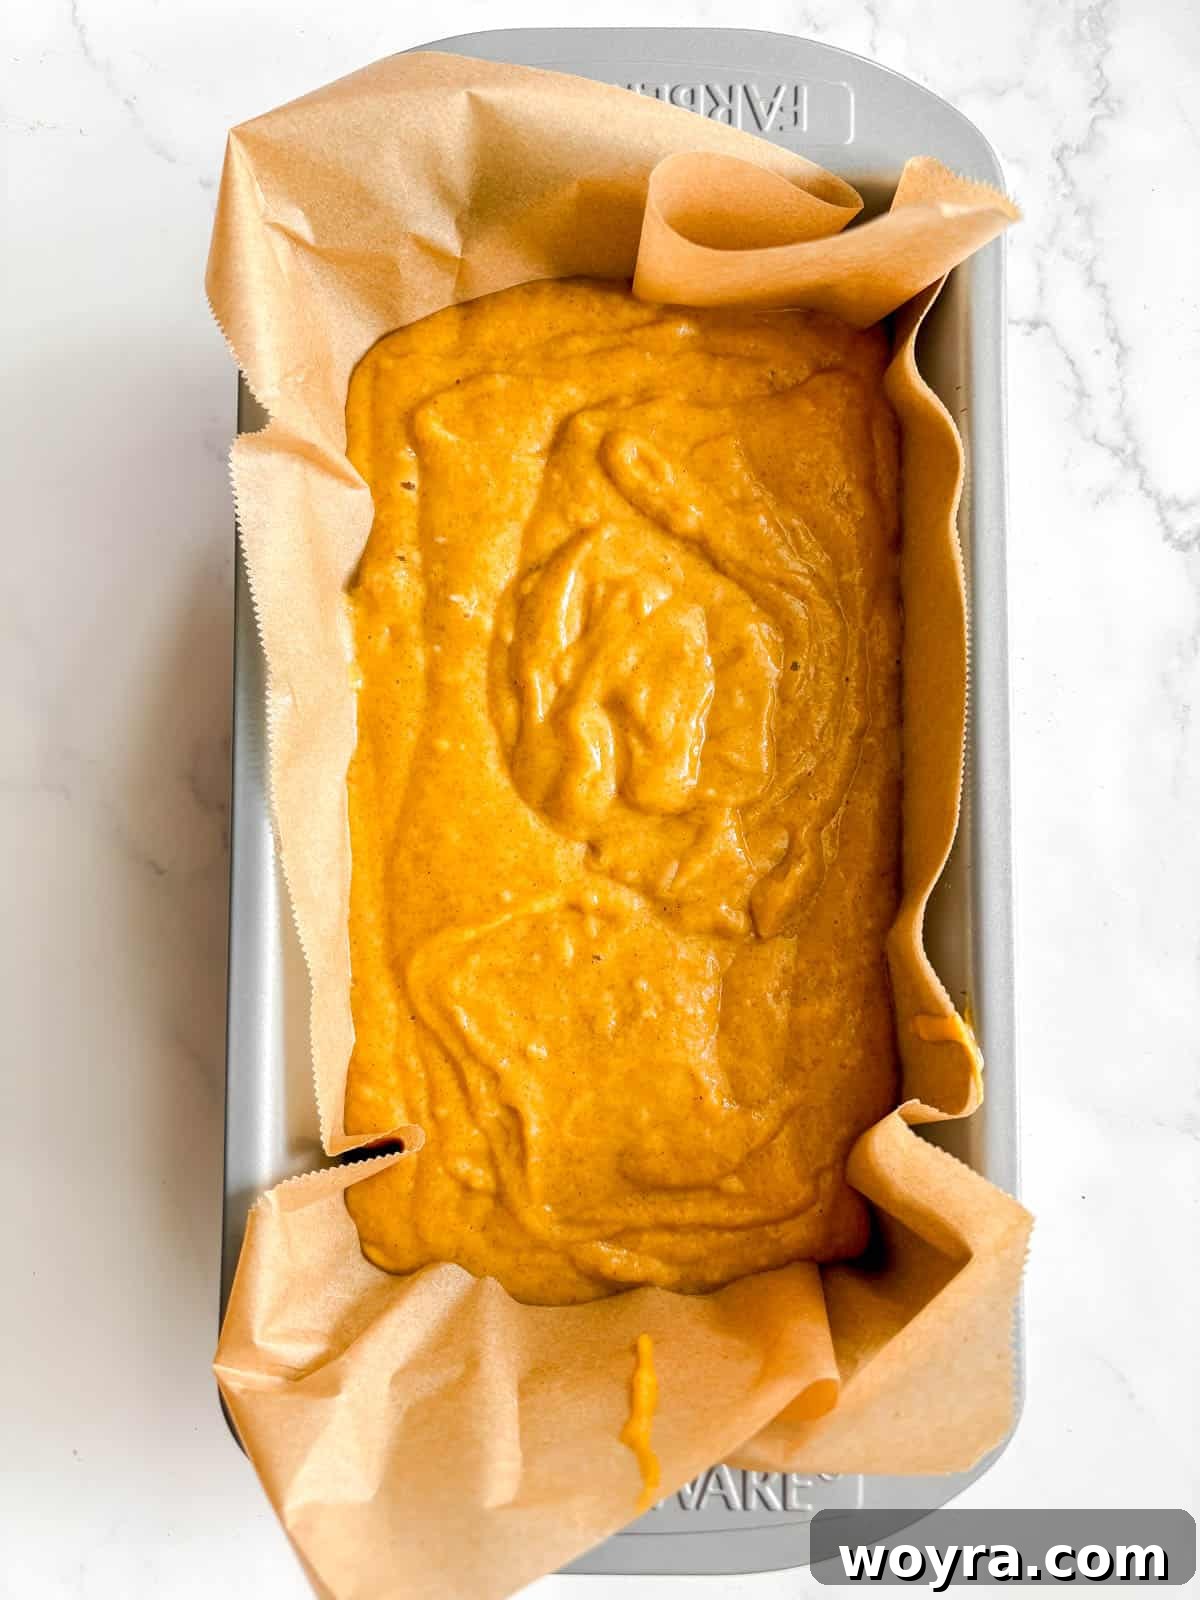
Step 5: Pour the pumpkin bread batter evenly into your prepared loaf tin. Ensure the tin is greased and lined with parchment paper for easy removal. You can gently tap the tin on the counter a few times to settle the batter and remove any large air bubbles.
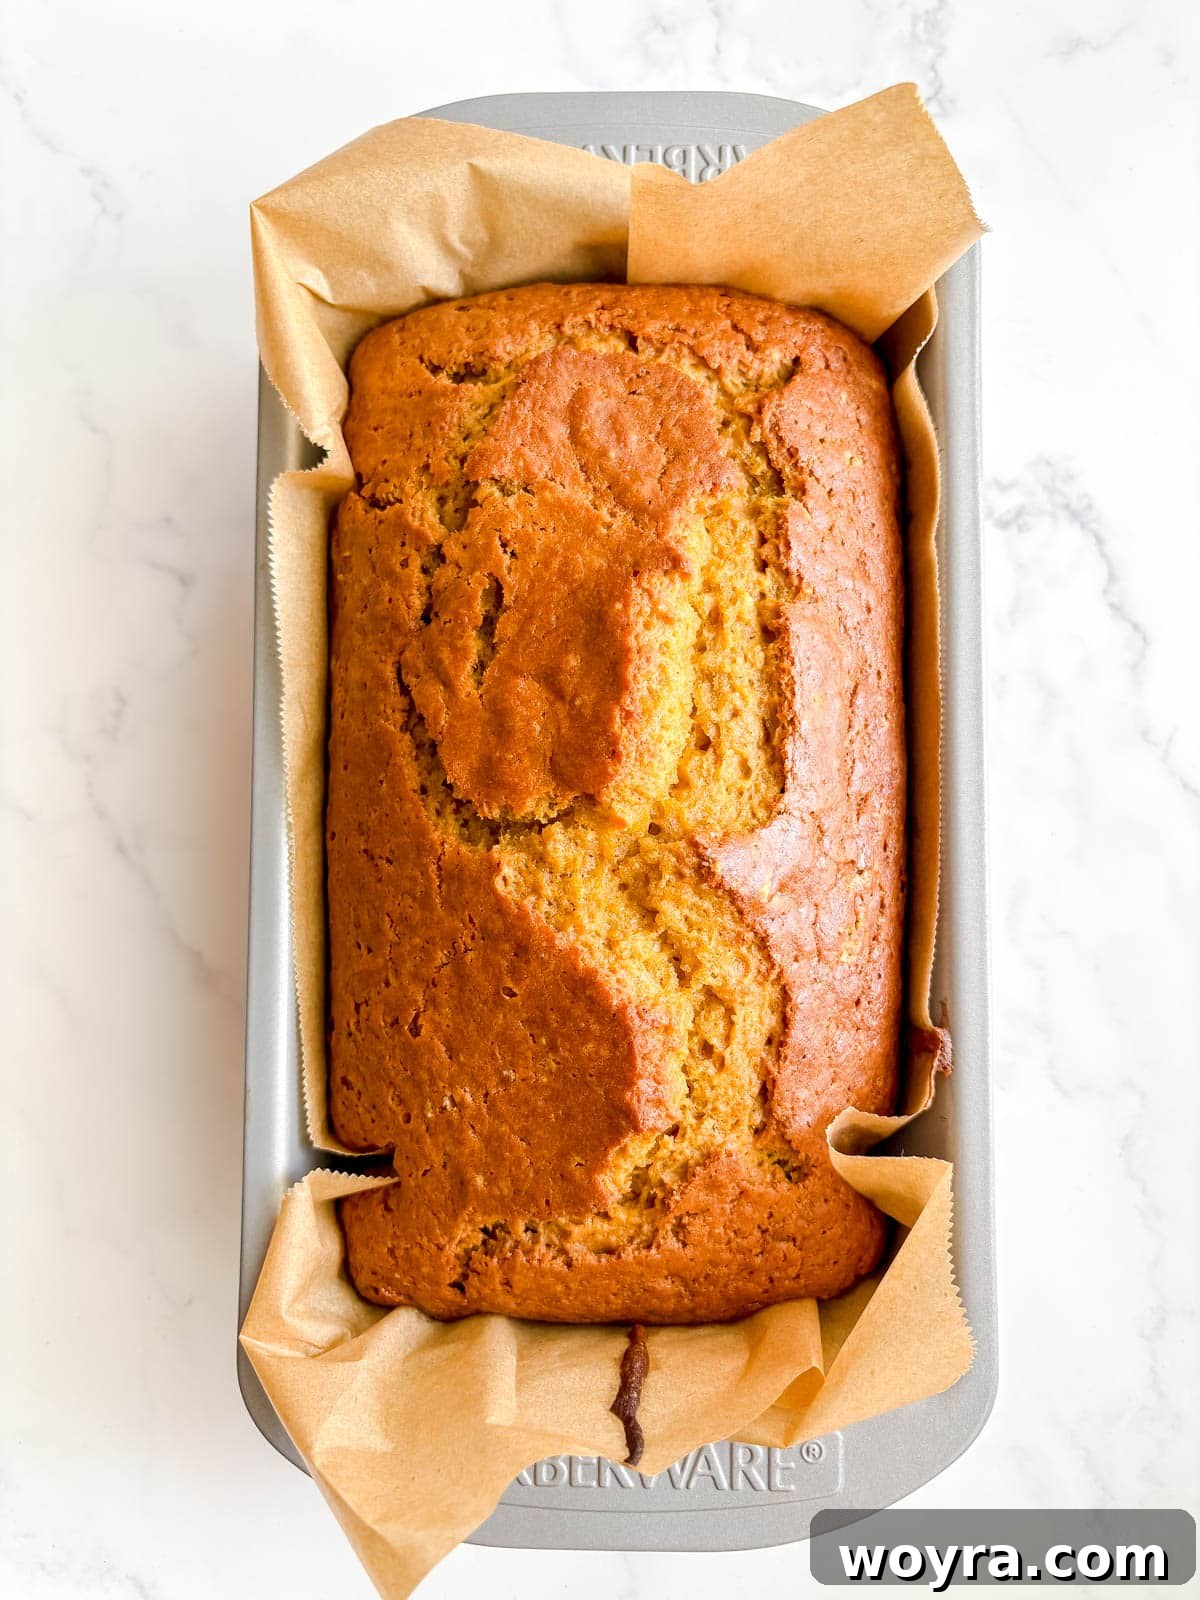
Step 6: Bake the pumpkin bread in your preheated oven. The bread is done when a knife or toothpick inserted into the center comes out clean, with only a few moist crumbs attached. Avoid opening the oven door too frequently during baking to prevent the bread from sinking.
Expert Baking Tips for Success
Achieving bakery-quality pumpkin bread at home is simple when you know a few tricks. These expert tips will help you bake a loaf that’s moist, flavorful, and perfectly risen every time.
- Choose Quality Pumpkin Puree: The foundation of great pumpkin bread is excellent pumpkin puree. Always use 100% pure canned pumpkin (or homemade) and avoid pumpkin pie mix, which contains added sugars and spices that will alter the recipe’s intended flavor and texture. Read the ingredient list carefully!
- Do Not Overmix the Batter: This is arguably the most crucial tip for any quick bread. Mix the wet and dry ingredients just until they are combined and no streaks of dry flour remain. Overmixing develops the gluten in the flour too much, resulting in a tough, chewy, and dense bread rather than a tender, moist one. A few small lumps are perfectly acceptable.
- Ensure Room Temperature Eggs: Using room temperature eggs helps them incorporate more easily and evenly into the batter. This creates a smoother, more uniform emulsion with the oil and other wet ingredients, leading to a better rise and finer crumb in your finished bread.
- Preheat Your Oven Properly: Always preheat your oven for at least 15-20 minutes before baking. A fully preheated oven ensures that the bread starts baking at the correct temperature immediately, which is vital for proper leavening and prevents a dense texture. Using an oven thermometer can confirm accuracy.
- Line Your Loaf Pan: For easy removal and cleanup, grease your loaf pan and then line it with parchment paper, allowing an overhang on the longer sides. Once baked, you can simply lift the bread out of the pan using the parchment paper handles.
- Cooling is Key: While it’s tempting to slice into a warm loaf immediately, allow the pumpkin bread to cool in the pan for about 10-15 minutes before transferring it to a wire rack to cool completely. This allows the bread to set, prevents it from becoming gummy, and makes it easier to slice cleanly.
- Check for Doneness Accurately: To determine if your bread is fully baked, insert a wooden skewer, toothpick, or thin knife into the center of the loaf. It should come out clean or with only a few moist crumbs attached. If it comes out wet, continue baking for a few more minutes and re-test.
Serving and Storage Suggestions
Once your dairy-free pumpkin bread is baked to perfection, it’s time to enjoy! Here are some ideas for serving and ensuring your delicious loaf stays fresh.
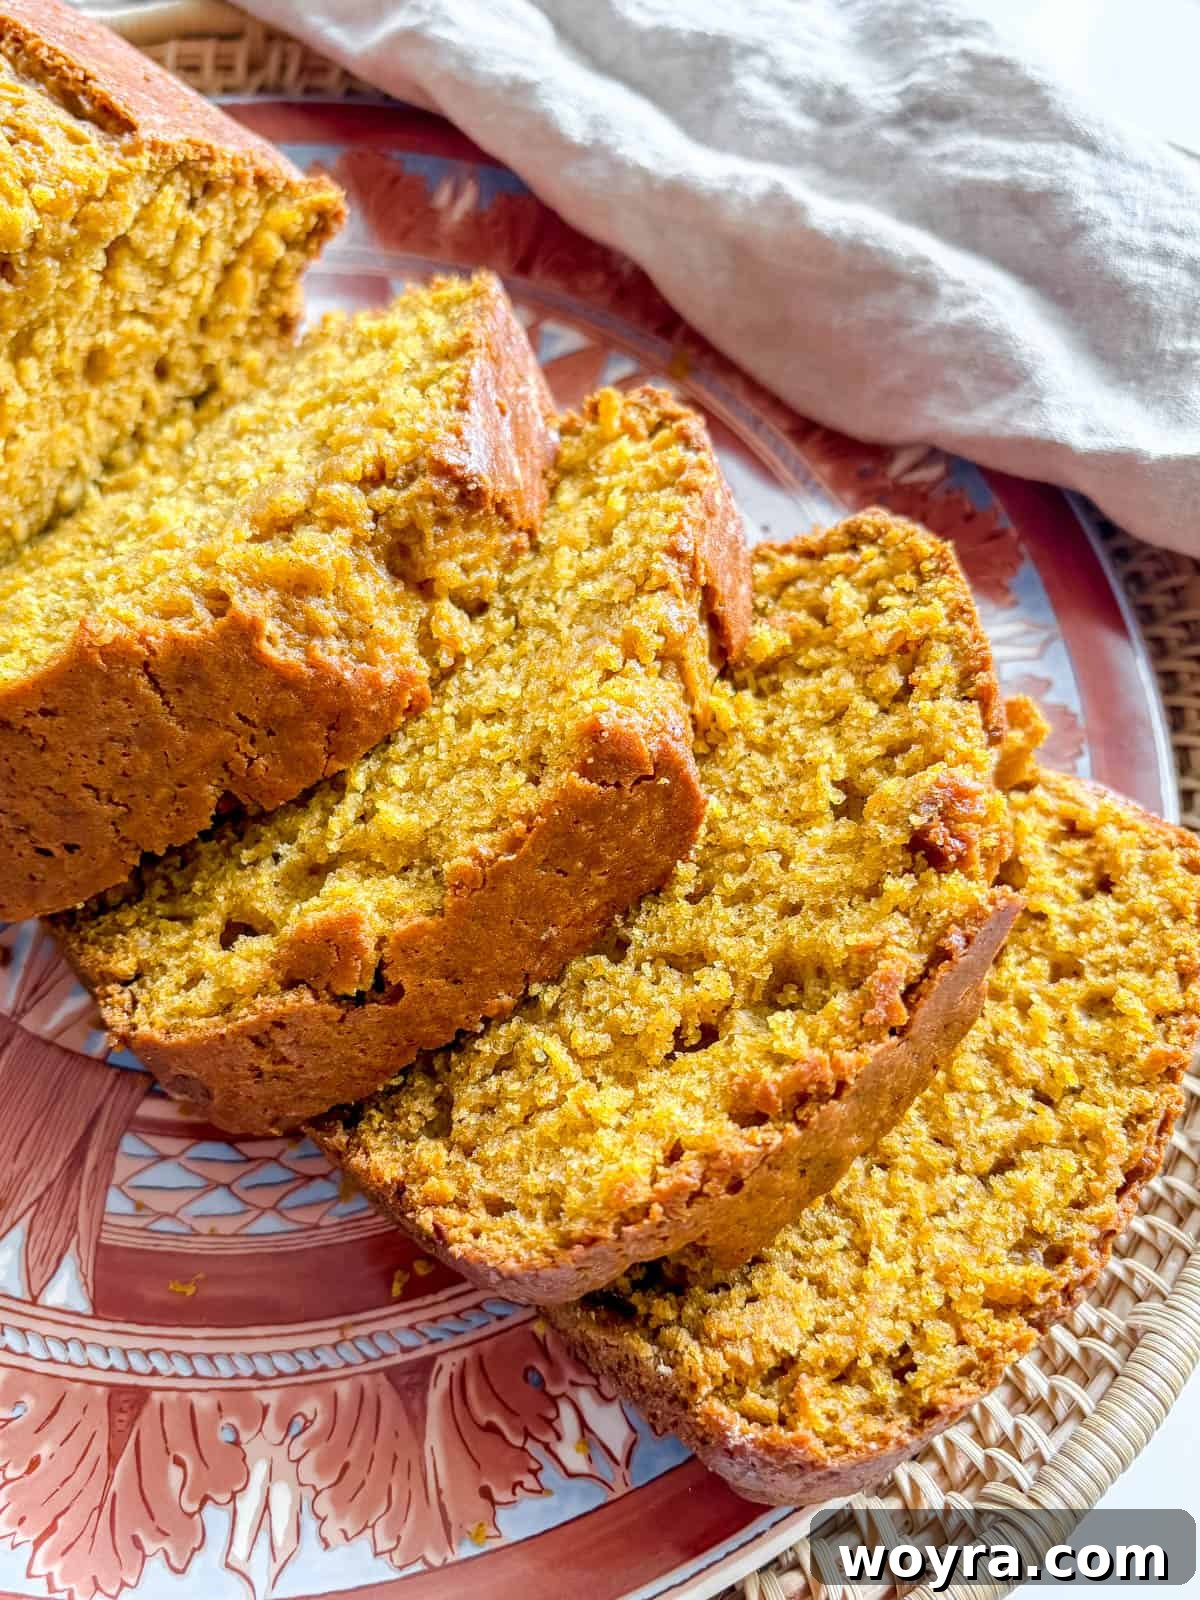
Serving Suggestions:
- Classic Enjoyment: Simply slice and serve as is, perhaps with a cup of coffee or tea.
- Sweet Toppings: Drizzle with maple syrup, a sprinkle of powdered sugar, or a dollop of dairy-free whipped cream for an extra touch of indulgence.
- Cream Cheese Frosting: For a dessert-like treat, spread a dairy-free cream cheese frosting over cooled slices.
- Breakfast or Brunch: A perfect addition to any fall breakfast spread, alongside fresh fruit or yogurt.
- Toasted with Spread: Lightly toast a slice and spread with almond butter, cashew butter, or even a fruit preserve.
How to Store Your Pumpkin Bread:
Proper storage is essential to maintain the freshness and moistness of your homemade pumpkin bread.
- Room Temperature (2-3 Days): Once completely cooled, wrap the entire loaf tightly in plastic wrap or aluminum foil, or place it in an airtight container. Store it on your kitchen counter. This method keeps it wonderfully moist and ready to eat.
- Refrigerated (5-6 Days): For extended freshness, especially in warmer climates, wrap the cooled bread well in plastic wrap, then place it in an airtight container or a freezer-safe bag. It can be refrigerated for up to 5-6 days. Bring to room temperature or gently warm before serving.
- Freezing for Longer (Up to 3 Months): Pumpkin bread freezes exceptionally well!
- Ensure the bread is completely cooled before freezing to prevent ice crystals from forming.
- You can freeze it whole, half, or in individual slices. For slices, place a small piece of parchment paper between each slice to prevent sticking.
- Wrap the bread tightly in several layers of plastic wrap, followed by a layer of aluminum foil.
- Place the wrapped bread in a freezer-safe bag or airtight container to protect against freezer burn.
- Label with the date. It will stay fresh for up to 3 months.
To thaw, simply place it on the counter at room temperature for a few hours, or thaw individual slices in the microwave.
Other Pumpkin Recipes You’ll Love
If you’re as passionate about pumpkin as we are, you’ll be thrilled to discover these other delightful pumpkin-inspired recipes that are perfect for any time of year, not just fall!
Did you try this recipe? Please leave me a ⭐ review below! Your feedback is greatly appreciated!
Dairy-Free Pumpkin Bread Recipe
An incredibly easy, one-bowl dairy-free pumpkin bread recipe overflowing with the comforting flavors of cinnamon, nutmeg, and rich pumpkin, making it an absolute must for any fall baking occasion!
By: Dominique
Yields: 10 slices
Prep time: 15 mins
Cook time: 1 hour
Total time: 1 hr 10 mins
Ingredients
- 1 3/4 cups all-purpose flour
- 1 1/4 cups granulated sugar
- 1 teaspoon baking soda
- 1/2 teaspoon salt
- 1/2 teaspoon ground nutmeg
- 1 teaspoon ground cinnamon
- 2 large eggs
- 1 cup pumpkin puree (100% pure pumpkin, not pie filling)
- 1/2 cup olive oil (or avocado oil for a milder flavor)
- 1/3 cup water
Instructions
- Preheat your oven to 350°F (175°C). Ensure the oven rack is positioned in the middle. Lightly grease a 9×5 inch (23×13 cm) loaf tin and line it with parchment paper, leaving an overhang on the longer sides for easy removal.
- In a large mixing bowl, combine the all-purpose flour, granulated sugar, baking soda, salt, ground nutmeg, and ground cinnamon. Whisk these dry ingredients together thoroughly until well combined.
- Create a well (a hole) in the center of the dry ingredients. Into this well, add the wet ingredients: eggs, pumpkin puree, olive oil, and water.
- Using a fork or a spatula, gently mix all the ingredients together. Mix just until the batter comes together and has a consistent, uniform texture. Be careful not to overmix, as this can lead to a tough loaf. A few small lumps are perfectly fine.
- Pour the prepared pumpkin bread batter evenly into the lined loaf tin. If desired, sprinkle with additional pumpkin seeds or a cinnamon-sugar topping.
- Bake for 50-60 minutes, or until a wooden skewer, toothpick, or knife inserted into the center of the loaf comes out clean or with only a few moist crumbs attached.
- Allow the bread to cool in the loaf tin for 10-15 minutes before carefully lifting it out by the parchment paper handles and transferring it to a wire rack to cool completely before slicing and serving.
Recipe Notes
- Always use pure pumpkin puree, not pumpkin pie mix, for the best and most accurate flavor.
- Avoid overmixing the batter; mix only until just combined to ensure a tender and moist crumb.
- How to Store: Once completely cooled, wrap the pumpkin bread tightly in plastic wrap or store it in an airtight container at room temperature for 2-3 days. For longer freshness, refrigerate for up to 5-6 days.
- How to Freeze: Ensure the bread is fully cooled. Slice it and separate individual slices with parchment paper. Store in a freezer-safe bag or airtight container for up to 3 months. Thaw at room temperature or gently warm before serving.
Nutrition Information (Approximate per slice)
- Calories: 293 kcal
- Carbohydrates: 44g
- Protein: 4g
- Fat: 12g
- Saturated Fat: 2g
- Polyunsaturated Fat: 1g
- Monounsaturated Fat: 8g
- Trans Fat: 0.003g
- Cholesterol: 33mg
- Sodium: 241mg
- Potassium: 88mg
- Fiber: 1g
- Sugar: 26g
- Vitamin A: 3862 IU
- Vitamin C: 1mg
- Calcium: 17mg
- Iron: 2mg
Nutrition information is automatically calculated and should be used as an approximation only.
Additional Info
Course: Bread
Cuisine: American
Tried this recipe?
Mention @perchancetocook or tag #perchancetocook on Instagram! We love seeing your creations!