
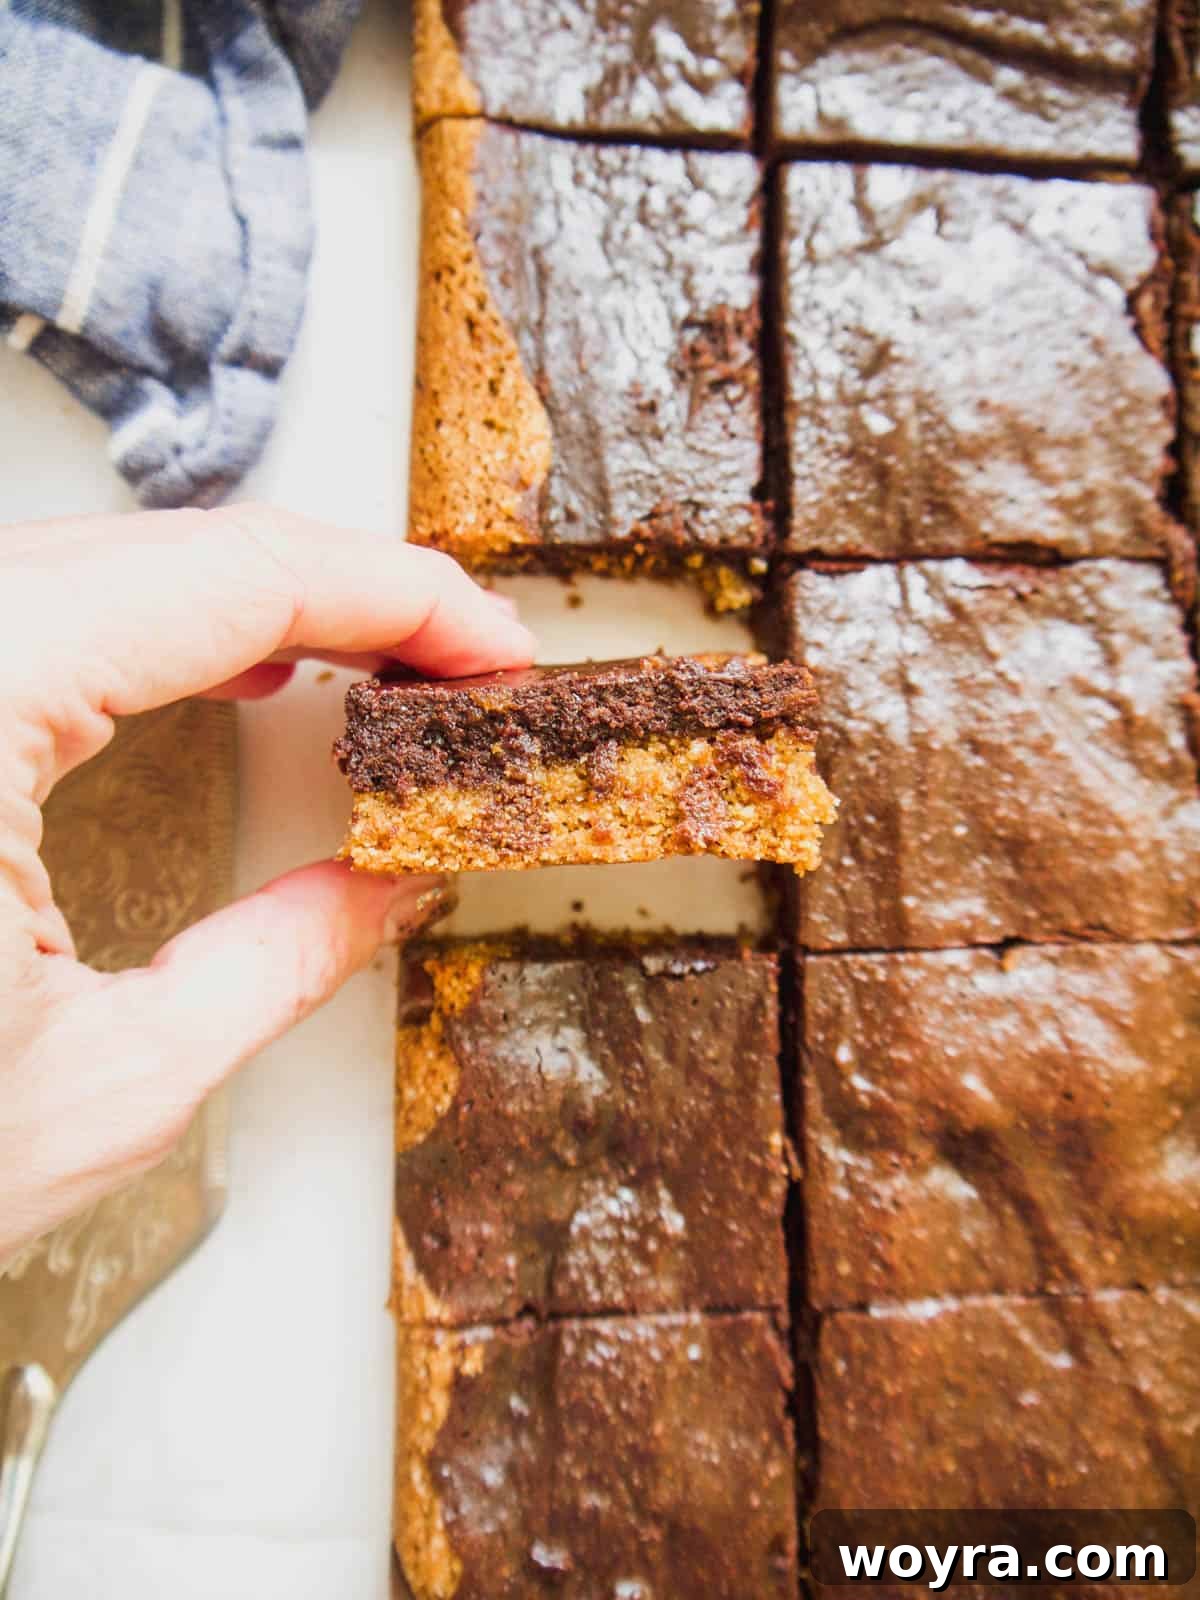
Indulge guilt-free with this healthy brookie recipe, creating irresistible bars that are perfectly half cookie and half brownie, all while being naturally Paleo, gluten-free, and dairy-free.
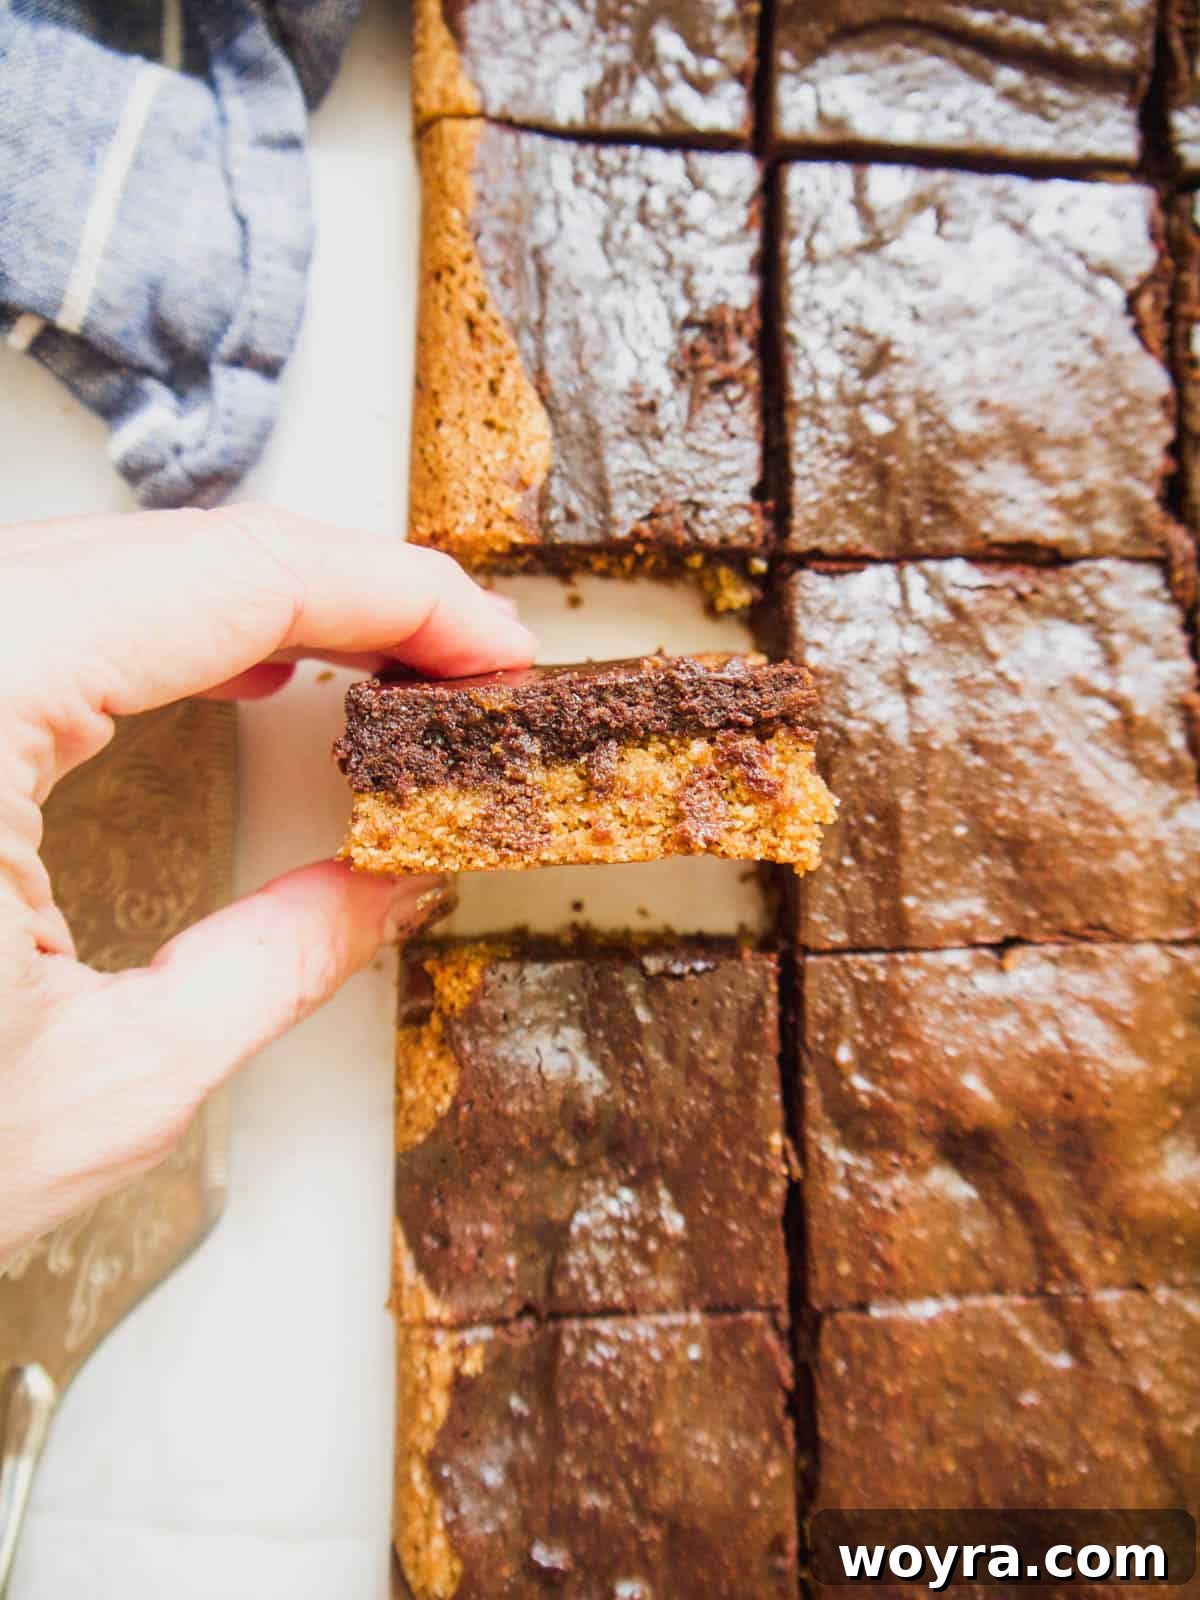
Discover the Ultimate Healthy Brookie Recipe: A Paleo, Gluten-Free, & Dairy-Free Delight!
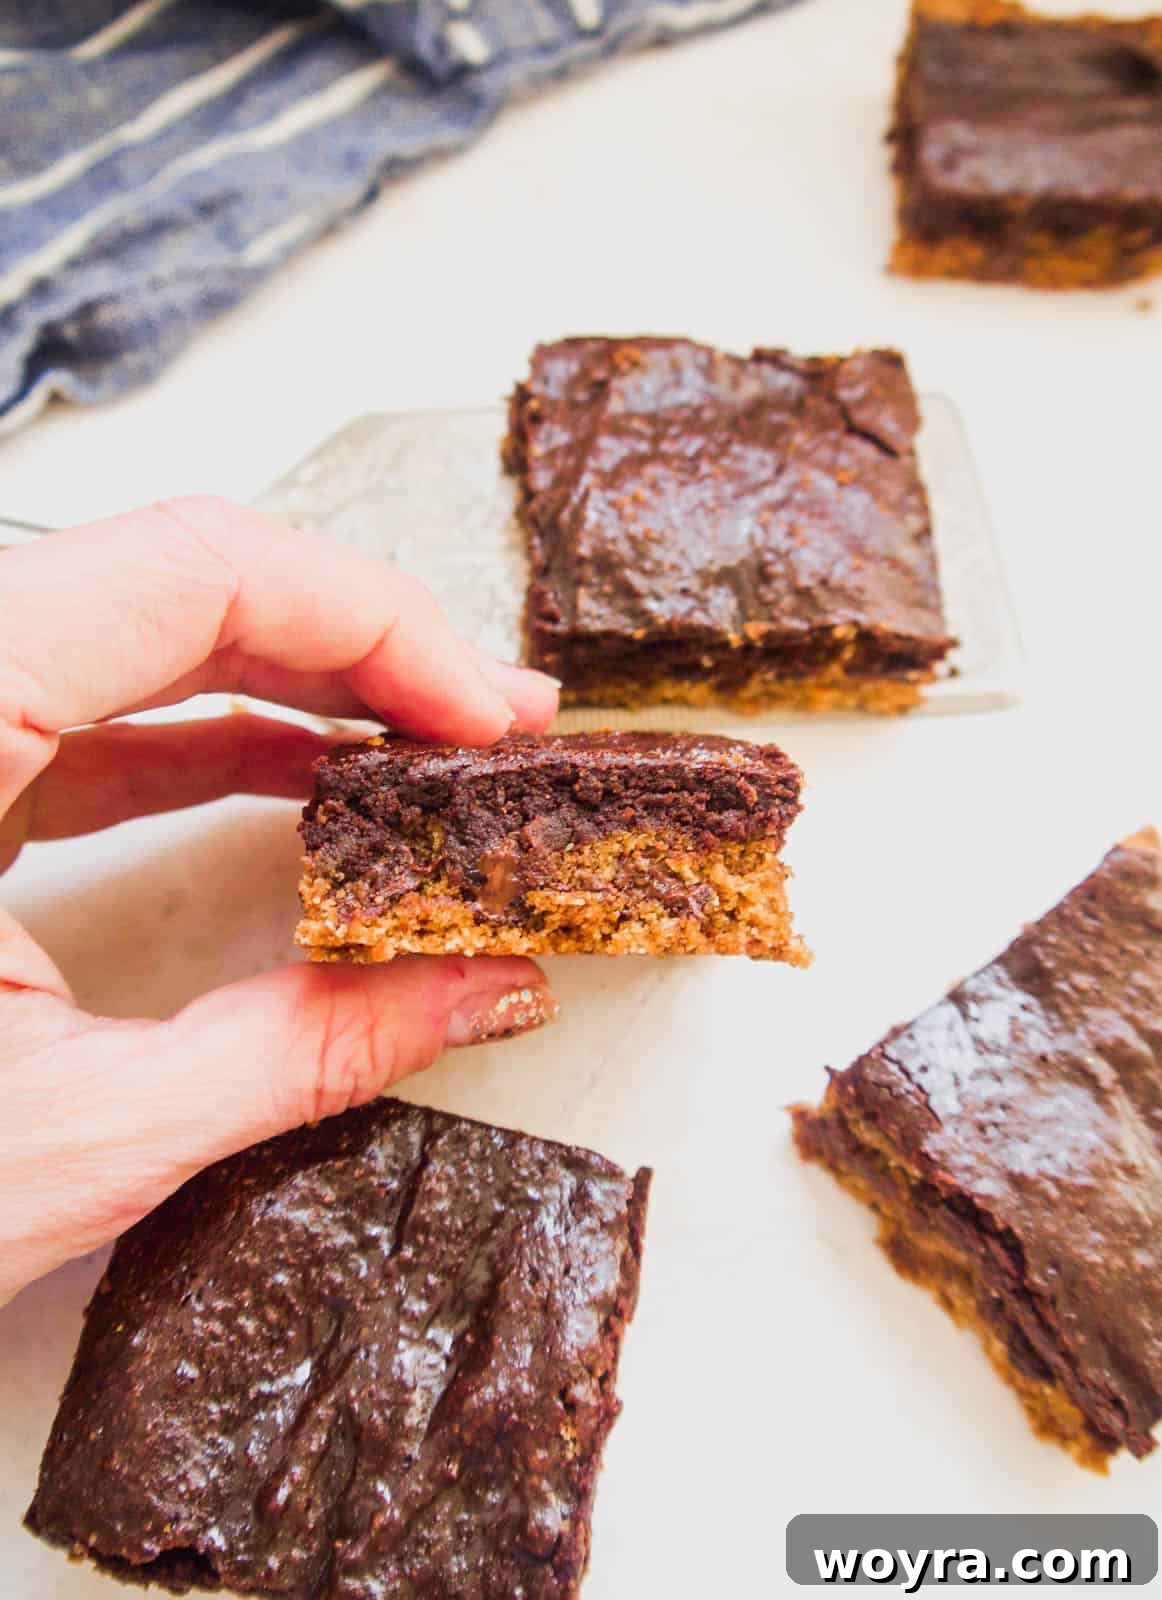
Have you ever experienced the sheer delight of a brookie? It’s the magical fusion of two of the world’s most beloved desserts: brownies and cookies! Imagine a tender layer of chocolate chip cookie dough topped with a rich, fudgy brownie batter. When baked together, these layers transform into decadent bars that offer the best of both worlds—a chewy cookie base with a gooey brownie top. This isn’t just any brookie recipe; it’s a healthy take on the classic that caters to various dietary needs without compromising on flavor.
What makes these brookies truly exceptional is their commitment to wholesome ingredients. They are naturally Paleo, completely gluten-free, dairy-free, refined flour-free, and entirely free from refined sugars. This means you can enjoy a truly indulgent treat that aligns with a healthy lifestyle, making them perfect for everyone, including those with specific dietary restrictions or anyone simply looking for a better-for-you dessert option.
Table of Contents
- Why This Healthy Brookie Recipe Is a Must-Try
- Essential Ingredients for Your Paleo Brookies
- Easy Step-by-Step Instructions to Bake Perfect Brookies
- Tips for Perfect Healthy Brookie Bars
- Healthy Brookie Recipe FAQs
- Other Delicious Healthy Dessert Recipes You’ll Love
- Healthy Brookie Recipe (Brownie Cookie Bars)
Why This Healthy Brookie Recipe Is a Must-Try
This isn’t just another dessert recipe; it’s a game-changer for anyone craving a decadent treat that’s also good for them. Here’s why these healthy brookies will become your new favorite:
- The Best of Both Worlds: These bars offer the perfect combination of a chewy cookie and a rich, fudgy brownie. Each bite delivers a harmonious blend of textures and flavors, satisfying both your cookie and brownie cravings simultaneously. We’ve specifically crafted the bottom layer using our beloved Paleo Chocolate Chip Cookie Bar recipe for a truly exceptional foundation.
- Made with Wholesome, Healthier Ingredients: Ditching refined flours and sugars, this recipe utilizes nutrient-dense alternatives like almond flour, tapioca flour, coconut flour, and coconut sugar. This means you can indulge in a sweet treat without the guilt, knowing you’re nourishing your body with better choices.
- Perfect for Gatherings and Parties: Whether you’re hosting a dinner party, a casual get-together, or simply need a crowd-pleasing dessert, these brookies are an excellent choice. They are easy to transport, simple to serve, and universally loved, making them a hit at any event. Their unique hybrid nature makes them a conversation starter!
- Diet-Friendly Indulgence: This recipe is specifically designed to be inclusive. It’s ideal for individuals adhering to a dairy-free, gluten-free, or Paleo diet. You no longer have to miss out on delicious desserts just because of dietary restrictions. Everyone can enjoy these delightful bars!
- Simple & Accessible: Despite their sophisticated taste and texture, these brookies require only a handful of common pantry staples. You won’t need an endless list of obscure ingredients to create this masterpiece.
Essential Ingredients for Your Paleo Brookies
Crafting the perfect healthy brookie starts with understanding each ingredient’s role. We’ve chosen these components carefully to ensure both amazing flavor and adherence to Paleo, gluten-free, and dairy-free guidelines. Here’s a closer look at what you’ll need:
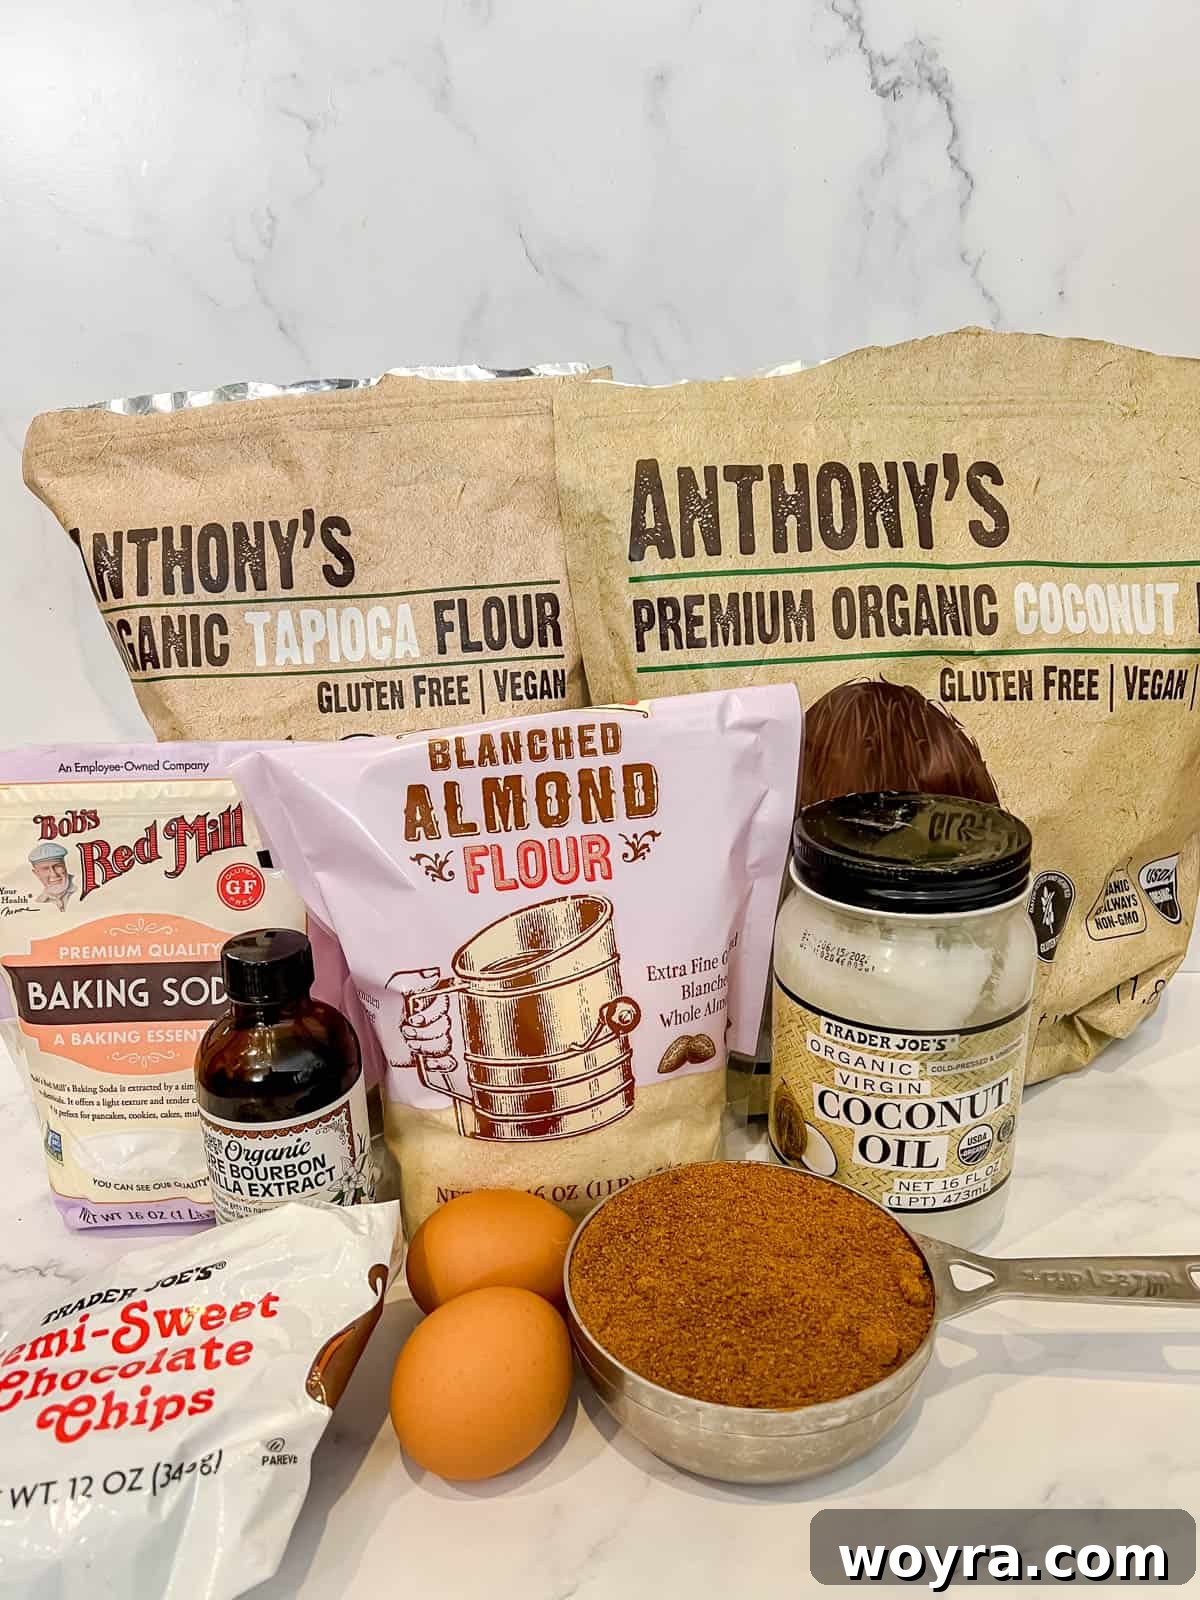
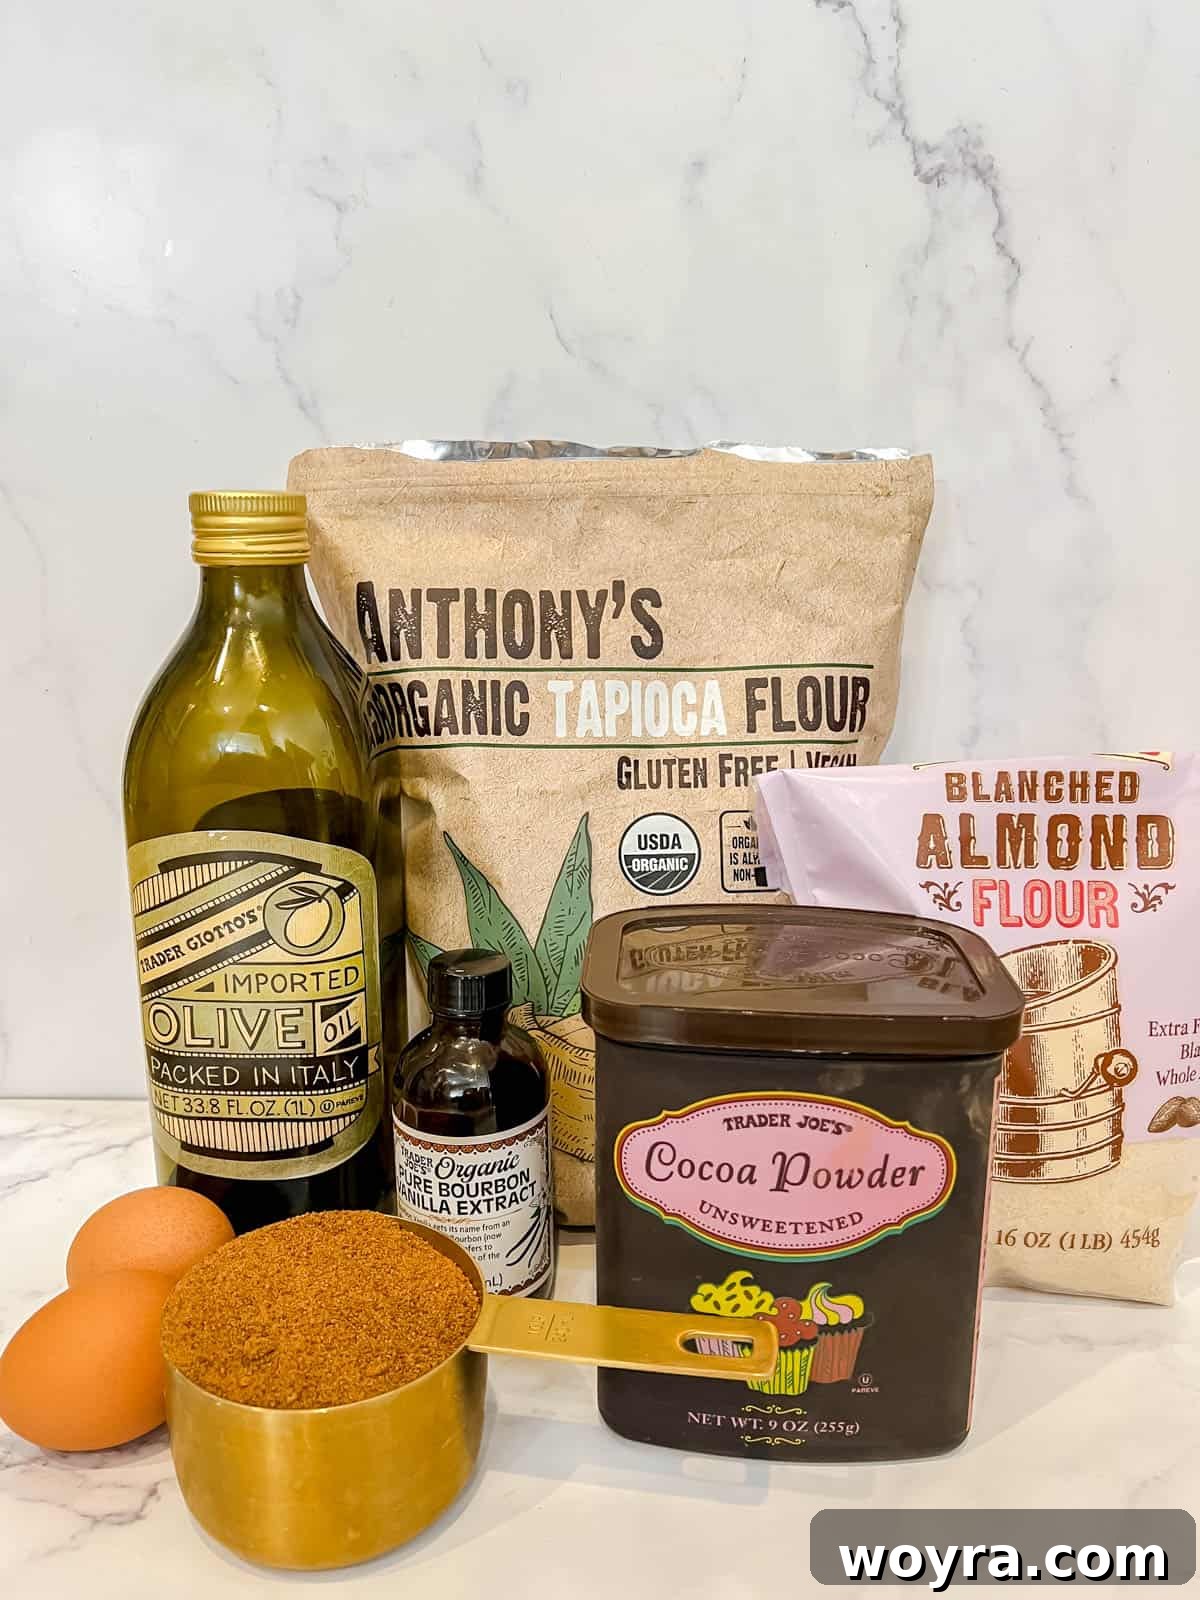
- Almond Flour: This is a cornerstone of Paleo and gluten-free baking. Make sure to use blanched almond flour for its fine, consistent texture, which contributes to a tender and moist crumb, much like traditional wheat flour. It also adds a subtle nutty flavor.
- Tapioca Flour: Also known as tapioca starch, this ingredient is fantastic for gluten-free recipes. It helps to provide a desirable chewiness and crispness to baked goods, mimicking the texture often achieved with gluten. It also helps bind the other flours.
- Coconut Flour: A highly absorbent, fiber-rich flour that’s excellent for gluten-free and Paleo baking. A little goes a long way! It adds a touch of natural sweetness and helps create a soft texture while boosting the fiber content of your brookies.
- Baking Soda: This leavening agent is crucial for giving your cookie and brownie layers their characteristic rise and airy texture. It reacts with other ingredients to create carbon dioxide, resulting in a light and fluffy outcome.
- Olive Oil: Used as a healthy fat replacement for butter, olive oil contributes moisture and richness to both layers without any dairy. Its mild flavor is undetectable in the final product. (Note: For substitutions, avocado oil or melted coconut oil can also be used. If using coconut oil, ensure it’s measured in its melted state for accuracy.)
- Coconut Sugar: A natural, unrefined sweetener derived from coconut palm sap. It boasts a lower glycemic index compared to conventional sugars, making it a Paleo-friendly and healthier alternative that still delivers that essential sweetness and caramel-like notes.
- Eggs: Eggs act as a binder, helping to hold the batters together and contributing to their structure. They also add moisture and richness. For the cookie layer, using an extra egg yolk enhances chewiness and flavor.
- Vanilla Extract: A staple in almost any dessert recipe, a good quality vanilla extract enhances all the other flavors, adding a warm, aromatic depth that completes the taste profile of both cookie and brownie.
- Dairy-Free Chocolate Chips: Essential for that classic chocolate chip cookie and brownie experience. For truly dairy-free options, Enjoy Life chocolate chips are a popular choice. If you’re strictly following a Paleo diet, HU chocolate chips are an excellent grain-free, dairy-free, and refined sugar-free option.
- Unsweetened Cocoa Powder: The star of the brownie layer! Ensure you choose unsweetened cocoa powder to control the sugar content of your brookies. It provides that deep, rich chocolate flavor and signature brownie color.
A comprehensive list of all ingredients and precise measurements can be found in the detailed recipe card at the end of this article.
Easy Step-by-Step Instructions to Bake Perfect Brookies
Creating these healthy brookie bars is a straightforward process that combines two simple batters into one magnificent dessert. Follow these detailed steps for guaranteed success:
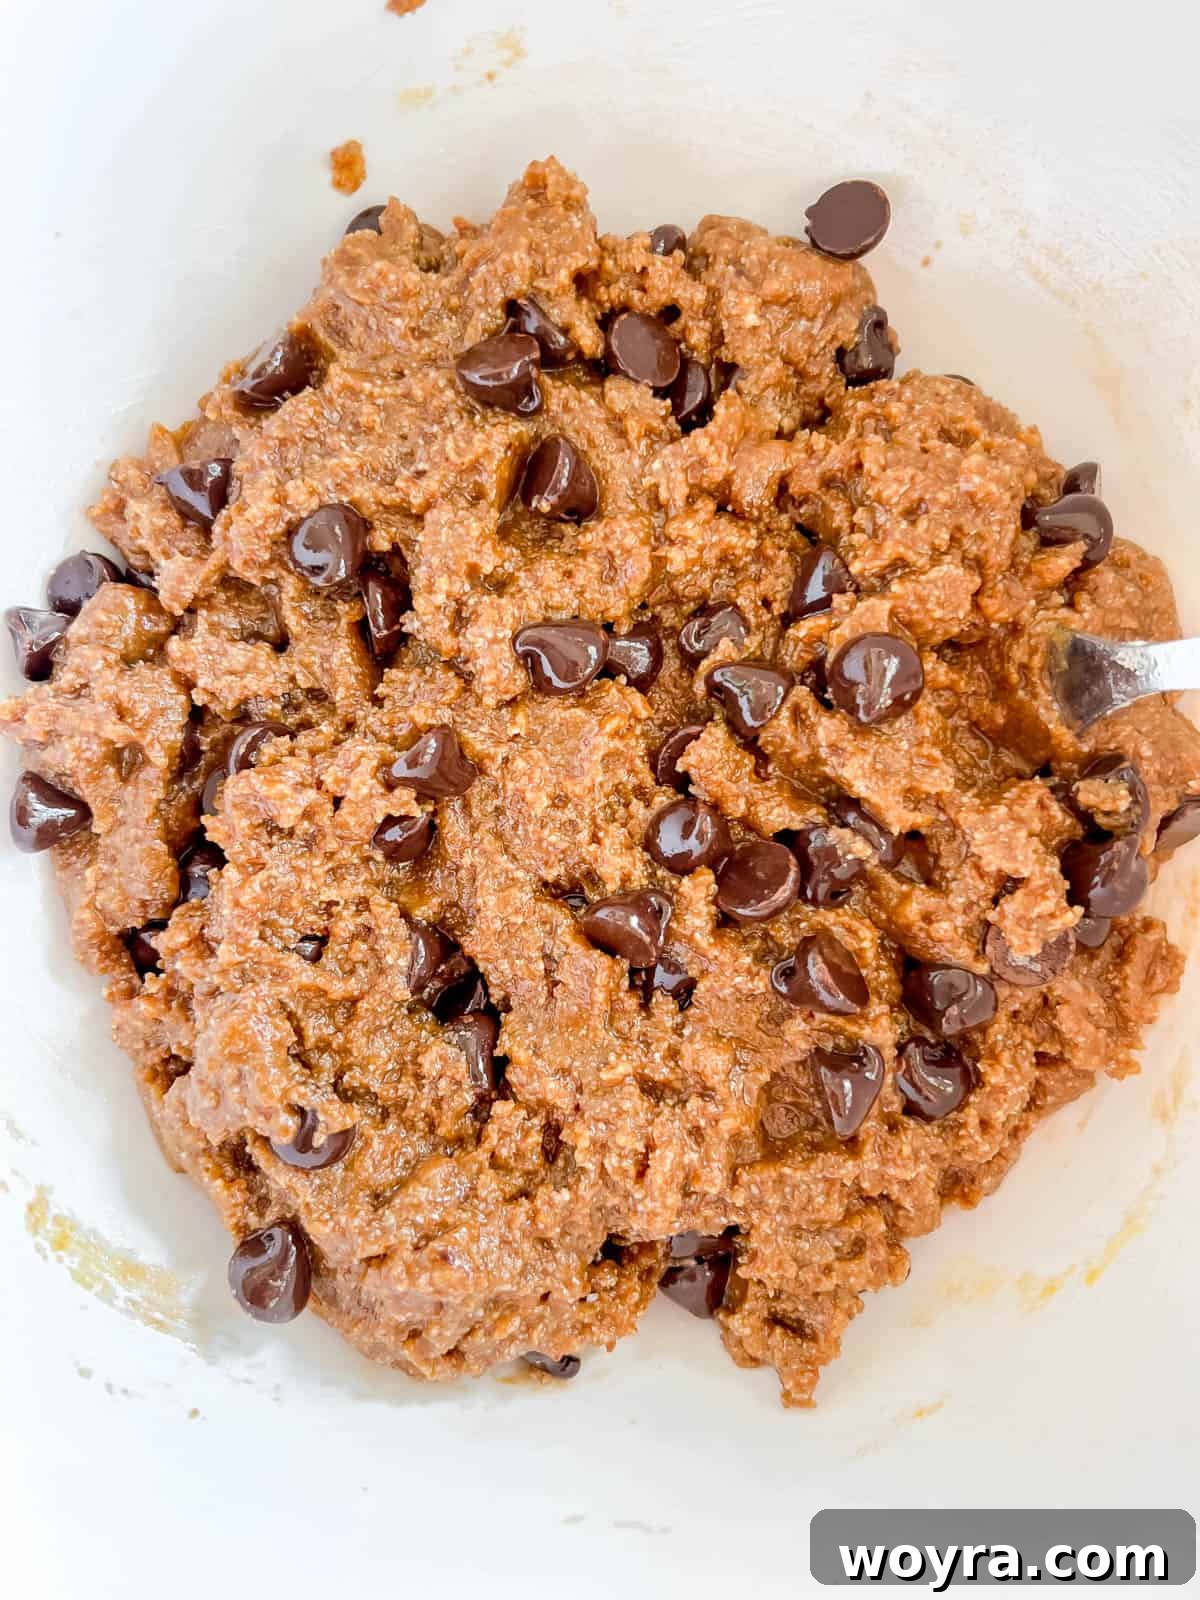
Step 1: Prepare the Cookie Layer Batter. Begin by preheating your oven to 350°F (175°C) and lining a 9×13 inch baking pan with parchment paper, leaving an overhang on the sides for easy removal later. In a large bowl, whisk together the almond flour, tapioca flour, coconut flour, baking soda, and salt for the cookie layer. In a separate bowl, whisk the olive oil and coconut sugar until well combined. Then, beat in the egg, egg yolk, and vanilla extract until the mixture is creamy and smooth. Combine the wet and dry ingredients using a fork or spatula until a cohesive dough forms. Finally, fold in your dairy-free chocolate chips.
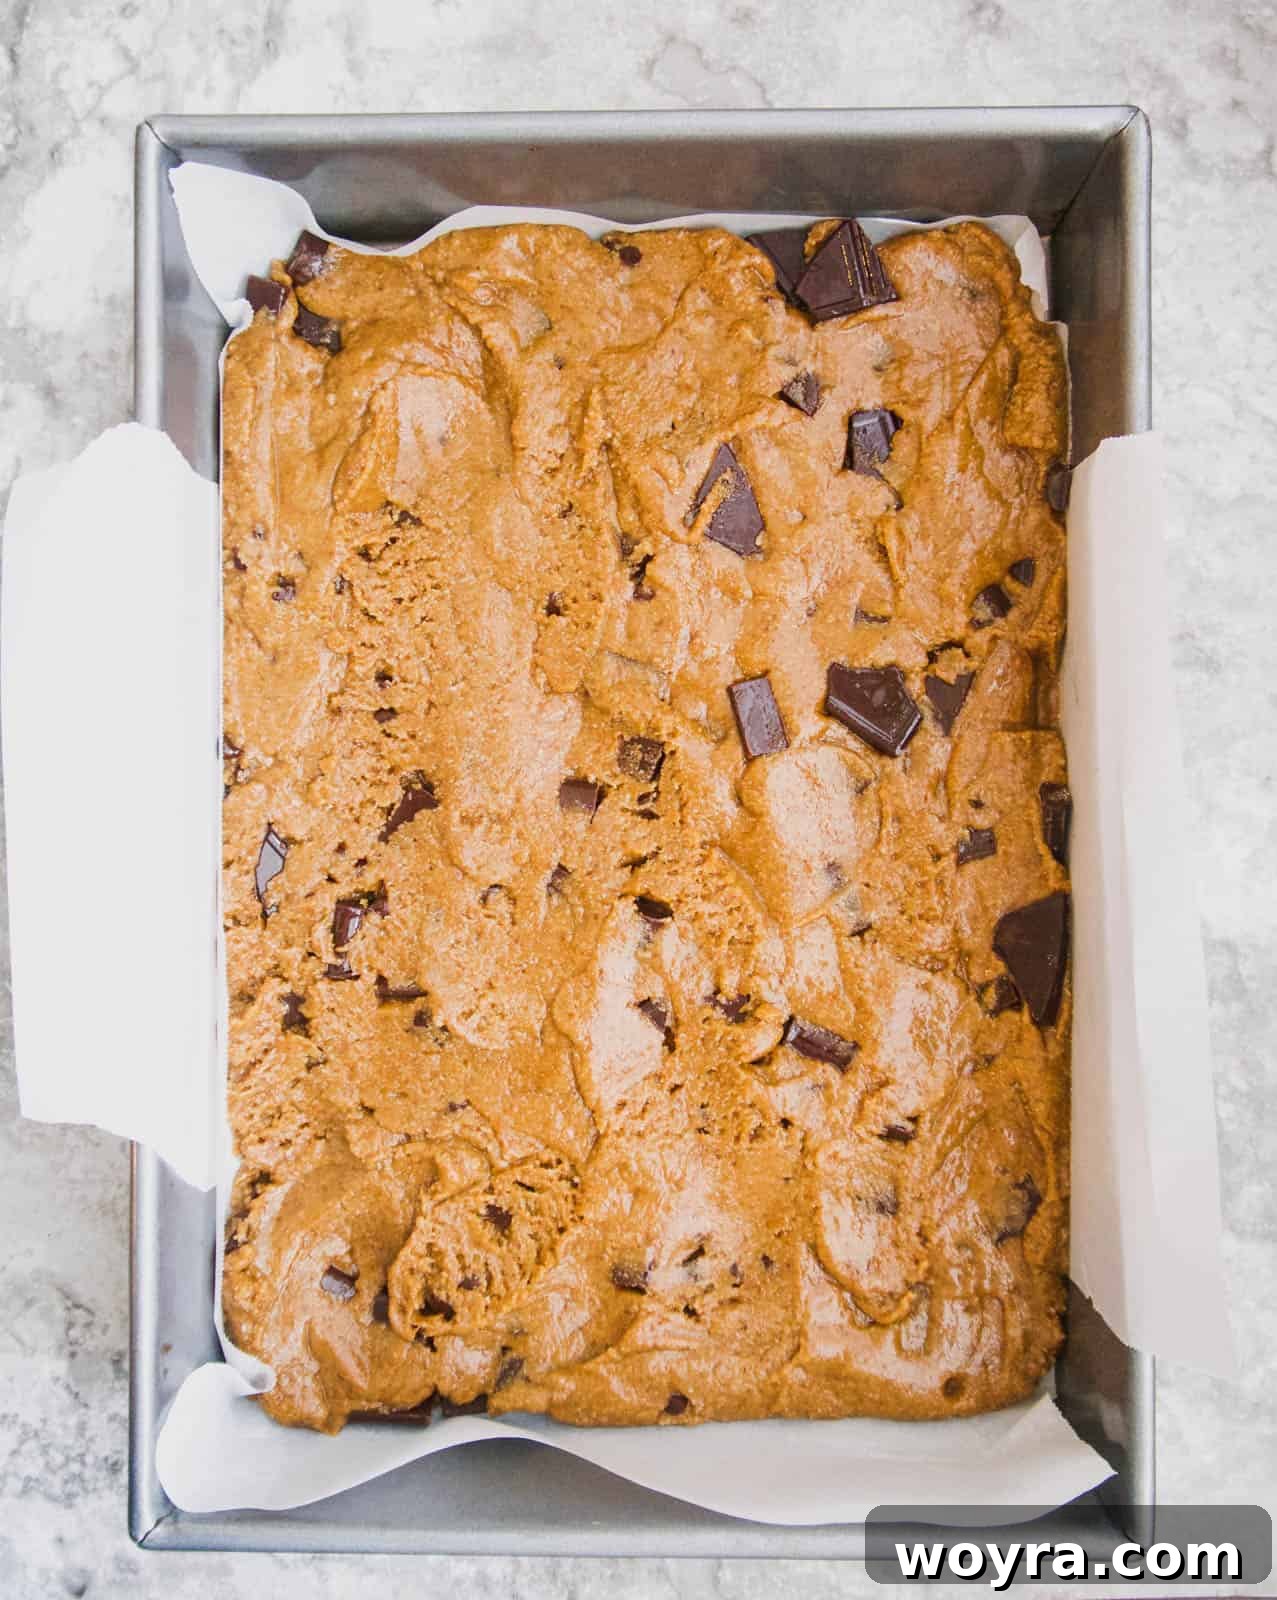
Step 2: Spread the Cookie Dough. Transfer the prepared cookie dough into the parchment-lined baking pan. Using your hands or a rubber spatula, firmly press the dough down into an even layer across the bottom of the pan. The layer might appear thin, but don’t worry—it will puff up beautifully during baking to form a perfectly chewy base.
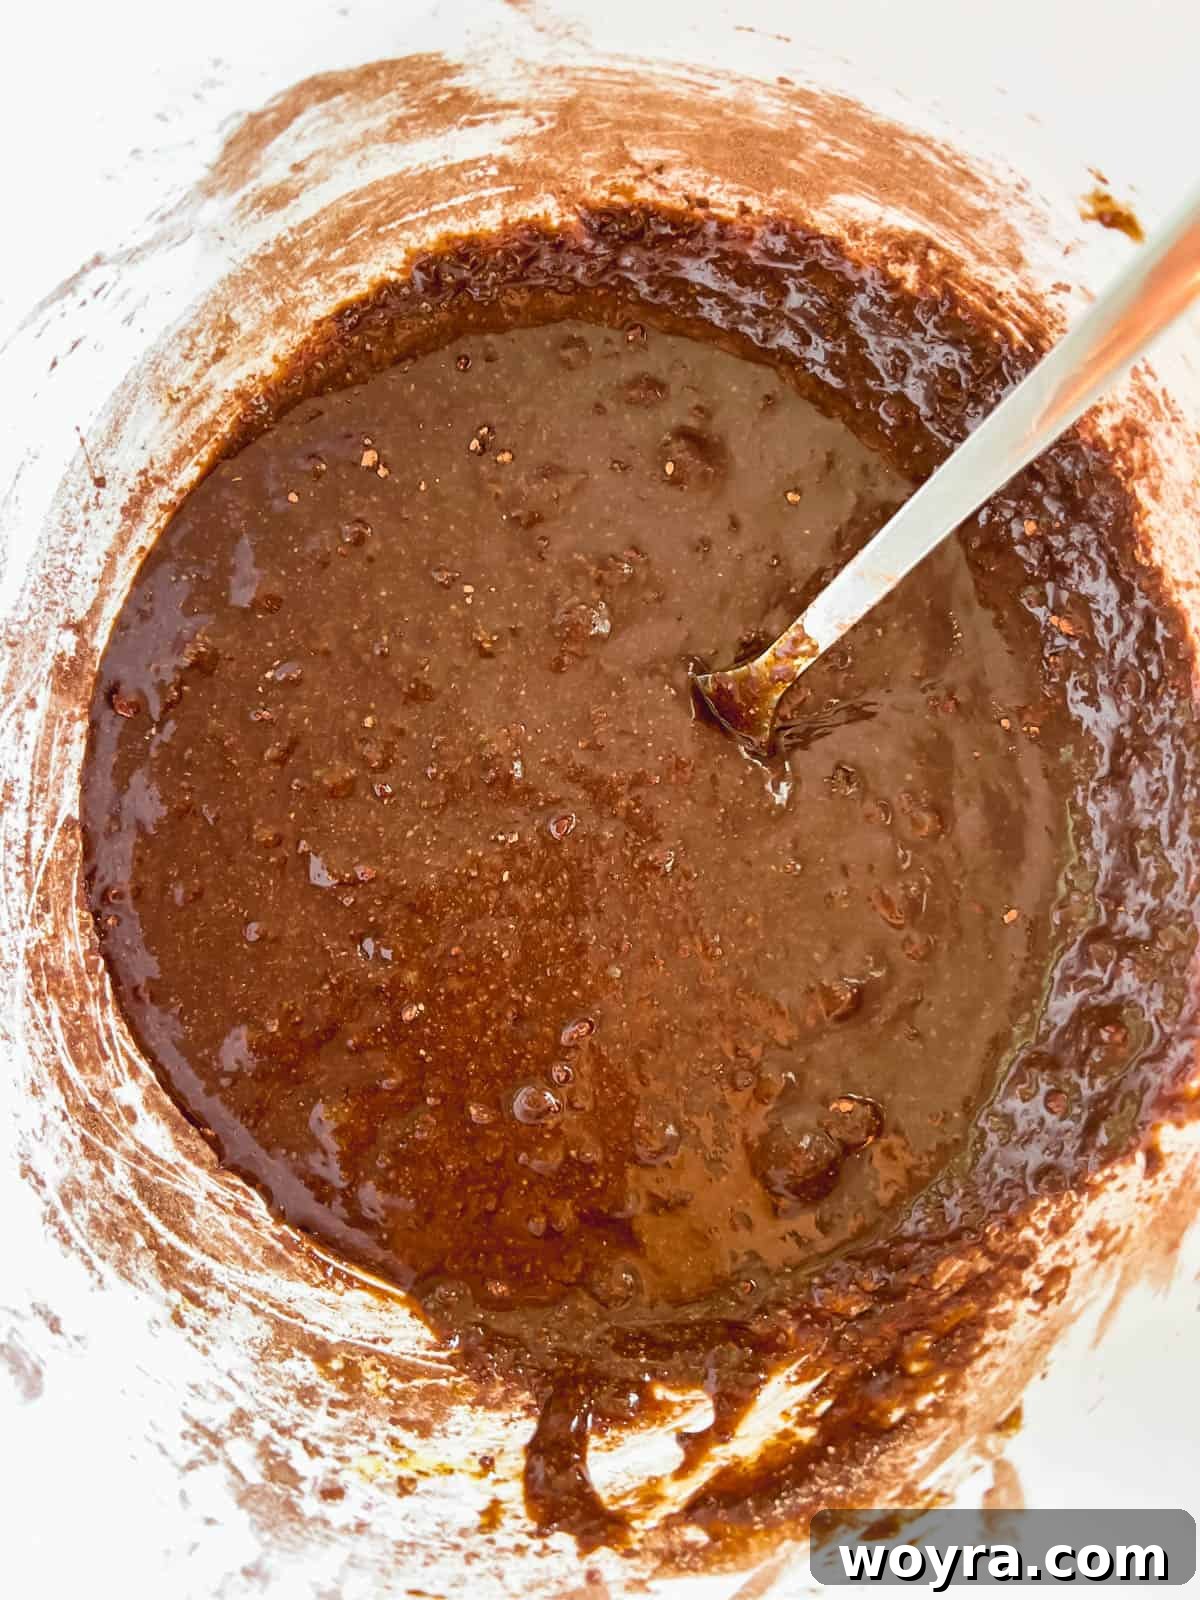
Step 3: Make the Brownie Batter. In a separate large mixing bowl, combine the olive oil and coconut sugar for the brownie layer, whisking until smooth. Crack in the two eggs and add the vanilla extract, whisking again until the mixture is creamy and light in color. In another bowl, whisk together the almond flour, tapioca flour, unsweetened cocoa powder, and salt. Gradually add the dry ingredients to the wet ingredients, mixing until just combined. Be careful not to overmix the brownie batter.
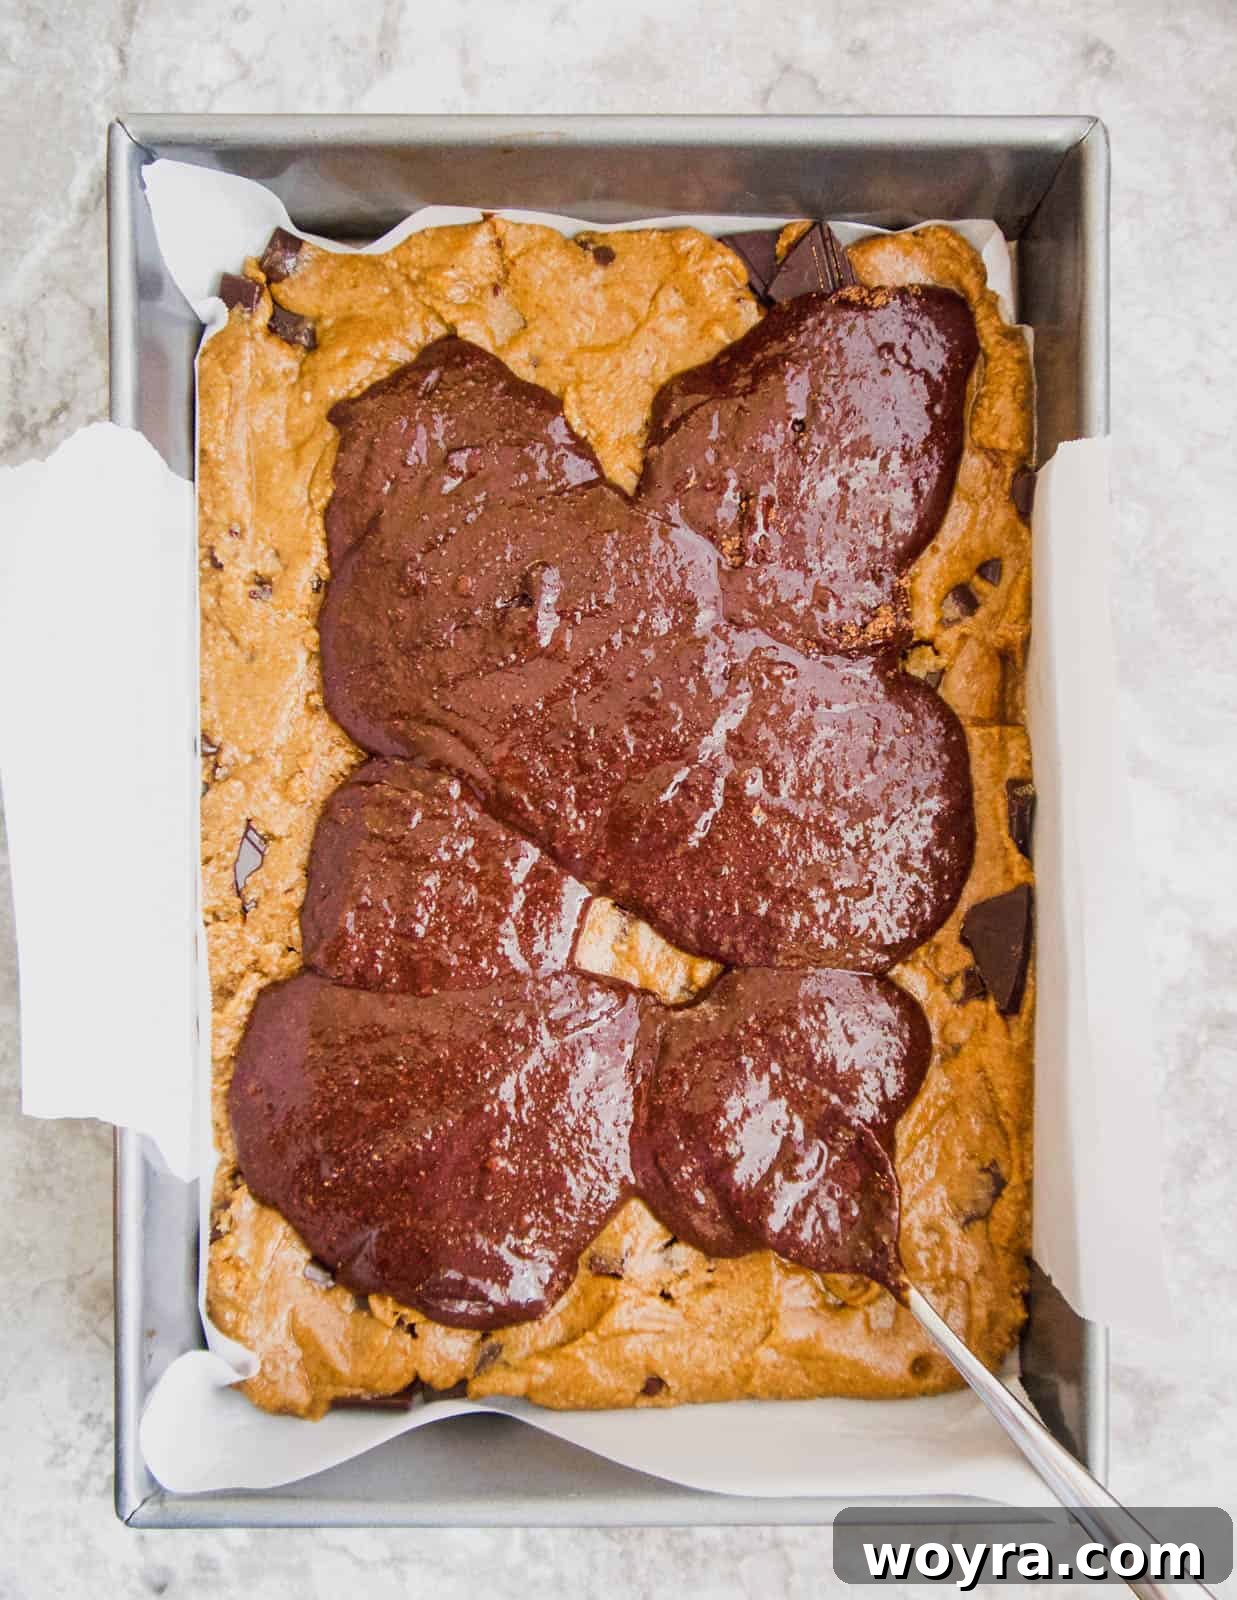
Step 4: Pour Brownie Batter Over Cookie Layer. Once both batters are ready, take large spoonfuls of the brownie batter and dollop them evenly over the pressed cookie dough layer in the baking pan. This method helps in spreading without disturbing the cookie base too much.
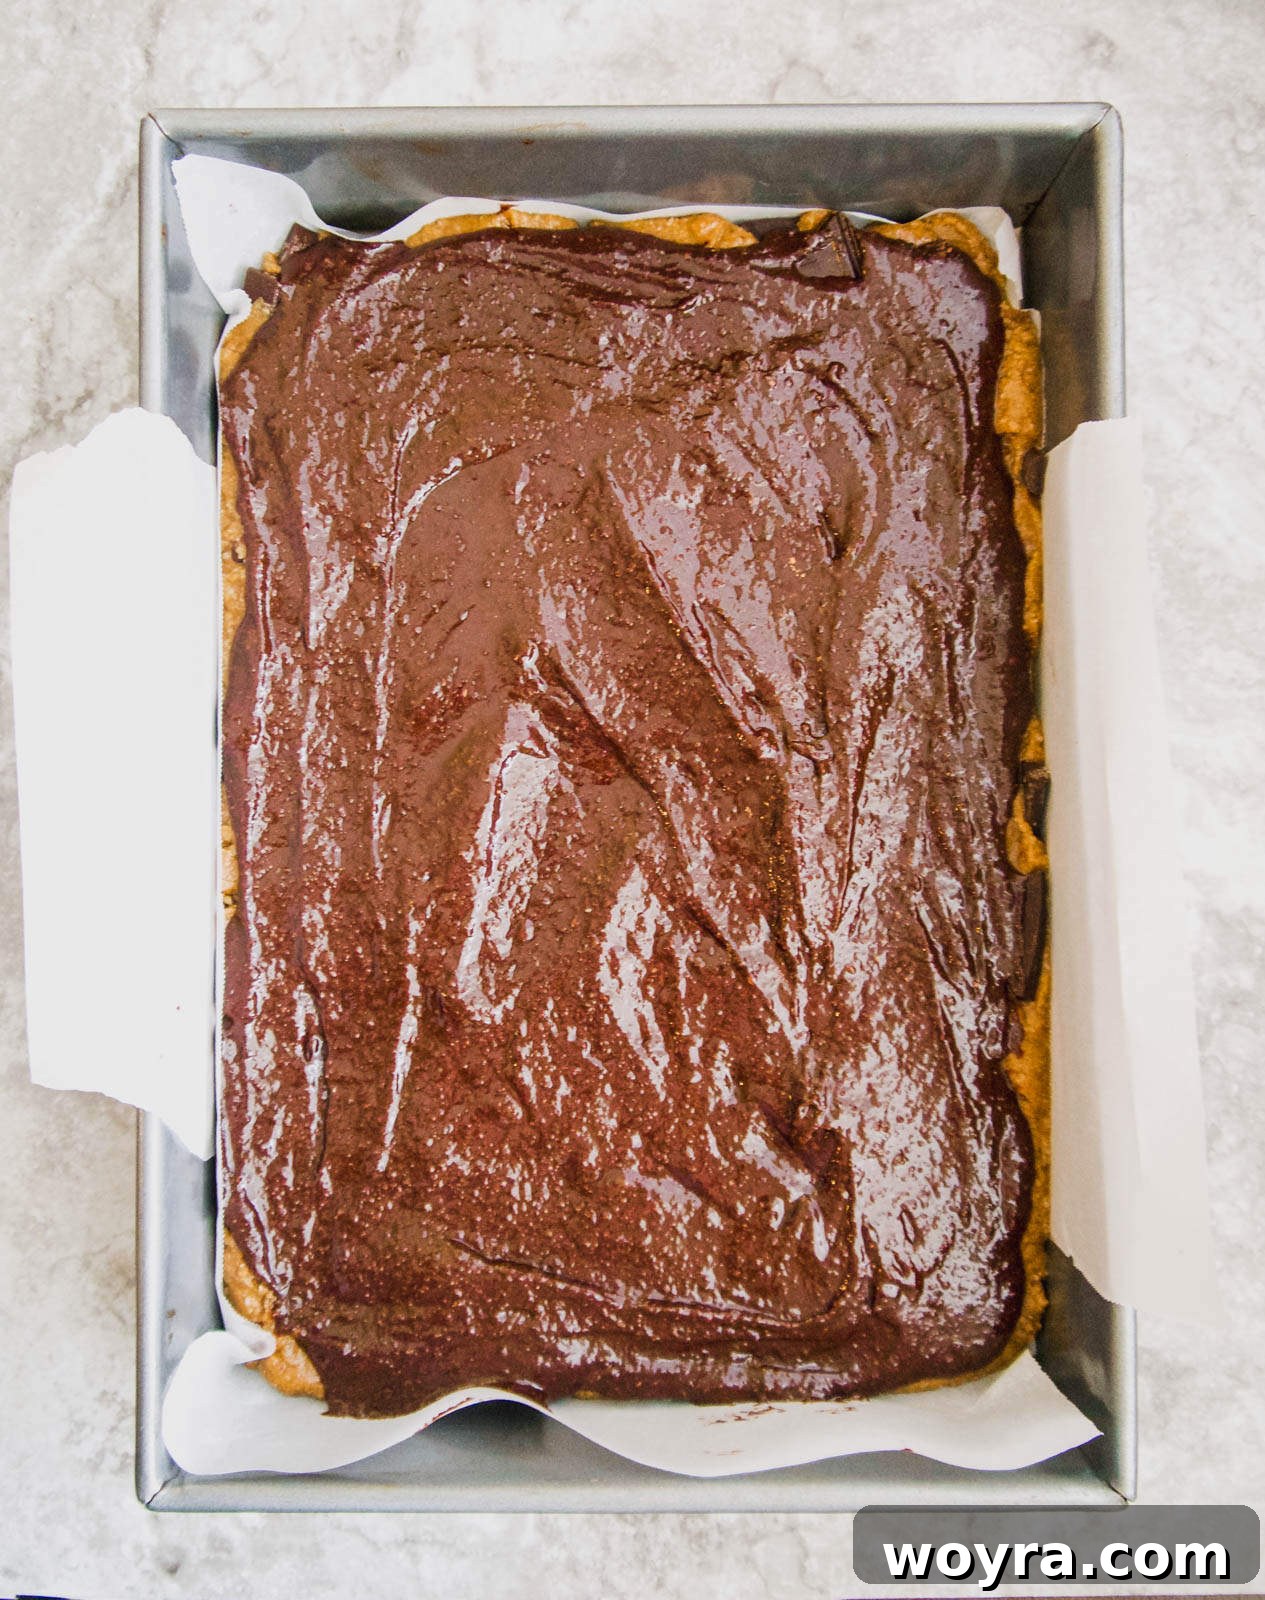
Step 5: Evenly Spread the Brownie Batter. Gently use the back of a spoon or a rubber spatula to carefully spread the brownie batter across the entire surface of the cookie layer, ensuring it creates a smooth and even top. This ensures a consistent bake and a beautiful presentation.
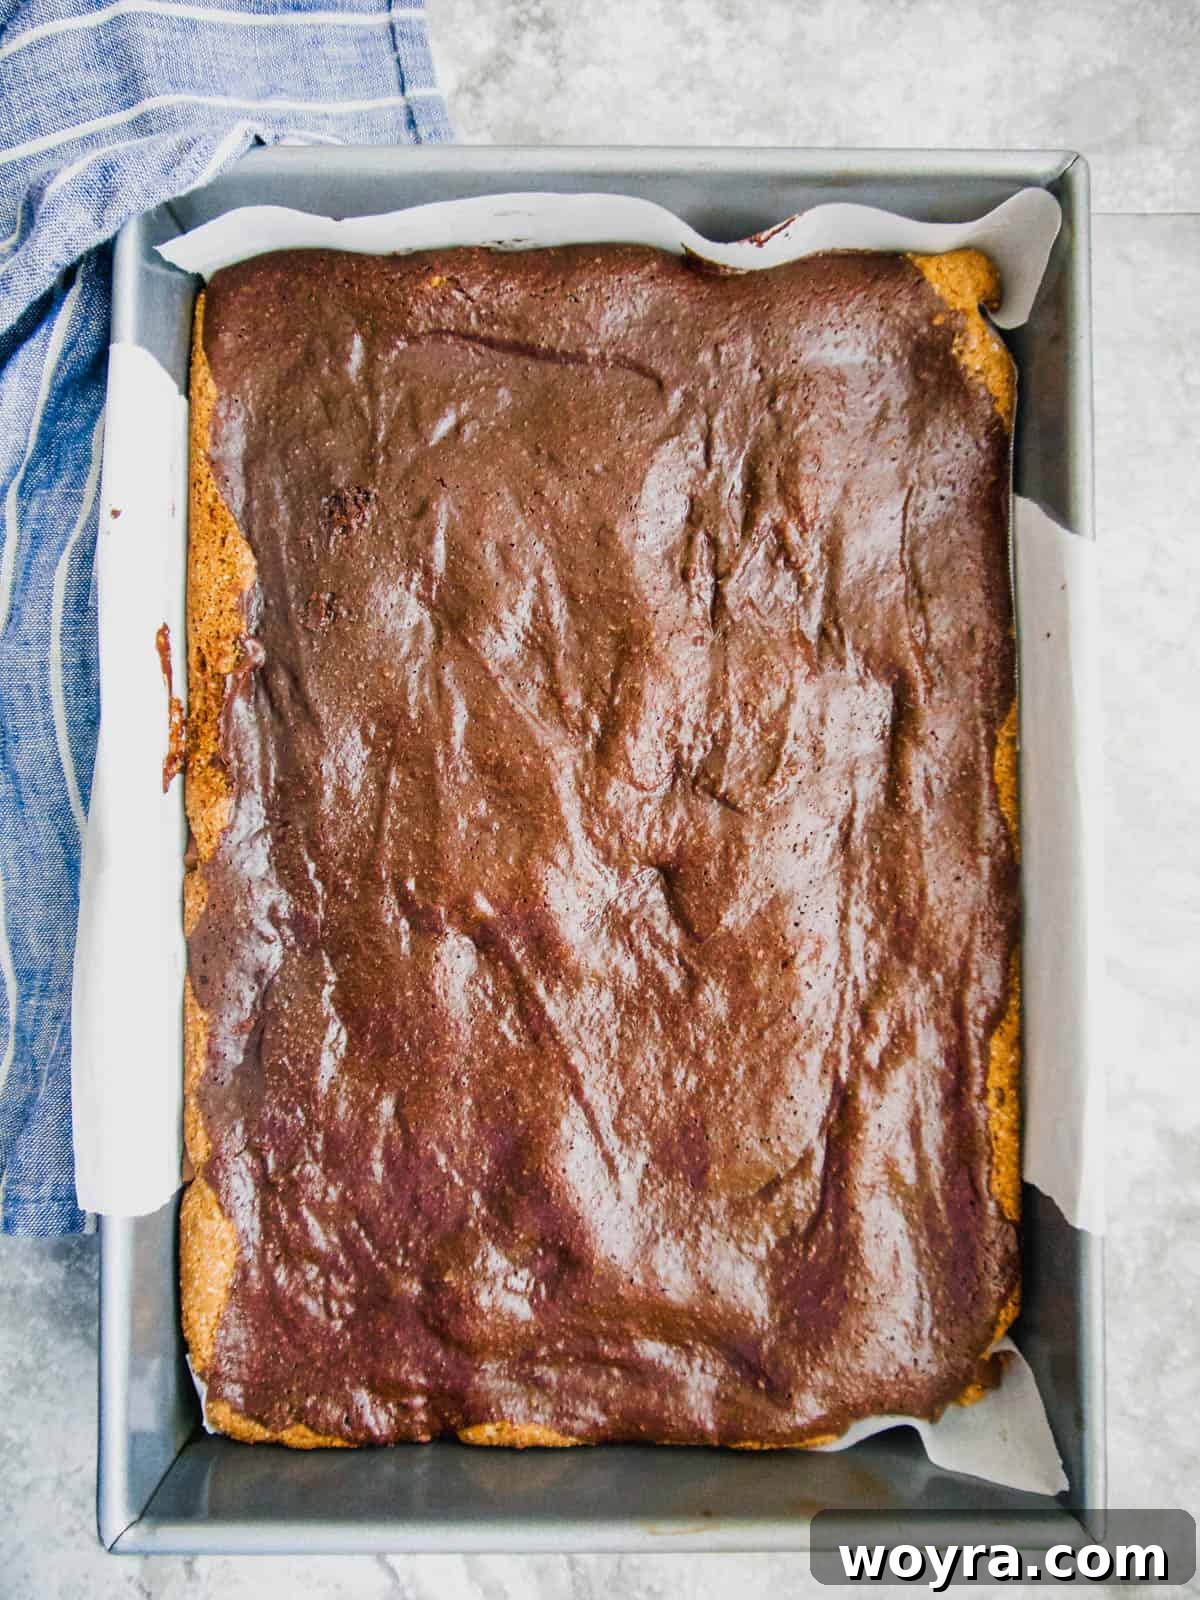
Step 6: Bake Your Brookies! Place the pan in your preheated oven and bake for 22-25 minutes. The brookies are done when the top appears set and slightly firm to the touch, though the center may still look a little moist (that’s the fudgy brownie magic!). Avoid overbaking, as this can lead to dry brownies.
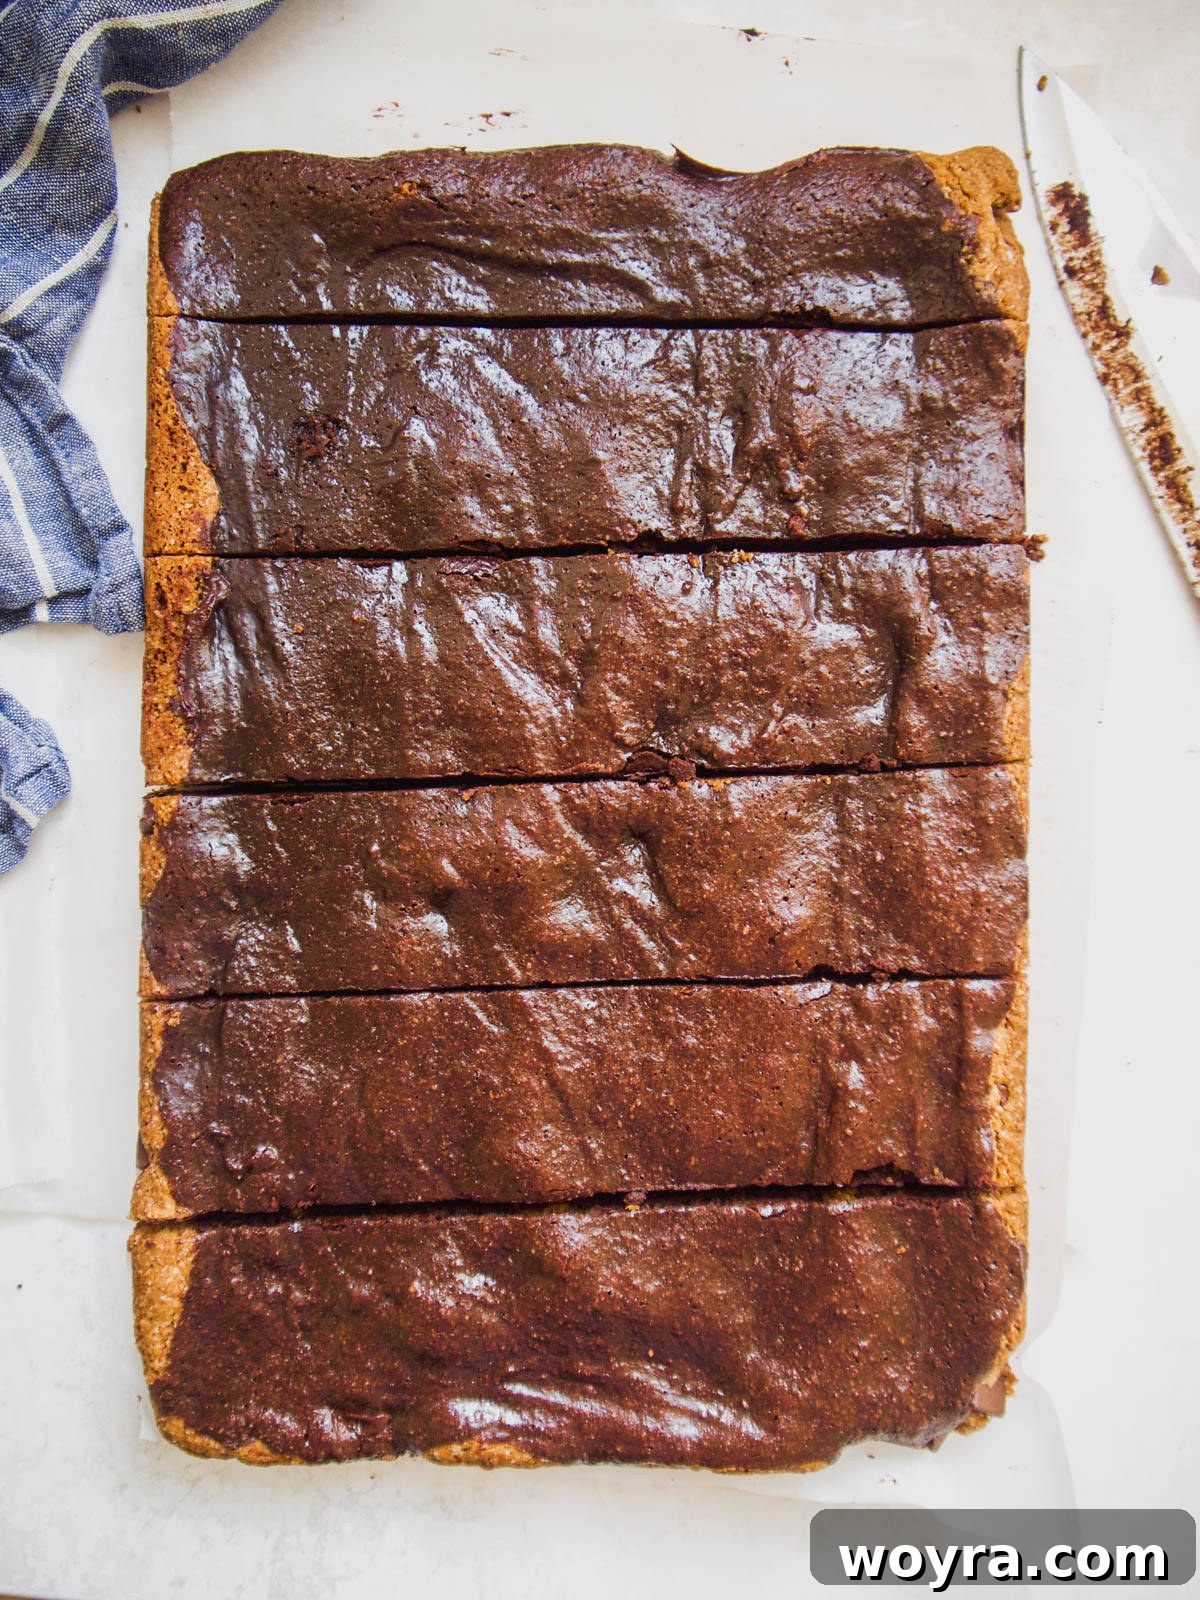
Step 7: Cool and Cut. Once baked, remove the pan from the oven and let the brookies cool completely in the pan for at least one hour. This cooling period is crucial for the bars to set properly, making them much easier to cut cleanly. Once cooled, use the parchment paper overhang to carefully lift the entire slab of brookies out of the pan.
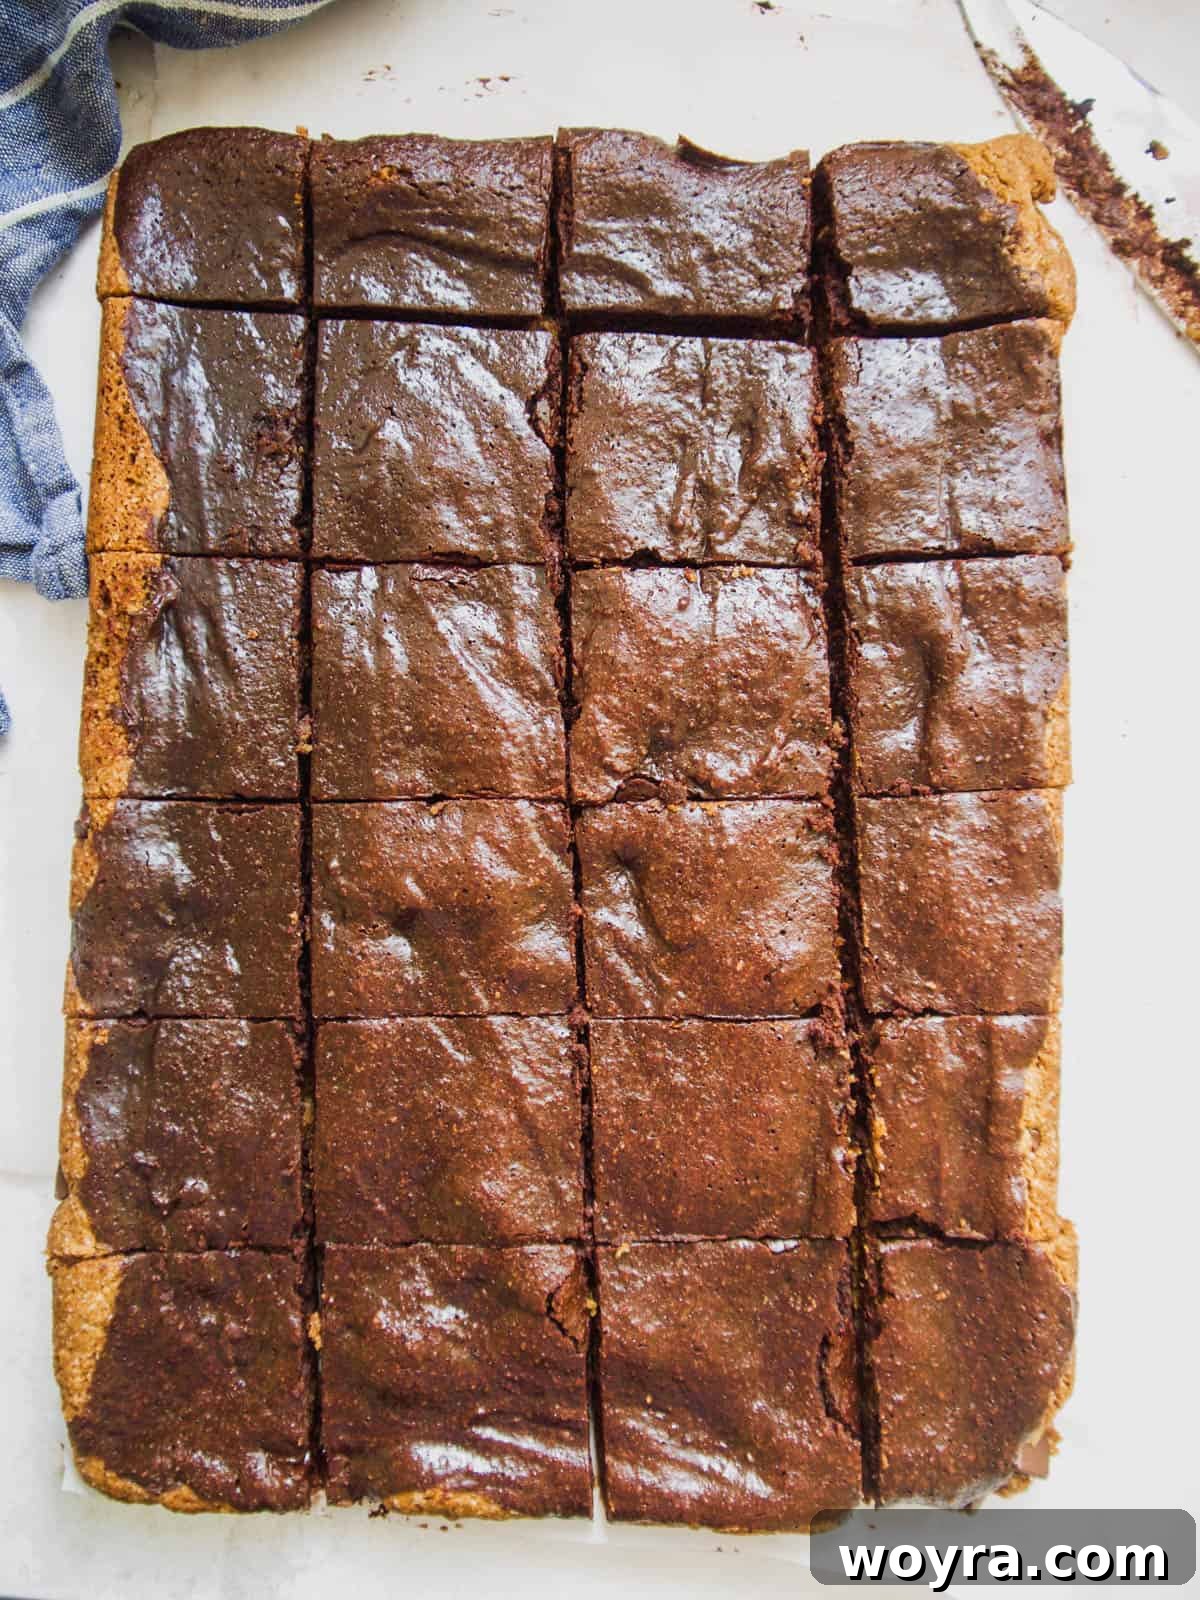
Step 8: Portion and Serve. Place the brookie slab on a cutting board and cut it into approximately 24 squares or bars, depending on your desired portion size. Now they are ready to serve and enjoy! These healthy brookies are perfect on their own, or you can serve them with a scoop of dairy-free vanilla ice cream for an extra special treat.
Tips for Perfect Healthy Brookie Bars
- Measure Accurately: Especially with gluten-free flours like almond and coconut flour, precise measurements are key to the texture of your brookies. Use a kitchen scale for best results, or level off your measuring cups carefully.
- Don’t Overmix: Overmixing the batters, particularly after adding the dry ingredients, can lead to tough or dense brookies. Mix until just combined to keep them tender and fudgy.
- Parchment Paper is Your Friend: Lining your baking pan with parchment paper not only prevents sticking but also makes lifting the entire batch out of the pan incredibly easy once cooled, allowing for cleaner cuts.
- Cool Completely: Resist the urge to cut into your brookies too soon! Letting them cool for at least an hour (or longer) allows them to set properly. This prevents them from crumbling and ensures neat, defined squares.
- Quality Ingredients Matter: Since this recipe uses minimal ingredients, the quality of each component shines through. Opt for good quality chocolate chips, fresh eggs, and pure vanilla extract for the best flavor.
Healthy Brookie Recipe FAQs
To maintain their freshness and delicious texture, store your brookies in an airtight container. They will keep well on the countertop for 3-4 days. For extended freshness, you can store them in the refrigerator for up to 6-7 days. Simply bring them to room temperature before serving, or warm them slightly in the microwave for a gooey treat.
If you prefer an alternative to olive oil, both avocado oil and melted coconut oil are excellent substitutes. Avocado oil has a very neutral flavor, making it a seamless replacement. If using coconut oil, ensure it is fully melted before measuring to ensure accuracy in the recipe’s liquid content. Always measure liquid oils in their liquid state.
Yes, it is highly recommended to let the brookies cool completely before attempting to cut them. While it’s tempting to dive in immediately, cooling allows the layers to firm up and prevents them from falling apart or crumbling when sliced. This ensures clean, neat bars and a much more enjoyable eating experience. Patience is key for perfect slices!
Absolutely! Brookies freeze beautifully. Once completely cooled, cut them into individual bars and place them in an airtight freezer-safe container or a freezer bag, separated by parchment paper to prevent sticking. They can be stored in the freezer for up to 2-3 months. Thaw them at room temperature or gently warm them in the oven or microwave before serving.
To boost the chocolate factor, you can sprinkle an extra handful of dairy-free chocolate chips on top of the brownie layer before baking. You could also swirl a tablespoon or two of dairy-free chocolate hazelnut spread into the brownie batter for an added layer of richness.
Other Delicious Healthy Dessert Recipes You’ll Love
If you enjoyed these healthy brookies, be sure to check out some of these other fantastic dessert recipes that are equally delicious and diet-friendly:
- These Buckeye Brownies from My Gluten-free Kitchen look absolutely unreal and creatively combine flavors!
- For those who adore the classic combination of orange and chocolate, these Chocolate Orange Fudgy Brownies (Paleo, GF) are an absolute must-try.
- Craving something fruity with a hint of chocolate? These delightful Strawberry Chocolate Chip Cookies offer a unique and refreshing twist on a classic.
Did you try this irresistible recipe? We’d love to hear from you! Please leave us a ⭐ review below and share your experience!
Healthy Brookie Recipe (Brownie Cookie Bars)
Dominique
24 bars
25 mins
25 mins
1 hr
1 hr 50 mins
Share by Email
These delicious bars are perfectly half cookie and half brownie, all while being naturally Paleo, Gluten-free, dairy-free, refined flour-free, and refined sugar-free. A truly guilt-free indulgence!
Ingredients
Cookie Layer Ingredients:
- 1 ¼ cup almond flour
- 2/3 cup tapioca flour
- 1/3 cup coconut flour
- 1 tsp baking soda
- 1/2 teaspoon salt
- 3/4 cup olive oil (or melted coconut oil)
- 1 cup coconut sugar
- 1 large egg plus 1 large egg yolk
- 2 tsps vanilla extract
- 3/4 cup dairy-free chocolate chips
Brownie Layer Ingredients:
- ½ cup olive oil
- 1 cup coconut sugar
- 2 eggs
- 1 tsp vanilla extract
- ¾ cup almond flour
- 3 Tbs tapioca flour
- ½ cup unsweetened cocoa powder
- 1/2 tsp salt
Instructions
Cookie Layer Instructions:
- Preheat oven to 350°F (175°C). Line a 9 x 13 inch baking pan with parchment paper, allowing some overhang on the longer sides. Set aside.
- In a large bowl, combine 1 ¼ cup almond flour, 2/3 cup tapioca flour, 1/3 cup coconut flour, 1 tsp baking soda, and ½ tsp salt. Whisk these dry ingredients until they are thoroughly blended. Set this bowl aside.
- In another large bowl, whisk together the ¾ cup olive oil and 1 cup coconut sugar until well combined. Next, add in the egg and egg yolk, whisking vigorously until the mixture becomes creamy and smooth. Finally, stir in the 2 teaspoons of vanilla extract.
- Pour the dry ingredients mixture into the bowl of wet ingredients. Use a fork or spatula to mix them together until a thick, cohesive cookie dough forms. Fold in the ¾ cup of dairy-free chocolate chips until they are evenly distributed throughout the dough.
- Transfer the cookie dough batter into the prepared parchment-lined baking pan. Use your hands or a rubber spatula to evenly press and spread the dough into a uniform layer across the bottom of the pan. The layer will be relatively thin, but it will rise during baking!
Brownie Layer Instructions:
- In a large mixing bowl, combine ½ cup of olive oil and 1 cup of coconut sugar, whisking until smooth. Add the 2 eggs and 1 tsp of vanilla extract, and whisk again until the mixture is creamy and light.
- In a separate bowl, mix together ¾ cup of almond flour, 3 Tbs tapioca flour, ½ cup unsweetened cocoa powder, and ½ tsp salt with a fork until all ingredients are well combined.
- Pour the bowl of dry brownie ingredients into the bowl of wet ingredients and mix gently until just combined. Be careful not to overmix.
- Carefully take large spoonfuls of the brownie batter and dollop them over the pressed cookie layer in the pan. Then, gently and evenly spread out the brownie batter to form a uniform layer on top of the cookie dough.
- Bake the brookies for 22-25 minutes. The top should appear set and slightly firm to the touch, but the center may still look a bit moist. This is perfect for a fudgy brownie; do not overcook!
- Remove the pan from the oven and let the brookies cool completely in the pan for at least one hour. Once fully cooled, use the parchment paper overhang to lift the entire slab of brookies out of the pan. Place on a cutting board and cut into approximately 24 squares.
- Your healthy brookies are now ready to be enjoyed!
Notes
- If you choose to use coconut oil instead of olive oil for either layer, ensure you melt it first (e.g., in the microwave) and then measure it in its melted liquid state for accurate proportions.
- For an even fudgier brownie layer, you can slightly underbake the brookies (closer to 22 minutes). For a firmer brownie, bake closer to 25 minutes.
Nutrition Facts (per bar, approximation)
Calories:
256
kcal
Carbohydrates:
23
g
Protein:
4
g
Fat:
19
g
Saturated Fat:
8
g
Polyunsaturated Fat:
1
g
Monounsaturated Fat:
4
g
Trans Fat:
0.002
g
Cholesterol:
20
mg
Sodium:
180
mg
Potassium:
36
mg
Fiber:
3
g
Sugar:
12
g
Vitamin A:
30
IU
Calcium:
33
mg
Iron:
1
mg
Nutrition information is automatically calculated and should only be used as an approximation. Individual results may vary.
Additional Info
Dessert
American
Tried this recipe?
Mention @perchancetocook or tag #perchancetocook on social media! We love seeing your creations!