
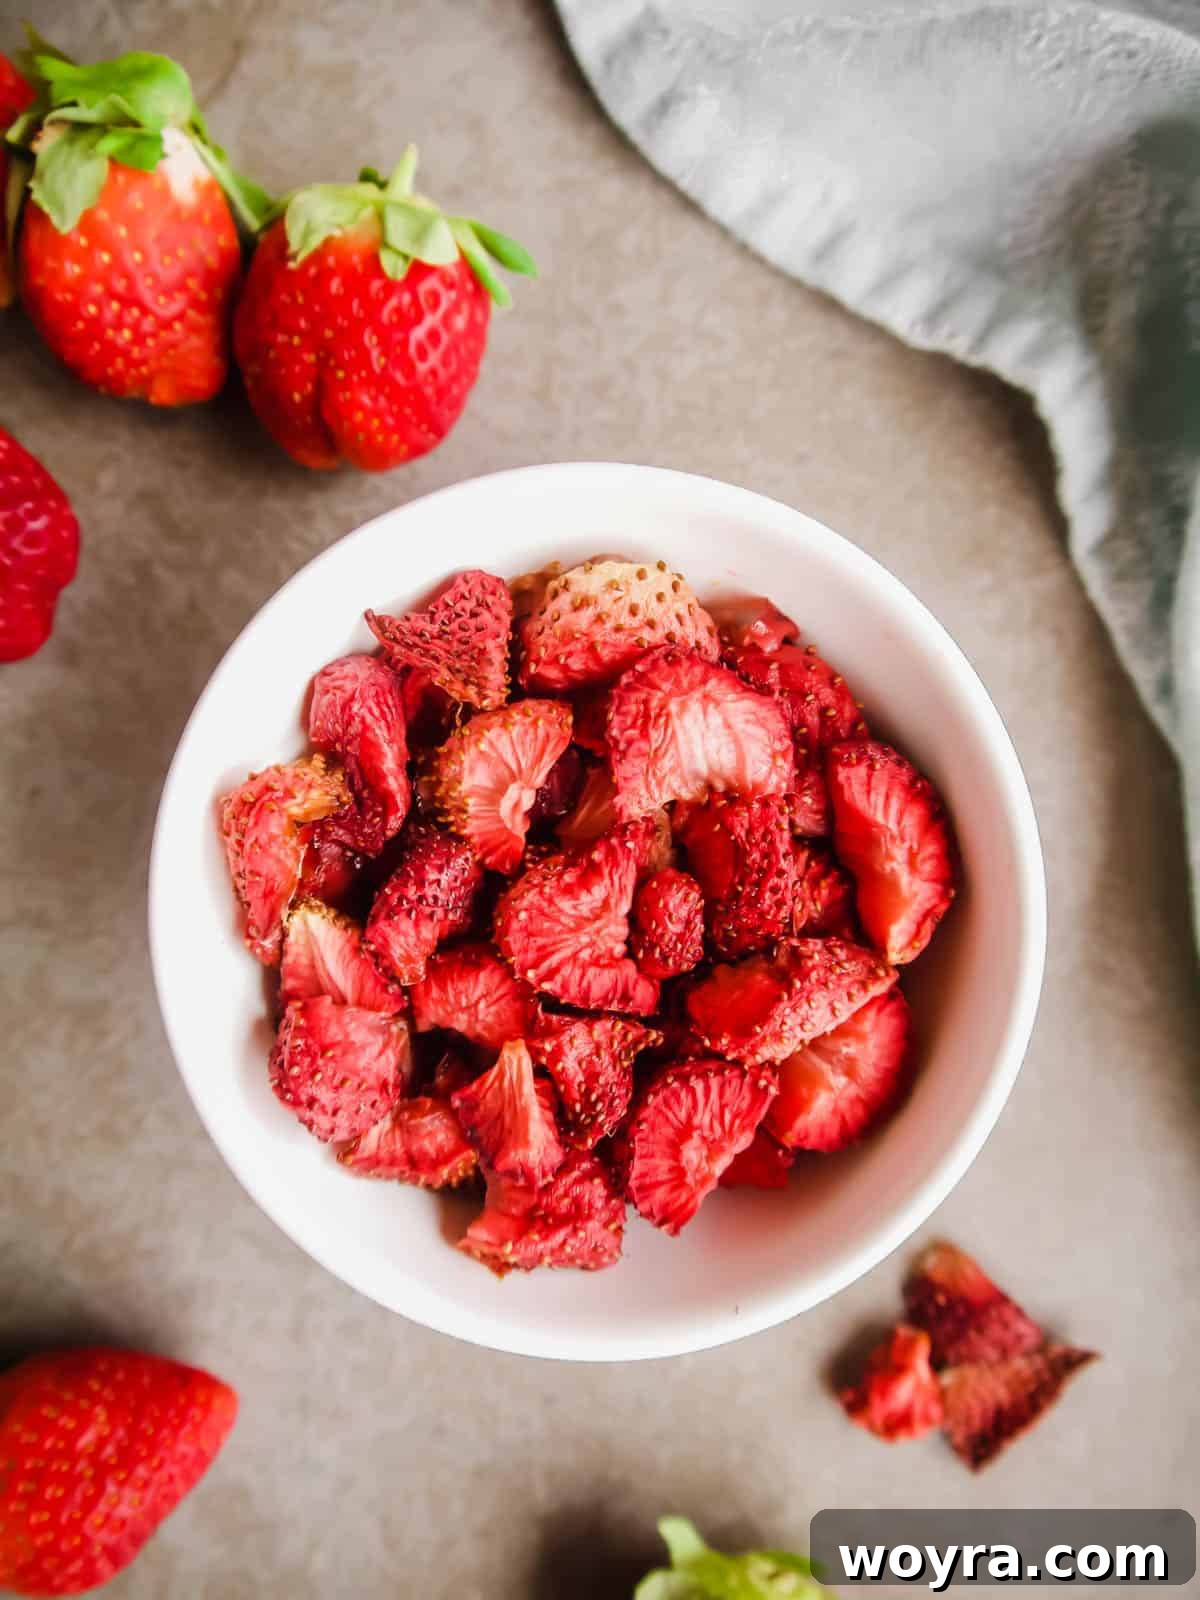
Homemade Oven-Dried Strawberries: Your Guide to Nature’s Healthiest Gummy Candy
For a long time, the idea of creating homemade oven-dried strawberries has been a delightful culinary dream of mine. The main obstacle was always finding an oven reliable enough to maintain the consistently low temperature essential for this delicate process. Many conventional ovens struggle with such precise temperature control, often leading to burnt or unevenly dried fruit. However, with the right equipment now at hand, I am thrilled to share my perfected Oven-Dried Strawberries recipe – a truly natural and incredibly delicious alternative to traditional gummy candies. Imagine a sweet, chewy, and intensely flavorful snack, bursting with the essence of fresh strawberries, all achieved with minimal effort and just two simple ingredients.
The Inspiration Behind These Irresistible Treats
My quest to master oven-dried strawberries began during a memorable trip to Northern Ireland. There, I discovered the incredibly addictive dried fruit snacks from a company called Urban Fruit. Their oven-dried strawberries were an absolute revelation – tasting exactly like the best strawberry gummies I had ever encountered, but with a natural sweetness and wholesome goodness that store-bought candies could never match. I found myself buying bags upon bags, completely hooked on their exquisite flavor and texture. While these delicious treats are available on Amazon, they are often shipped from the UK, making them quite expensive for the small portion you receive.
What struck me most about these commercial dried strawberries was the simplicity of their ingredient list: just strawberries and apple juice. This inspired me to recreate that magic at home. My initial attempts a few years ago were met with frustration; despite setting my old oven to its lowest temperature, the powerful heat inevitably scorched the delicate fruit. This experience taught me a valuable lesson about the importance of oven calibration and patience. I decided to put the project on hold until I had access to a more reliable oven – a wait that has finally paid off, allowing me to bring this fantastic recipe to life for you.
Crafting Your Own Healthy Strawberry Gummies
The process of making these delightful Oven-Dried Strawberries is surprisingly straightforward, though it does require a good measure of patience. You begin by gently mixing fresh, ripe strawberries with a small amount of organic apple juice. This step isn’t just for flavor; the apple juice helps to tenderize the strawberries and infuse them with a subtle sweetness, enhancing their natural taste during the drying process. After a brief soak, the strawberries are carefully arranged on a baking sheet and slow-baked in the oven for approximately four hours.
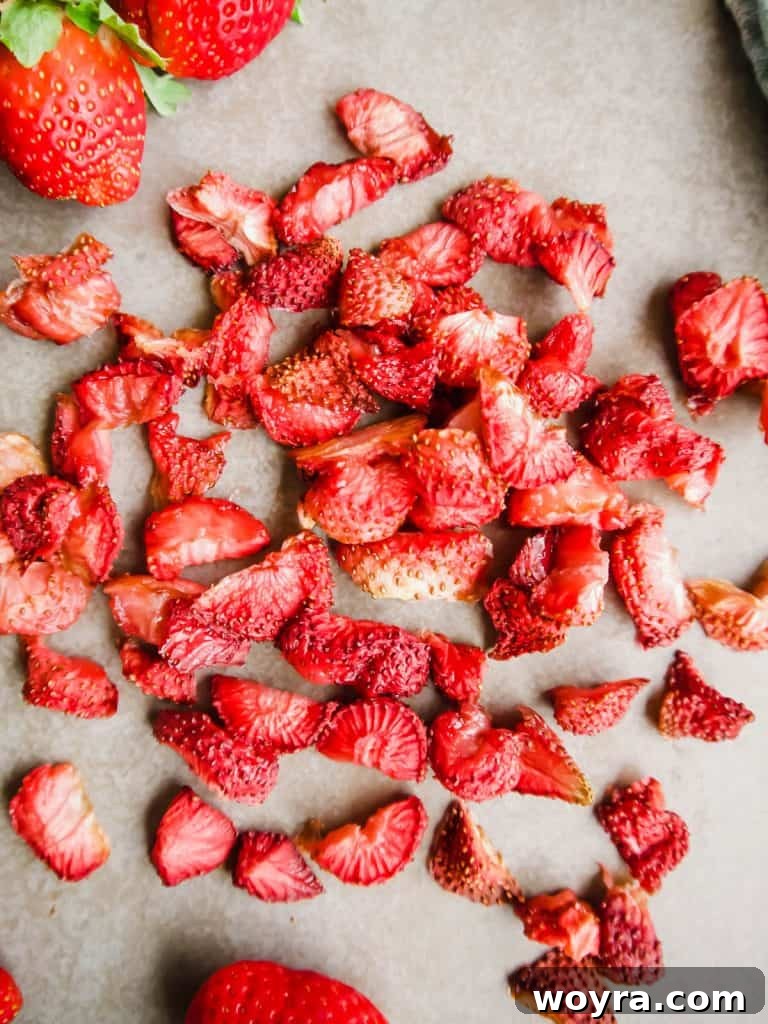
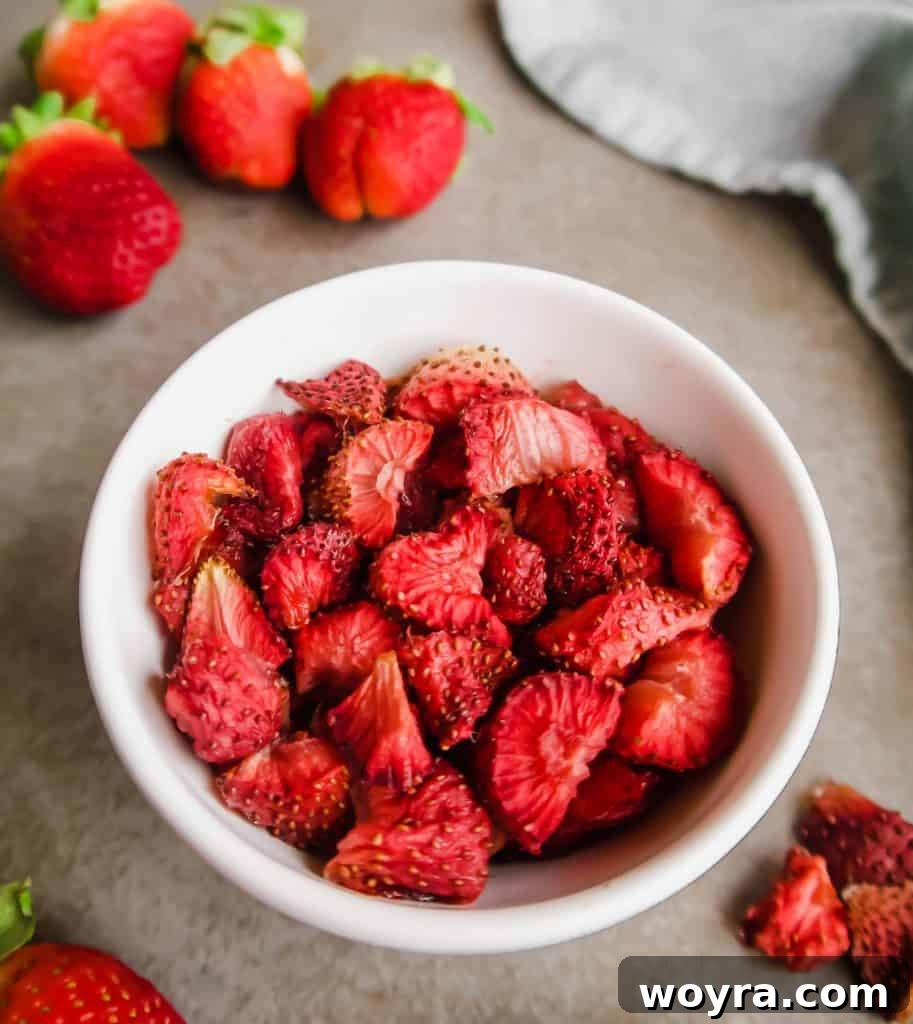
The key to achieving that coveted chewy, juicy-in-the-center texture, reminiscent of gourmet gummy candy, lies in maintaining a very low oven temperature and consistent monitoring. The end result is a batch of dried strawberries that are wonderfully chewy on the outside, yet retain a burst of concentrated strawberry juice on the inside. This unique texture makes them incredibly satisfying. Best of all, they are made with only two natural ingredients, making them a significantly healthier and guilt-free alternative to sugar-laden processed gummy candies found in stores. You can enjoy the rich flavor and satisfying chew without any artificial colors, flavors, or excessive added sugars.
Unleash the Versatility: Health Benefits and Serving Suggestions
These Oven-Dried Strawberries boast an impressive array of health benefits, making them a fantastic addition to various dietary lifestyles. They are naturally Paleo, Gluten-Free, Grain-free, Dairy-free, and Vegan. This means they are suitable for a wide range of dietary preferences and restrictions, offering a delicious and nutritious snack option for almost everyone. Strawberries themselves are packed with Vitamin C, antioxidants, and fiber, and the gentle oven-drying process helps to preserve many of these valuable nutrients.
Beyond being a standalone snack or a guilt-free dessert, the possibilities for incorporating these dried strawberries into your diet are truly endless. I personally adore them as a quick, energizing bite during the day or as a naturally sweet treat after a meal. They also shine as a versatile topping for a variety of dishes. Imagine sprinkling them over your morning smoothie bowls for an extra burst of flavor and texture, stirring them into a warm bowl of oatmeal, or adding them to creamy yogurt for a delightful contrast. They even make an exceptional topping for ice cream, offering a vibrant, chewy counterpoint to the cold sweetness. The intense strawberry flavor concentrates beautifully during drying, making them a potent addition to any recipe where you want to highlight the taste of fresh berries.
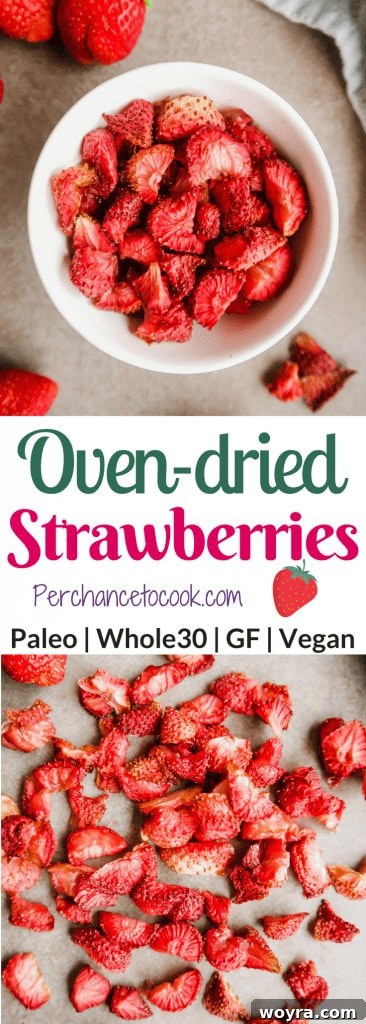
Oven-Dried Strawberries (Paleo, GF, Whole30)
Share by Email
Print Recipe

Ingredients
- 1 pound strawberries, top part cut off, halved, or quartered depending on size
- 3 Tbs organic apple juice
Instructions
-
In a medium bowl, combine the prepared strawberries and organic apple juice. Gently mix to ensure all strawberry pieces are lightly coated. Allow the strawberries to soak in the apple juice for 30 minutes to absorb flavor and begin softening, then drain any excess liquid.
-
Preheat your oven to its absolute lowest setting. Many ovens have a “Warming” setting, which typically hovers around 170-185 degrees Fahrenheit (approximately 77-85 degrees Celsius). This very low temperature is crucial for drying, not cooking, the strawberries.
-
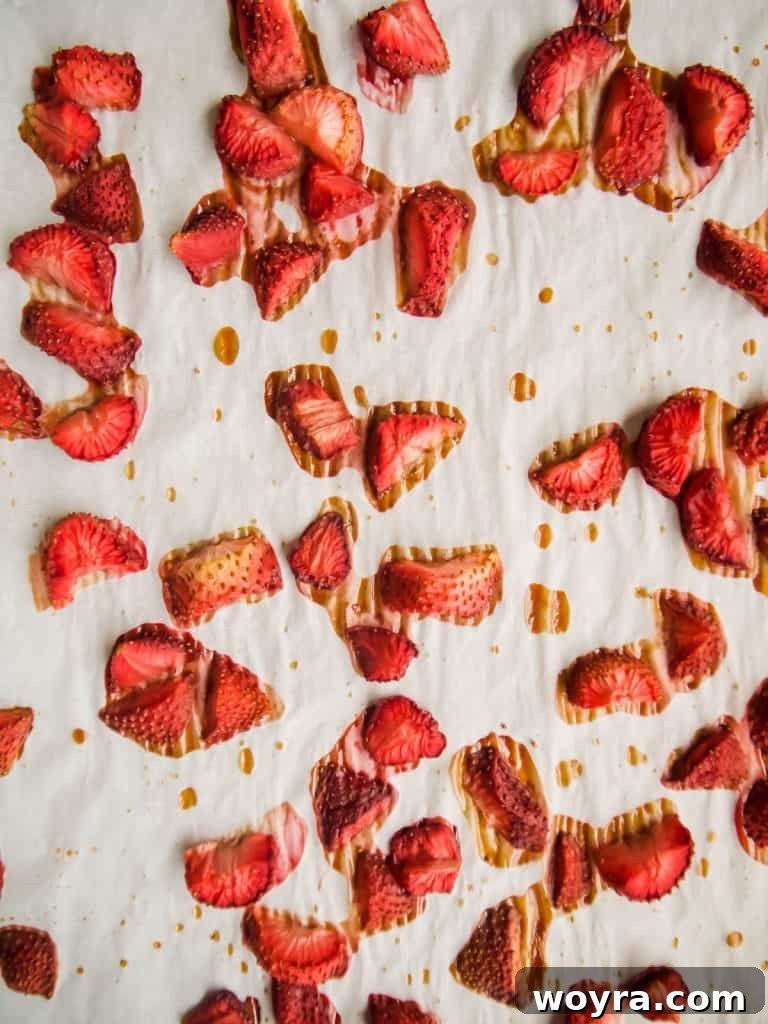
Line a large cookie sheet with parchment paper to prevent sticking. Arrange the apple-juice-soaked strawberries in a single layer on the prepared baking sheet, ensuring they are not touching each other too much. Bake for an initial 3 and a half hours. Throughout this baking time, make sure to rotate the cookie sheet approximately every 30 minutes to promote even drying. Continue baking until the strawberries appear dried and slightly shriveled around the edges, but still have a pleasant juiciness in their centers. If, after 3.5 hours, they still feel too moist or not sufficiently dried, increase the oven temperature to 250 degrees Fahrenheit (120 degrees Celsius) and continue baking for an additional 20 minutes, keeping a very close eye on them to prevent burning. (In my experience, a little extra cooking time at a slightly higher temperature was often necessary to achieve the perfect texture.)
-
Once the desired texture is reached, remove the cookie sheet from the oven and allow the oven-dried strawberries to cool completely on the parchment paper. As they cool, they will firm up further. This recipe typically yields about ¾ cup of intensely flavored dried fruit.
Nutrition
Carbohydrates: 10g
Protein: 1g
Fat: 0.4g
Saturated Fat: 0.02g
Polyunsaturated Fat: 0.2g
Monounsaturated Fat: 0.1g
Sodium: 2mg
Potassium: 185mg
Fiber: 2g
Sugar: 7g
Vitamin A: 14IU
Vitamin C: 67mg
Calcium: 19mg
Iron: 0.5mg
Nutrition information is automatically calculated, so should only be used as an approximation.
Additional Info
Tips for Success: Achieving the Ideal Texture
Creating the perfect batch of oven-dried strawberries requires a little finesse and attention to detail. Here are some key tips to ensure your success:
- Choose Ripe, Firm Strawberries: Start with the best quality fruit. Ripe strawberries will offer the most flavor, while firm ones will hold their shape better during the drying process. Avoid overripe or mushy berries.
- Uniform Slicing is Key: Whether you halve or quarter your strawberries, try to cut them into pieces of similar size and thickness. This ensures they dry evenly at the same rate, preventing some from burning while others remain too moist.
- The Importance of Low Temperature: As highlighted in my journey, maintaining a consistently low oven temperature (around 170-185°F or 77-85°C) is paramount. High heat will cook the strawberries rather than slowly dehydrate them, leading to a crispy or burnt texture instead of the desired chewy gummy consistency. If your oven doesn’t go this low, consider using a food dehydrator as an alternative.
- Parchment Paper is Your Friend: Always line your baking sheet with parchment paper. This prevents the sticky natural sugars from adhering to the pan, making cleanup much easier and ensuring your dried strawberries lift off cleanly.
- Don’t Overcrowd the Pan: Give your strawberry pieces space! Arrange them in a single layer with a little room between each piece. Overcrowding traps moisture and slows down the drying process, potentially leading to a less desirable texture.
- Regular Rotation and Monitoring: Set a timer to rotate your baking sheet every 30 minutes. This helps expose all sides of the strawberries to the oven’s heat, ensuring more even drying. Also, visually check their progress – ovens can have hot spots, and some pieces might dry faster than others.
- Knowing When They’re Done: The ideal texture is chewy and slightly firm, with the edges dried but the center still yielding a bit of concentrated juiciness. They shouldn’t be brittle or hard (unless that’s your preference), nor should they be squishy or wet. They will firm up more as they cool, so err on the side of slightly less dry if you prefer a chewier texture.
- Cool Completely: Allow the dried strawberries to cool completely on the baking sheet before storing them. This step is crucial for achieving their final texture and helps prevent condensation inside storage containers.
Creative Ways to Enjoy and Store Your Homemade Delights
Once you’ve mastered the art of making oven-dried strawberries, you’ll find countless ways to enjoy them. Their concentrated flavor and satisfying chew make them incredibly versatile.
- Snack On-The-Go: Pack them in small bags for a healthy and energizing snack during work, school, or hiking.
- Elevate Breakfast: Sprinkle them over your morning oatmeal, granola, or overnight oats for a burst of natural sweetness and texture. They’re also fantastic stirred into plain yogurt or cottage cheese.
- Smoothie Booster: Add a handful to your favorite smoothie recipes for an intensified strawberry flavor without adding extra liquid.
- Salad Topping: A surprising but delicious addition to green salads, especially those with goat cheese, nuts, or balsamic vinaigrette, adding a sweet and tangy element.
- Baking Adventures: Chop them up and add them to muffins, scones, cookies, or even homemade bread for a delightful fruity twist.
- Homemade Trail Mix: Combine them with nuts, seeds, and other dried fruits for a custom, healthy trail mix.
- Dessert Garnish: Use them to decorate cakes, cupcakes, or tarts. They add both beauty and flavor.
- Infused Water: Add a few pieces to a pitcher of water for a naturally flavored and refreshing drink.
Storing Your Homemade Treasures:
Proper storage is essential to keep your oven-dried strawberries fresh and delicious for as long as possible. Once completely cooled, transfer them to an airtight container. A glass jar with a tight-fitting lid or a resealable bag works perfectly.
- Room Temperature: Stored in an airtight container in a cool, dark place, they will remain fresh for up to 1-2 weeks.
- Refrigerator: For extended freshness, store them in the refrigerator, where they can last for 2-3 weeks.
- Freezer: For long-term storage, place them in a freezer-safe bag or container. They can be frozen for several months, allowing you to enjoy your harvest well beyond strawberry season. Thaw at room temperature before enjoying.
Always ensure the strawberries are completely dry before storing to prevent mold growth. If you notice any moisture, spread them out again to air dry for a few hours or return them to a very low oven for a short period.
Frequently Asked Questions About Oven-Dried Strawberries
Here are answers to some common questions you might have about making your own oven-dried strawberries:
Q: Can I use other fruits with this method?
A: Yes! This low-temperature oven drying method can be adapted for other fruits like blueberries, raspberries, apple slices, or thinly sliced bananas. Adjust baking times as needed, as different fruits have varying moisture content.
Q: What if my oven doesn’t have a “Warming” setting or can’t go that low?
A: If your oven’s lowest setting is still too high (e.g., above 200°F or 93°C), you might find better success using a dedicated food dehydrator. A dehydrator is designed to maintain consistent low temperatures for extended periods, providing optimal conditions for drying fruit without cooking it. Alternatively, you can try opening your oven door slightly (prop it open with a wooden spoon) to help regulate the temperature, but be very cautious and monitor closely.
Q: How do I know when the dried strawberries are perfectly done?
A: They should be pliable and chewy, not brittle or hard. When you bend a piece, it should give without snapping, and you shouldn’t feel any excessive stickiness or moisture in the center. The color will darken and intensify, and they will shrink considerably.
Q: Are these really healthier than store-bought dried fruit?
A: Often, yes! Many commercial dried fruits contain added sugars, sulfites (as preservatives), or other artificial ingredients. By making them at home, you have complete control over what goes in – just strawberries and a touch of apple juice. This ensures a truly natural and healthy snack.
Conclusion: Embrace the Sweet, Wholesome Goodness
Embarking on the journey to create your own Oven-Dried Strawberries is a rewarding experience. It’s a simple, healthy, and incredibly delicious way to transform fresh strawberries into a versatile snack that tastes like nature’s very own gummy candy. With just two ingredients and a little patience, you can enjoy a wholesome treat that’s Paleo, Gluten-Free, Whole30, and Vegan-friendly. So, grab a pound of fresh strawberries and get ready to enjoy a concentrated burst of strawberry flavor in every chewy bite. Don’t forget to share your creations!
Tried this recipe? Mention @perchancetocook or tag #perchancetocook!