
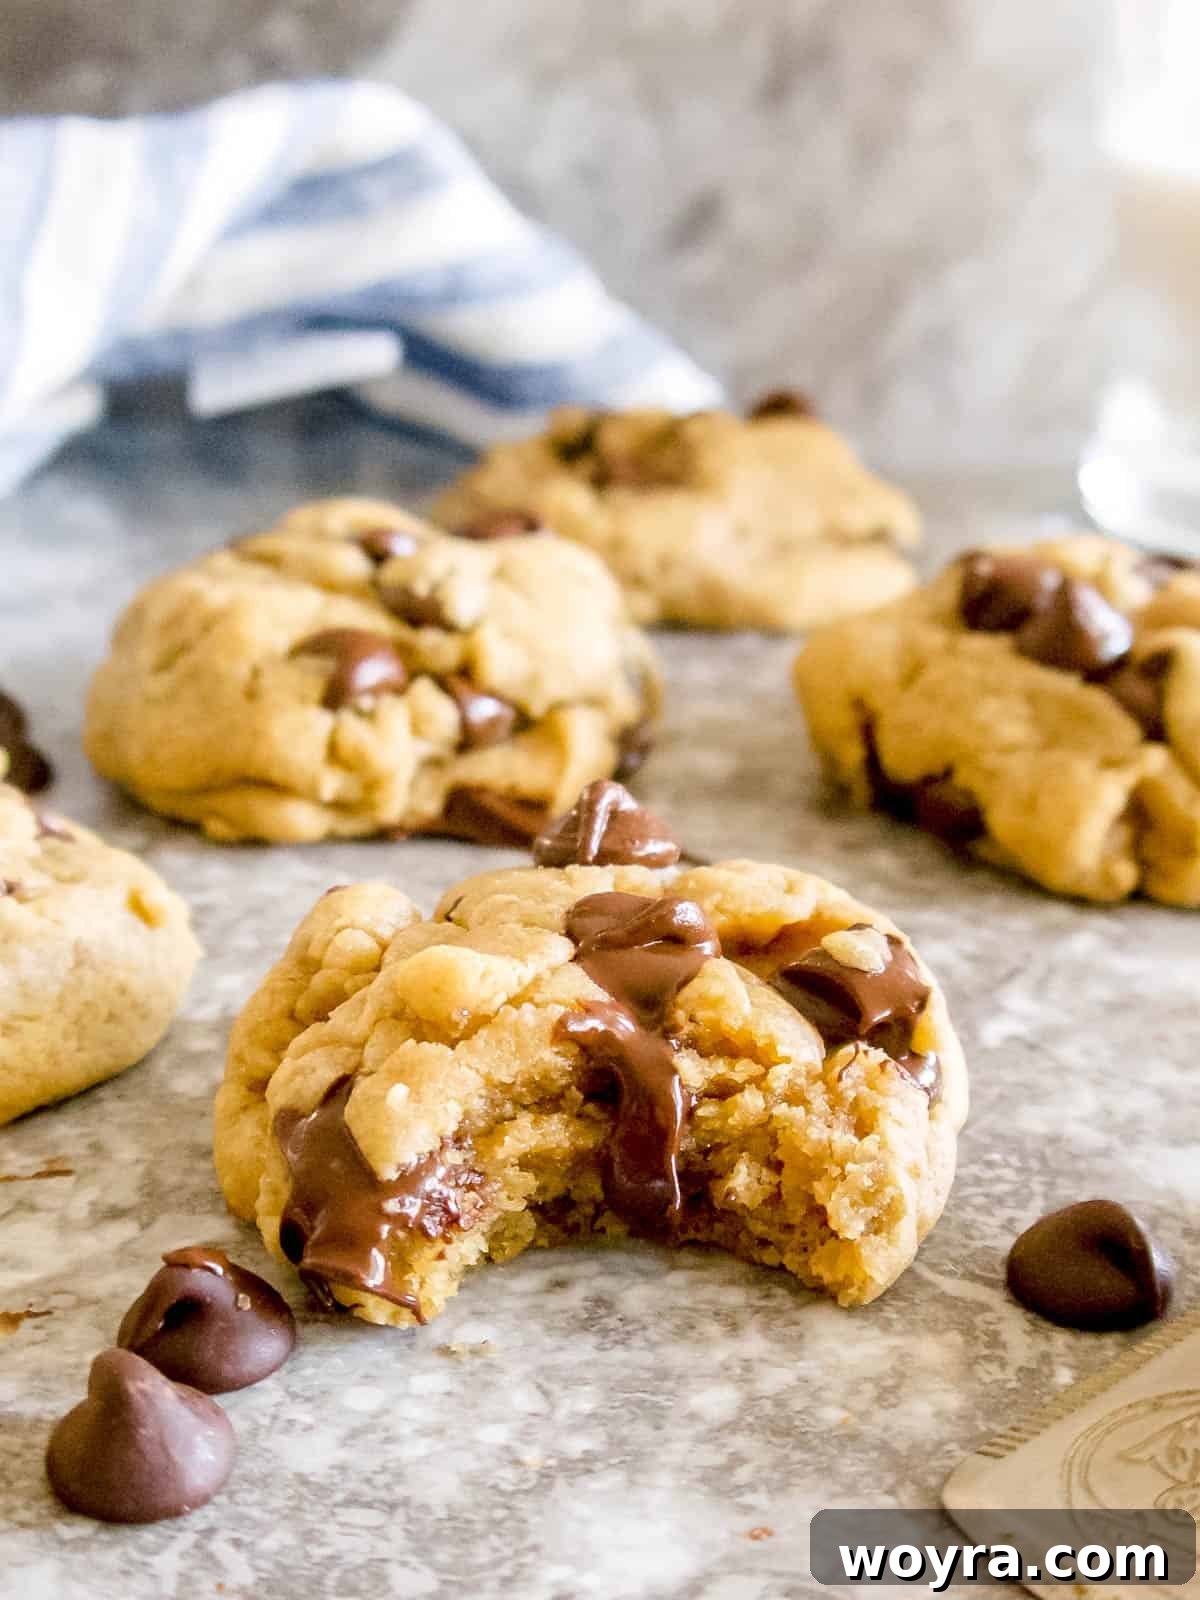
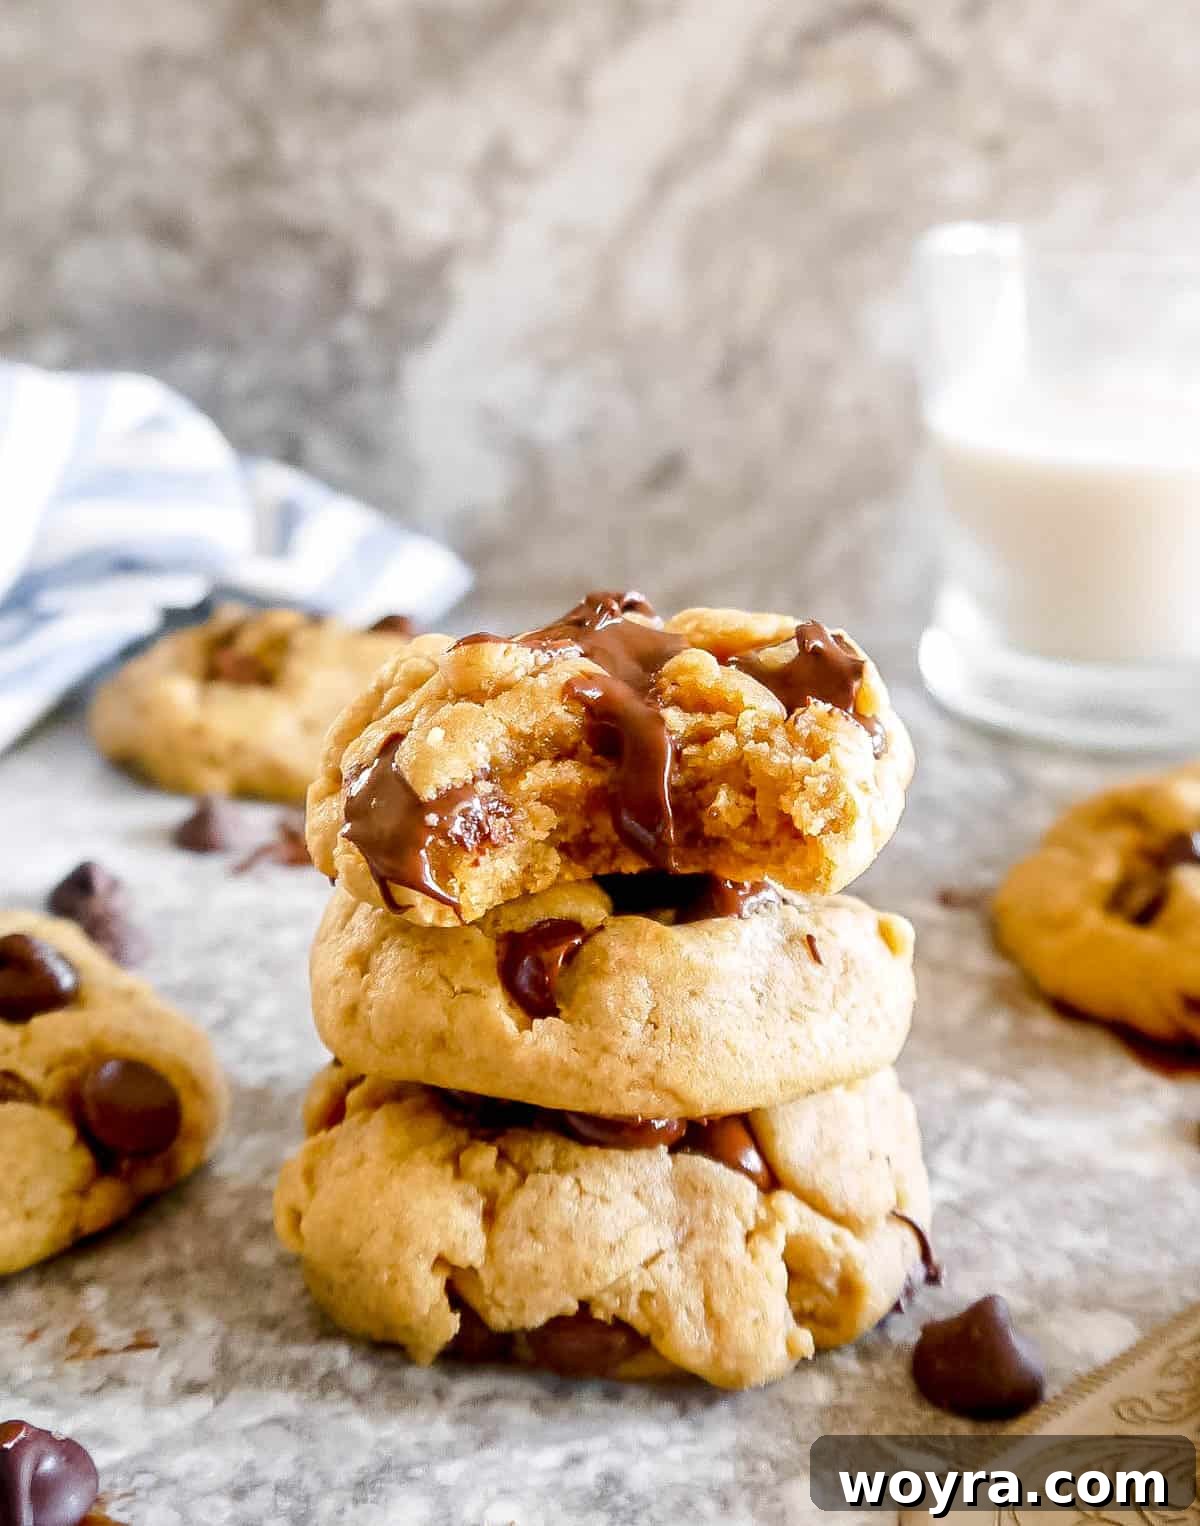
Craving a perfectly chewy, incredibly soft, and melt-in-your-mouth cookie that’s also dairy-free? Look no further! These from-scratch Olive Oil Chocolate Chip Cookies are a revelation, crafted with high-quality olive oil instead of butter. They deliver that classic, irresistible cookie texture you adore, all while being surprisingly light and flavorful. Best of all, this simple recipe comes together in less than 30 minutes, making homemade dairy-free cookies an effortless delight for any occasion.
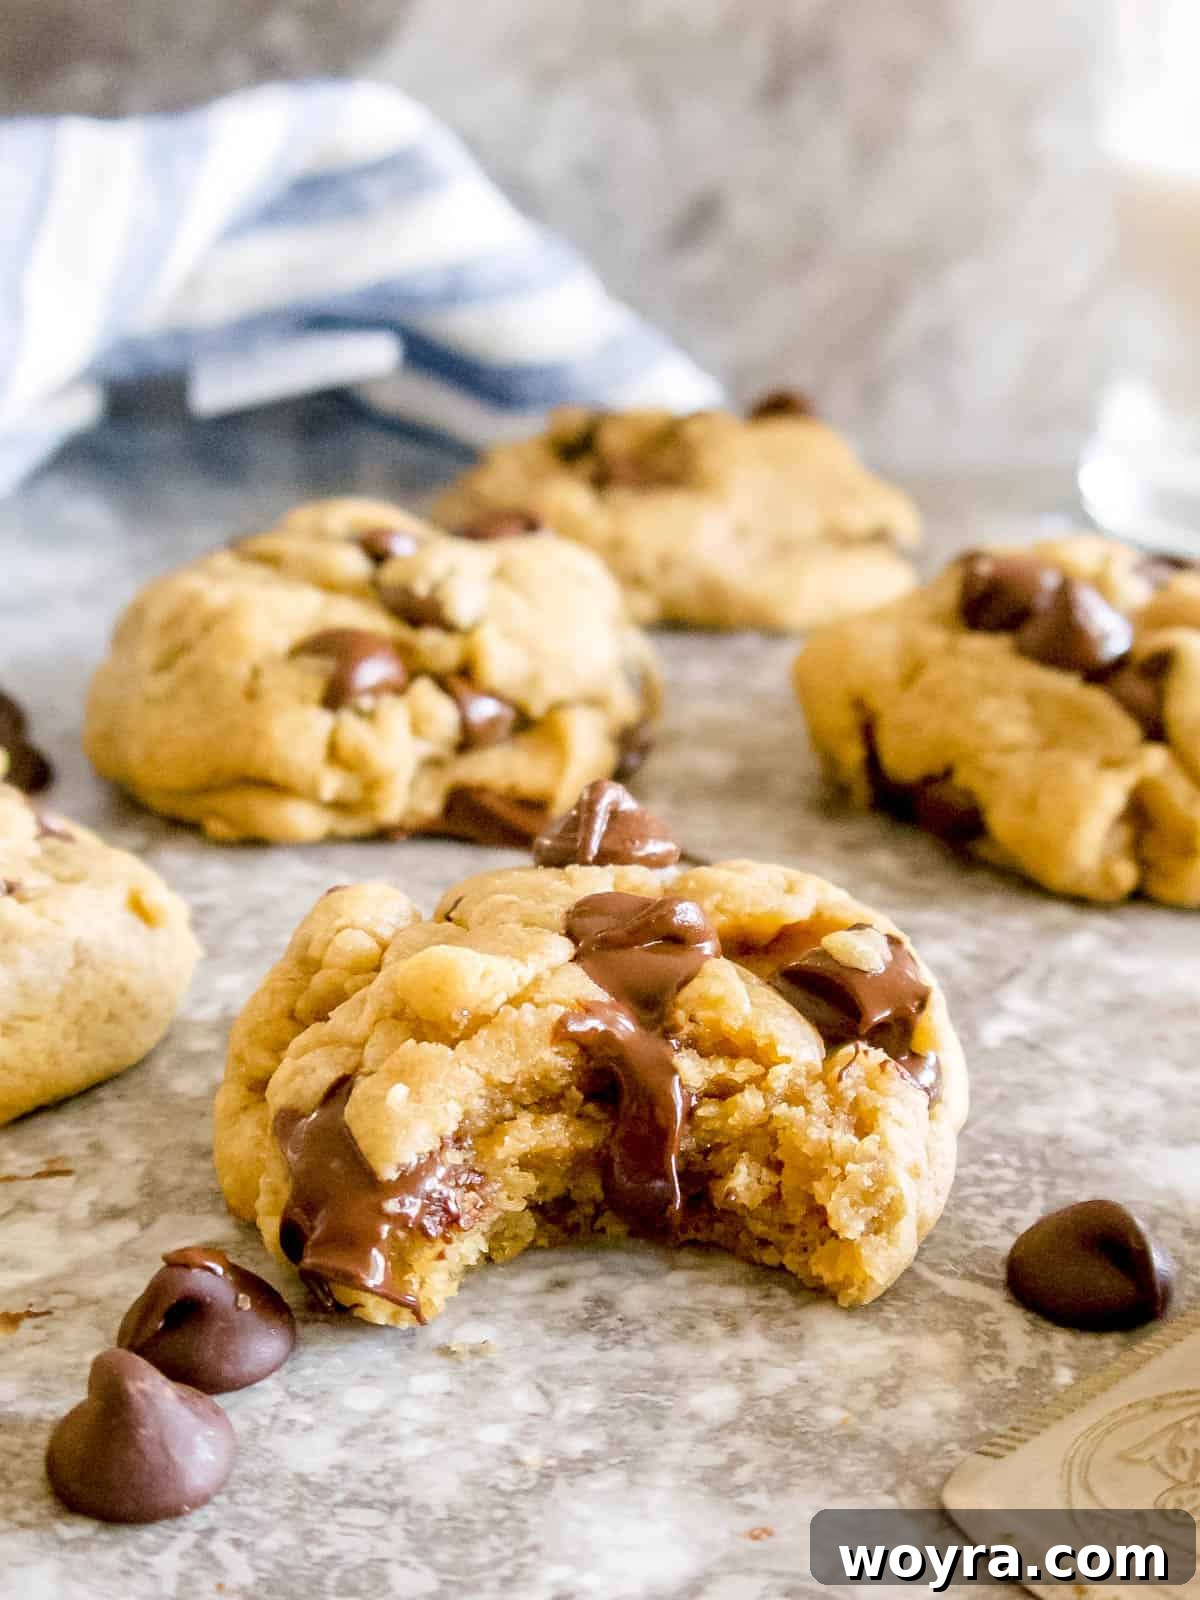
For years, these olive oil chocolate chip cookies have held the coveted title of my absolute favorite and most reliable dairy-free chocolate chip cookie recipe. Their exceptional softness and signature chewiness consistently satisfy every craving for a warm, gooey cookie. What makes them truly stand out is how flawlessly they replicate, and arguably surpass, the experience of traditional butter-based cookies. They’re proof that going dairy-free doesn’t mean compromising on deliciousness!
I bake these delectable treats throughout the year – they’re a cherished tradition for Christmas Eve and an instant hit whenever friends come over. The consistent feedback is always one of surprise and delight, as no one ever guesses they’re made without butter. The subtle, nuanced flavor of olive oil perfectly complements the rich chocolate, adding a sophisticated twist to this beloved classic. If you’re ready to explore more butter-free baking, be sure to try my equally delightful white chocolate chip cookies, which utilize the same dairy-free approach.
Table of Contents
- Why You’ll Fall in Love with These Dairy-Free Delights
- The Unexpected Magic of Olive Oil in Baking
- Essential Ingredients for Your Perfect Cookies
- Creative Additions & Smart Substitutions for Every Palate
- Step-by-Step Guide to Baking Irresistible Cookies
- Pro Tips & Expert Tricks for Ultimate Cookie Success
- Frequently Asked Questions About Olive Oil Cookies
- Storage and Serving Tips for Peak Freshness
- Explore More Delicious Olive Oil Desserts
- Full Recipe: Olive Oil Chocolate Chip Cookies (Dairy-free)
Why You’ll Fall in Love with These Dairy-Free Delights
Prepare to add these Olive Oil Chocolate Chip Cookies to your permanent baking rotation. Here’s why they consistently earn rave reviews and disappear quickly:
- The Perfect Texture Combination: Each bite delivers an exquisite blend of pillowy softness and delightful chewiness, ensuring a satisfying experience that caters to all cookie lovers. The unique properties of olive oil contribute significantly to this remarkable texture.
- Rich, Harmonious Sweetness: Thanks to the generous amount of brown sugar, these cookies boast a deep, caramel-like sweetness with subtle molasses undertones. This richness beautifully balances the chocolate and the delicate, fruity notes of the olive oil.
- A Guaranteed Crowd-Pleaser: From discerning adults to energetic toddlers, these cookies receive enthusiastic approval across all age groups. They’re a reliable hit for family gatherings, school events, or simply a comforting treat at home.
- Effortlessly Quick: With a total preparation and baking time of under 30 minutes, these cookies are perfect for spontaneous cravings, last-minute dessert needs, or busy weeknights. No long chilling times required!
- Simple Ingredient List: You only need 8 common ingredients to create these gourmet-tasting cookies. Most items are pantry staples, making this recipe incredibly convenient.
- Ideal for Dairy-Free Lifestyles: These cookies are explicitly crafted as dairy-free chocolate chip cookies, making them an excellent solution for anyone with a dairy intolerance, allergy, or those simply aiming to reduce dairy consumption without sacrificing flavor or indulgence.
- Surprisingly Light & Non-Greasy: Substituting butter with olive oil results in a cookie that feels lighter on the palate, yet still incredibly rich and satisfying. They melt in your mouth without the heaviness sometimes associated with butter-laden baked goods.
- Unique Flavor Profile: Beyond just being a fat substitute, olive oil infuses the cookies with a subtle, earthy, and sometimes peppery note that elevates the overall taste, making them truly distinctive and memorable. It’s a sophisticated twist on a beloved classic.
The Unexpected Magic of Olive Oil in Baking
Using olive oil in chocolate chip cookies might sound unconventional if you’re accustomed to butter, but it’s a culinary secret that unlocks remarkable texture and an intriguing flavor dimension. Olive oil, a liquid fat predominantly composed of monounsaturated fatty acids, differs fundamentally from solid dairy butter, which is rich in saturated fats. This distinction isn’t just about health benefits; it profoundly impacts the structure and mouthfeel of your baked goods.
When incorporated into cookie dough, olive oil creates an incredibly soft, moist, and tender crumb. Its liquid nature allows for a more even distribution throughout the batter, preventing dryness and promoting a delightful chewiness that lasts longer than many butter-based cookies. This uniform fat dispersion also contributes to a delicate crispness around the edges, while keeping the center wonderfully soft.
Beyond texture, the right olive oil can subtly enhance the flavor profile. A good quality extra virgin olive oil introduces nuanced notes – perhaps a hint of fruitiness, a peppery finish, or a grassy undertone – that beautifully complement the sweetness of brown sugar and the richness of chocolate. This creates a more complex and sophisticated cookie that often surprises and delights, proving that healthy substitutions can indeed lead to exceptional results.
Essential Ingredients for Your Perfect Cookies
Crafting these exceptional dairy-free chocolate chip cookies requires a mindful selection of just a few quality ingredients. Each component plays a crucial role in achieving the ideal balance of chewiness, softness, and rich flavor that defines this recipe. Here’s a closer look at what you’ll need and why:
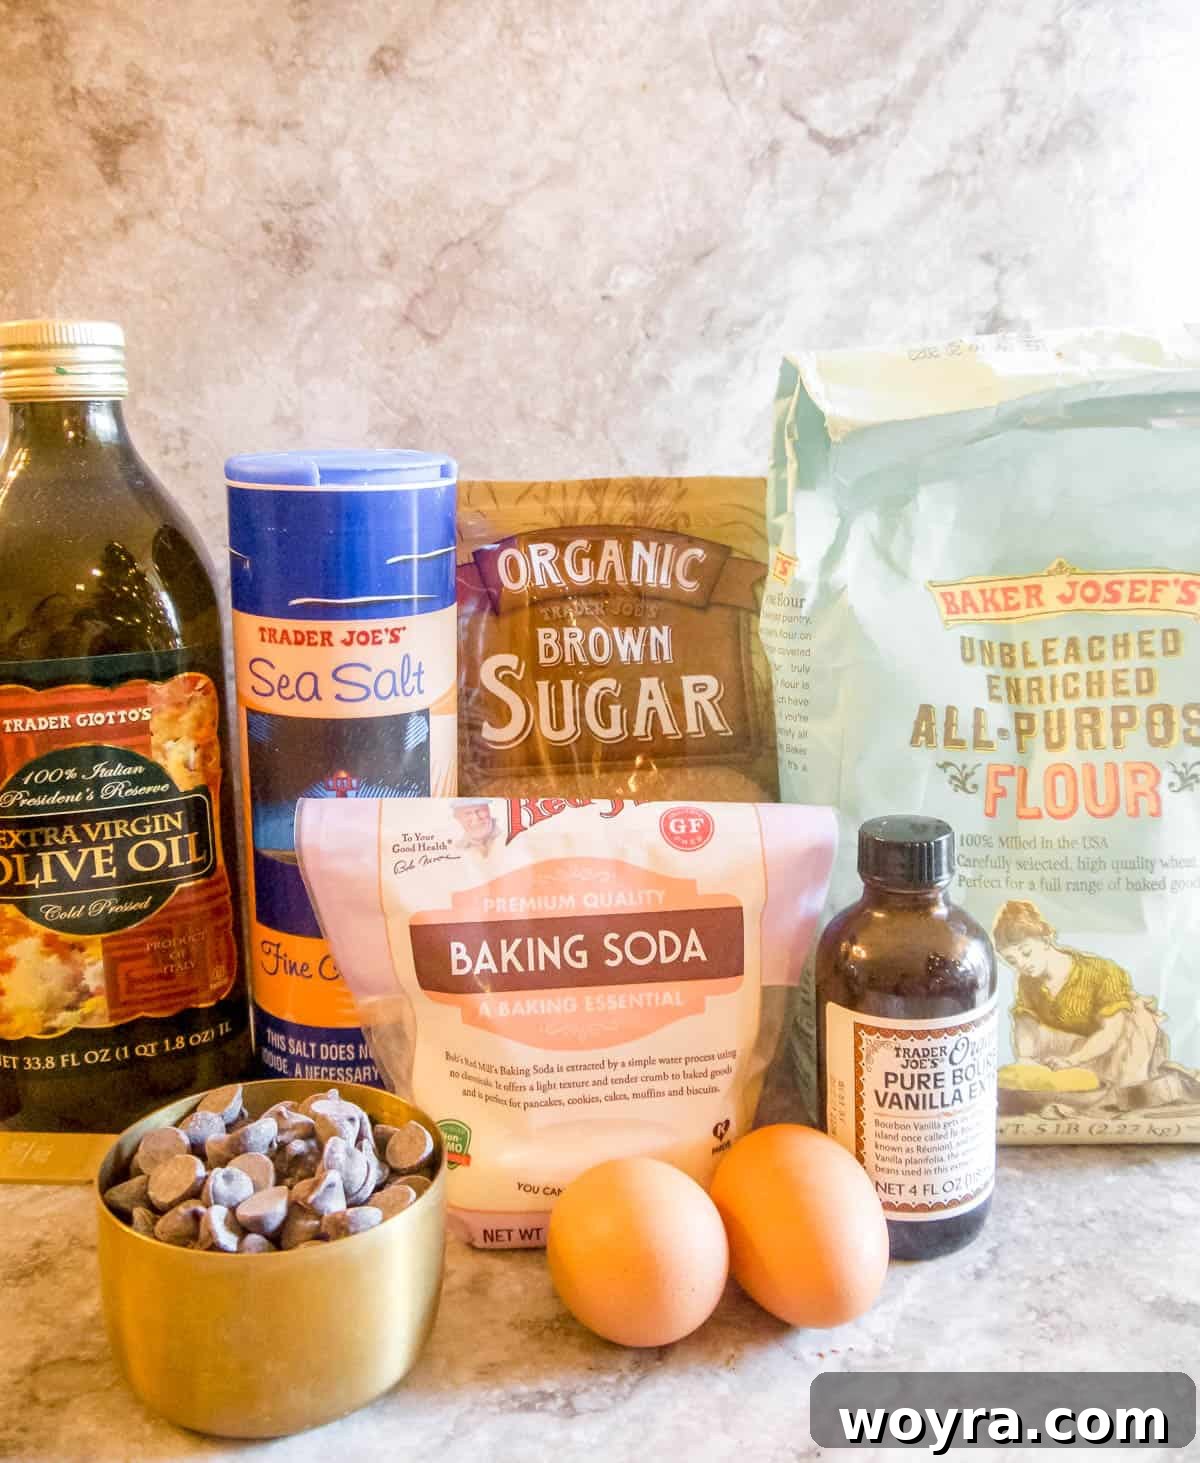
- All-Purpose Flour: For consistent and reliable results, I recommend using unbleached all-purpose flour. It provides the necessary structure and body for our cookies, ensuring they hold their shape while maintaining a tender crumb.
- Olive Oil: The star ingredient! Opt for a high-quality extra virgin olive oil. The flavor of the oil will subtly shine through in the final cookie. If you prefer a very mild or almost imperceptible olive oil taste, choose a “light tasting” olive oil. For those who appreciate and want to highlight the distinct, earthy, or peppery notes, a more robust extra virgin variety will perform beautifully.
- Brown Sugar: This is absolutely essential for achieving the signature chewy texture and a deep, moist sweetness. Brown sugar’s molasses content not only adds moisture but also contributes a rich, caramel-like flavor that is irreplaceable for a classic chocolate chip cookie profile. Any type of brown sugar works, but darker ones often impart a richer taste.
- Large Egg and Extra Egg Yolk: This specific combination is paramount for the cookie’s texture. The whole egg provides structure and moisture, while the additional egg yolk adds significant richness, tenderness, and chewiness, preventing the cookies from becoming dry or crumbly. It’s a simple trick for a superior cookie!
- Dairy-Free Chocolate Chips: To keep these cookies genuinely dairy-free, be sure to select chocolate chips that are explicitly labeled as such. Popular and reliable brands include Enjoy Life, HU Chocolate, and Trader Joe’s dairy-free options. Choose your favorite chip size and cocoa percentage to customize the chocolate intensity.
- Baking Soda & Salt: These are your essential leavening agent and flavor enhancer. Baking soda helps the cookies rise and spread, contributing to their soft texture. Salt balances the sweetness of the sugar and chocolate, enhancing all the other flavors.
- Vanilla Extract: A good quality vanilla extract is crucial for rounding out the flavors, adding warmth and depth to the overall cookie experience. Don’t skip it!
For a complete breakdown of precise measurements and quantities, please refer to the detailed recipe card located at the end of this post.
Creative Additions & Smart Substitutions for Every Palate
One of the many joys of this olive oil chocolate chip cookie recipe is its adaptability. Feel empowered to customize these treats to suit various dietary needs or simply to explore new flavor combinations. Here are some thoughtful additions and smart substitutions:
- For a Gluten-Free Version: If you or your guests follow a gluten-free diet, you can seamlessly substitute regular all-purpose flour with a high-quality 1:1 gluten-free baking flour blend. Look for blends that specifically include xanthan gum, as this helps with structure and elasticity in gluten-free baking, ensuring your cookies remain wonderfully chewy.
- Alternative Oils: While olive oil provides a unique flavor, if you’re looking for a more neutral-tasting alternative, avocado oil is an excellent choice. It’s also a healthy monounsaturated fat and won’t impart a distinct flavor, allowing the chocolate and sugar to take center stage. Other mild oils like grapeseed oil could also work.
- Using Coconut Sugar Instead of Brown Sugar: It is possible to use coconut sugar as a substitute for brown sugar, but this modification will impact the cookie’s final texture and moisture content.
- Texture Change: Brown sugar’s molasses content is vital for a super chewy and moist cookie. Coconut sugar, being less refined, has a lower moisture content and will generally result in a cookie that is slightly denser and can be a bit drier. It does, however, add a delightful caramel or toffee-like flavor, and boasts a lower glycemic index.
- Important Adjustment: To maintain a soft and palatable texture when using coconut sugar, you must compensate for the reduced moisture. Add an extra 1-2 tablespoons of olive oil or 2-4 tablespoons of unsweetened applesauce to the dough. This simple adjustment will help keep your cookies moist and chewy.
- Varying Your Chocolate: Don’t limit yourself to just chocolate chips! Feel free to experiment with dairy-free chocolate chunks, mini chocolate chips, or a combination for varied texture. If dairy isn’t an issue, you could even use white chocolate chips, butterscotch chips, or chopped chocolate candies for a fun twist.
- Nutty Additions: For an extra layer of texture and flavor, fold in ½ cup of chopped nuts such as walnuts, pecans, or almonds along with the chocolate chips.
- A Pinch of Spice: A quarter teaspoon of cinnamon or a tiny pinch of nutmeg can add warmth and depth, especially enjoyable during cooler months.
- Finishing Touch: A sprinkle of flaky sea salt on top of the cookie dough balls before baking dramatically enhances the chocolate flavor and adds a pleasing textural contrast.
Step-by-Step Guide to Baking Irresistible Cookies
Baking these dairy-free olive oil chocolate chip cookies is a remarkably straightforward and enjoyable process. Follow these detailed steps to ensure perfectly baked, soft, and chewy cookies every time. Precision at each stage will guarantee your success!
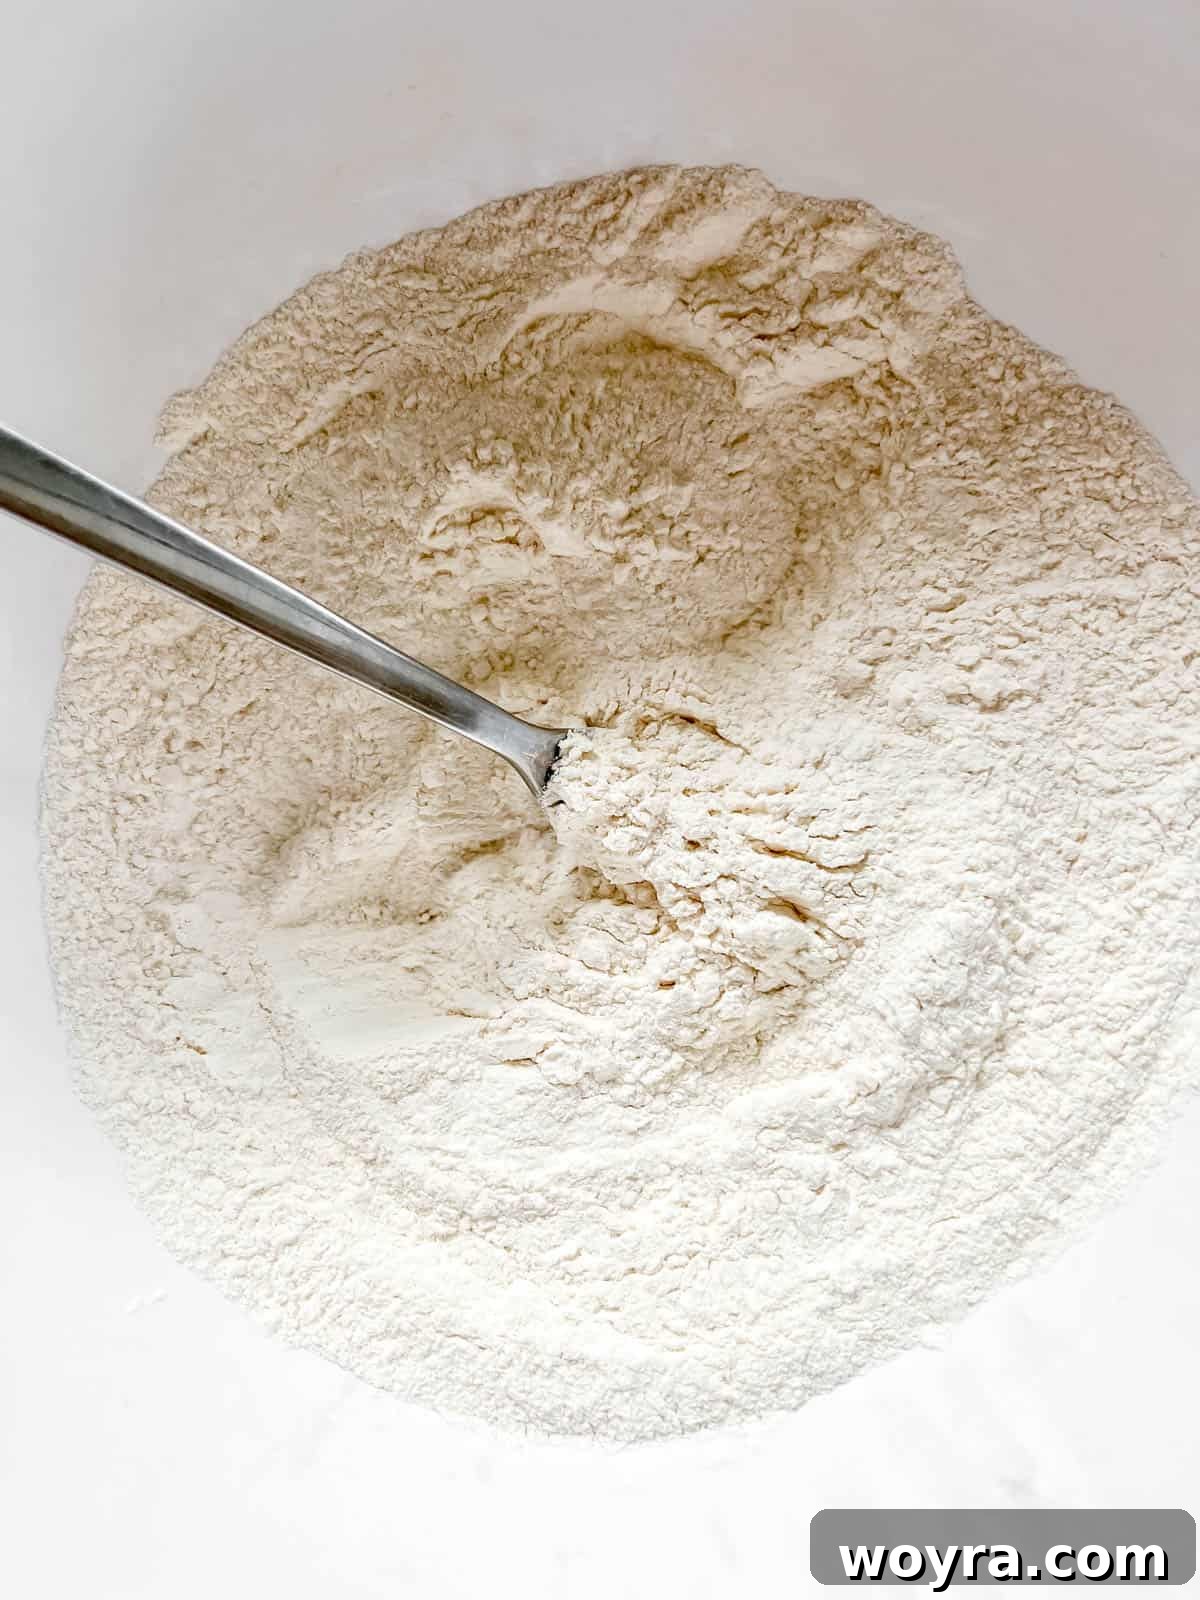
Step 1: Whisk Dry Ingredients. Begin by preheating your oven to 325°F (160°C). Line two large baking sheets with parchment paper or silicone baking mats; this prevents sticking and promotes even baking. In a medium-sized mixing bowl, combine the all-purpose flour, baking soda, and salt. Use a whisk to thoroughly mix these dry ingredients together until they are evenly distributed. This step is crucial for ensuring uniform leavening and seasoning throughout your cookies. Set this bowl aside for a moment.
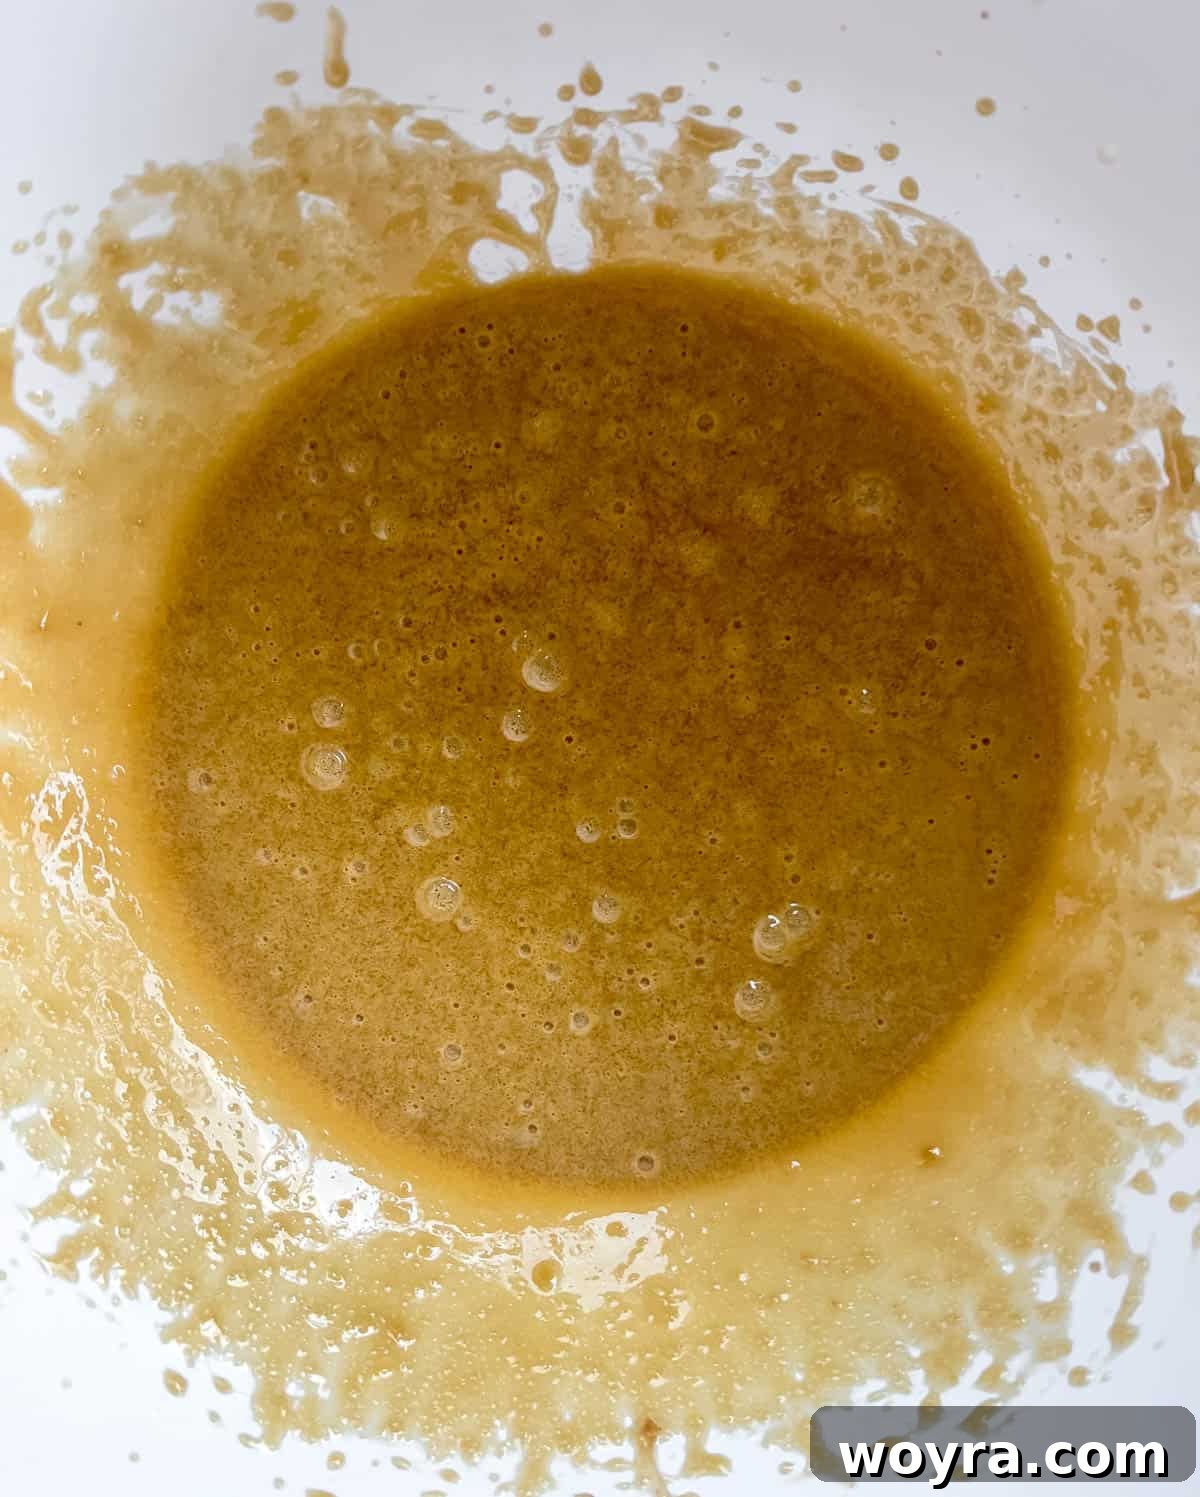
Step 2: Mix Wet Ingredients. In a separate, larger mixing bowl, pour in the olive oil and add the brown sugar. Whisk these two vigorously until they are well combined and the mixture appears smooth and emulsified. Next, crack in the large egg, add the extra egg yolk, and pour in the vanilla extract. Using a hand-held mixer, beat these ingredients together on medium speed until the mixture is light, creamy, and thoroughly combined. This aeration step will contribute to the cookies’ desirable texture.
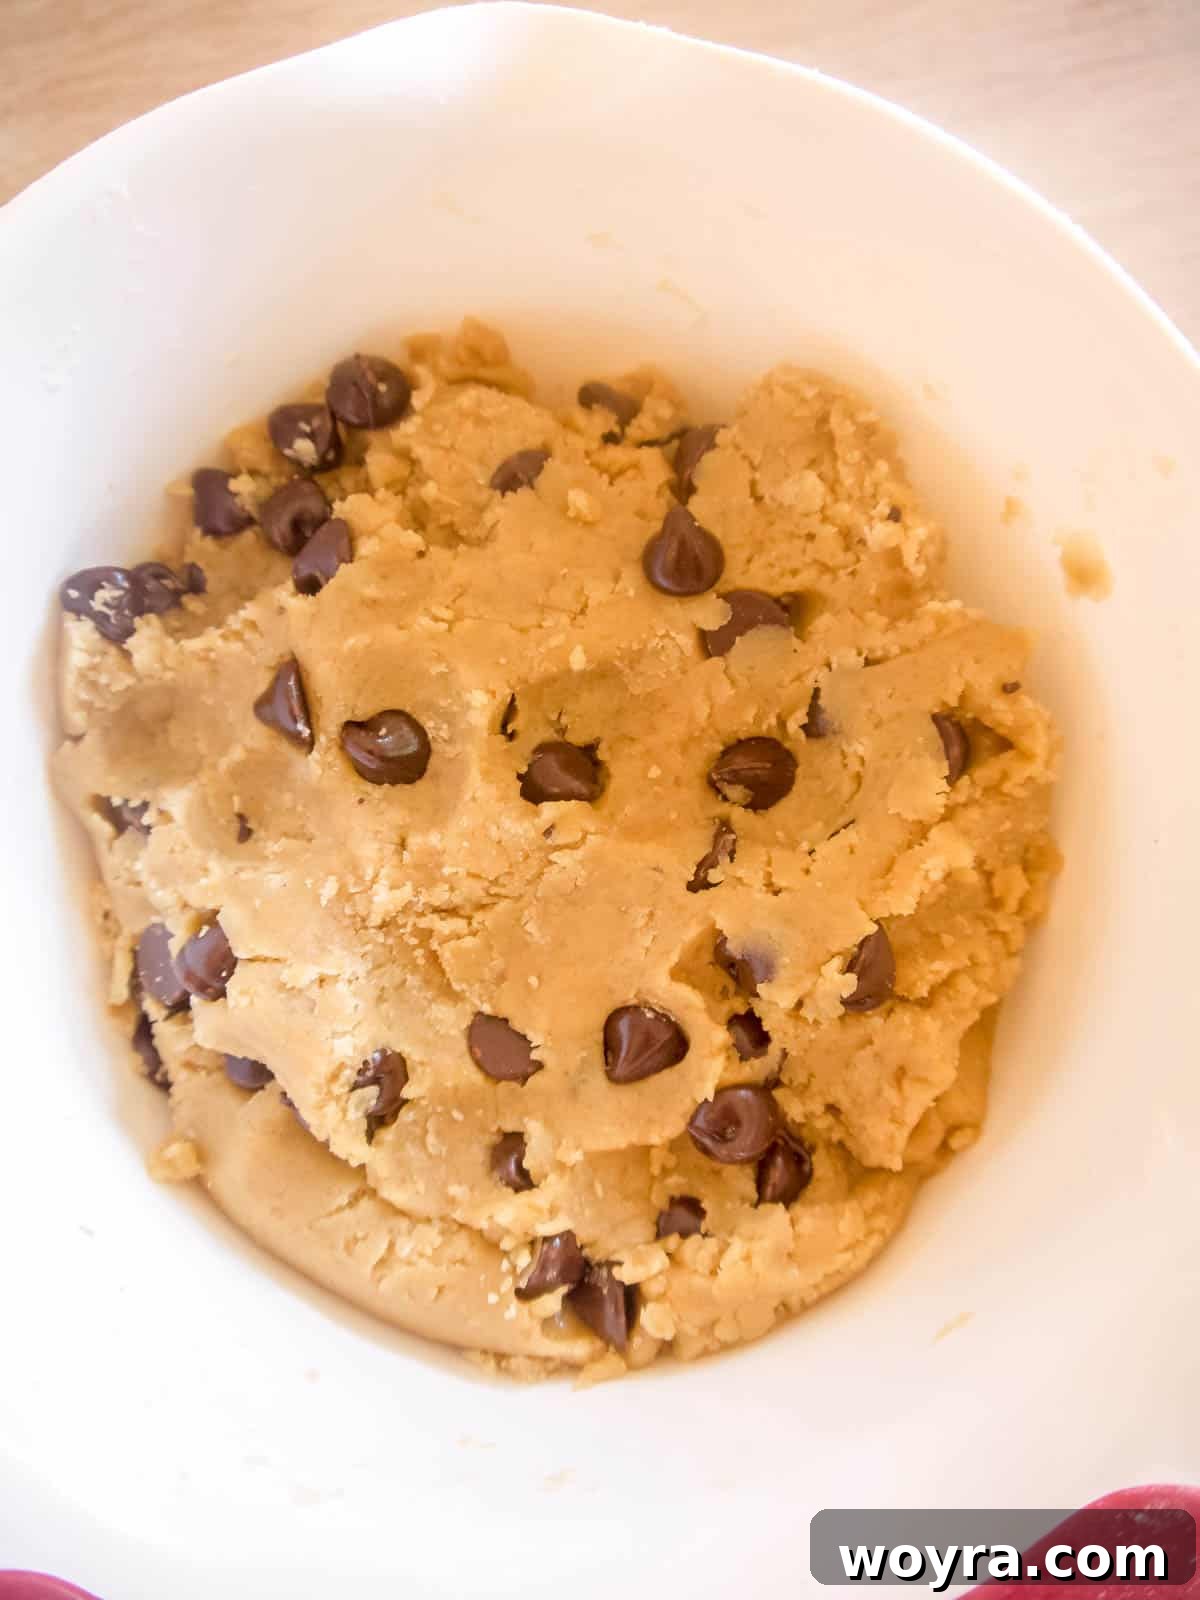
Step 3: Integrate Wet and Dry, Then Fold in Chocolate Chips. It’s now time to bring the two mixtures together. Add approximately half of the dry ingredients into the bowl containing the wet ingredients. Beat on low speed with your hand-held mixer until just combined. Then, add the remaining dry ingredients and continue mixing on low until a cohesive dough forms. Be careful not to overmix, as this can develop the gluten too much, leading to tough cookies. Once the dough is formed, switch to a spatula and gently fold in your dairy-free chocolate chips. Don’t be alarmed if the dough appears thick and slightly dry – this is completely normal for this recipe! If some chocolate chips don’t fully integrate, don’t worry; you can press them onto the cookies later.
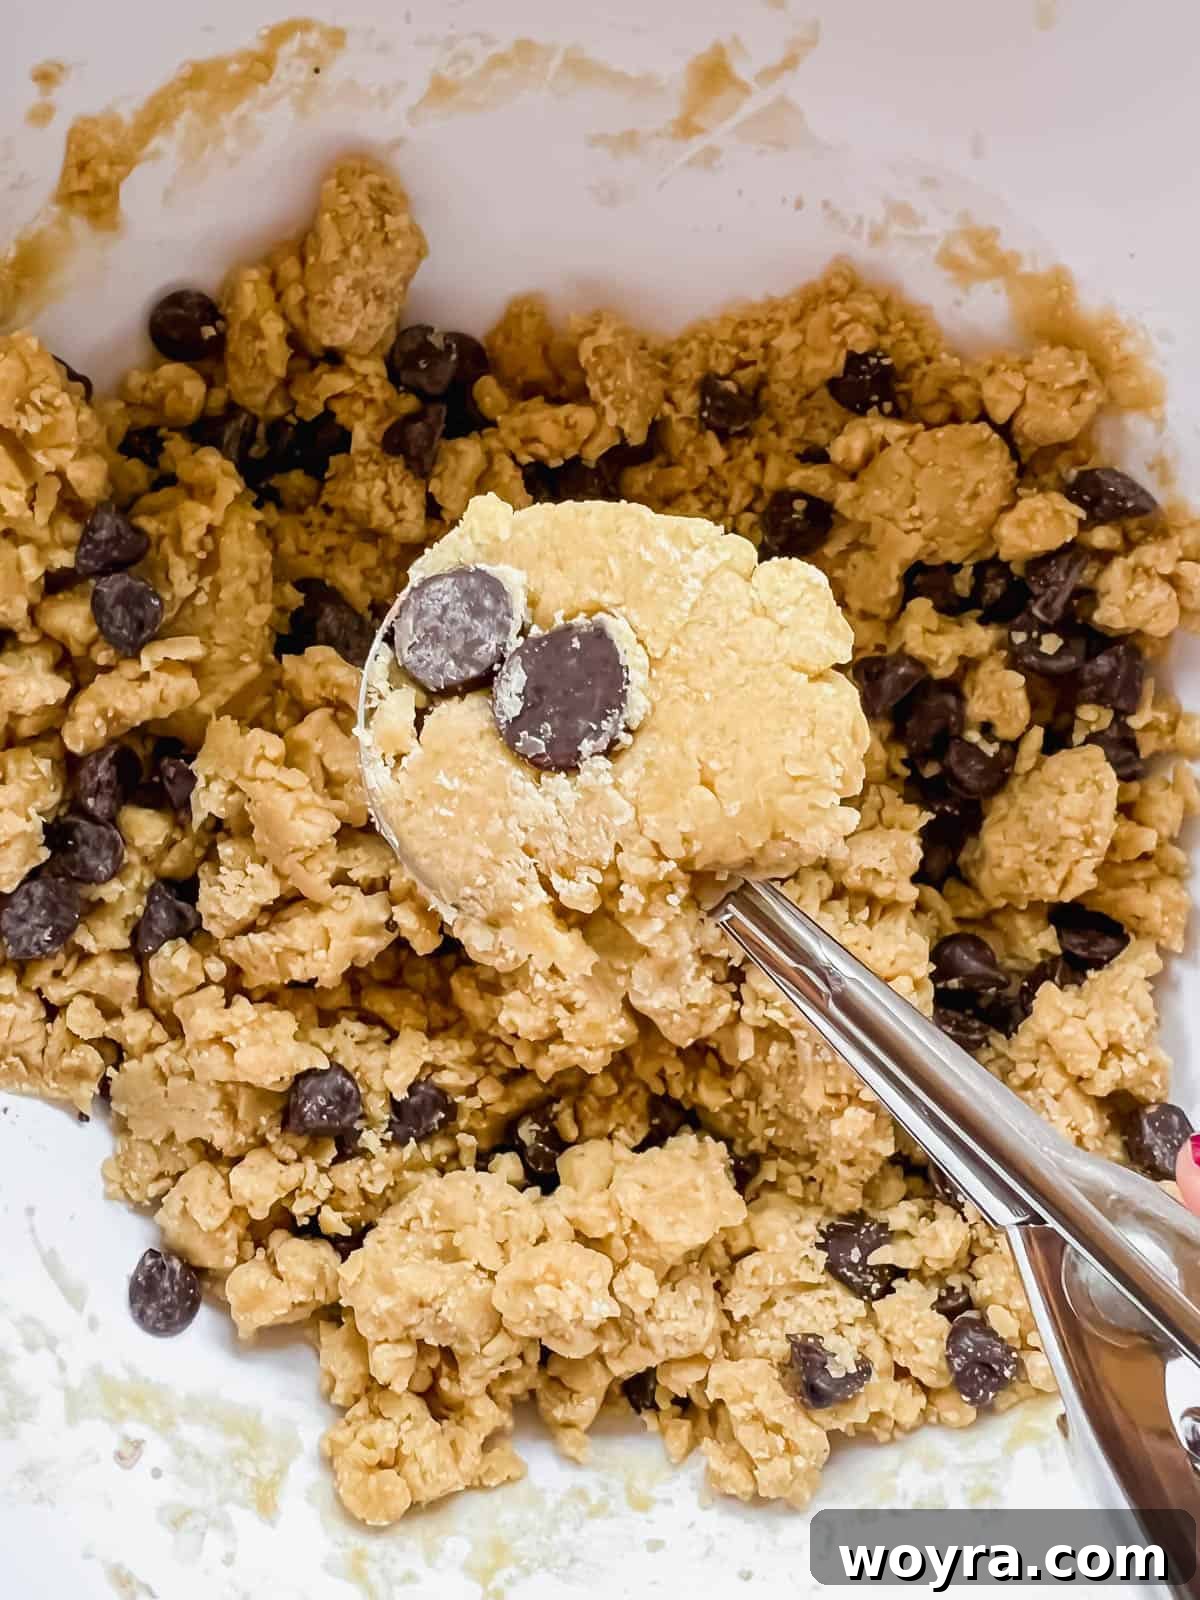
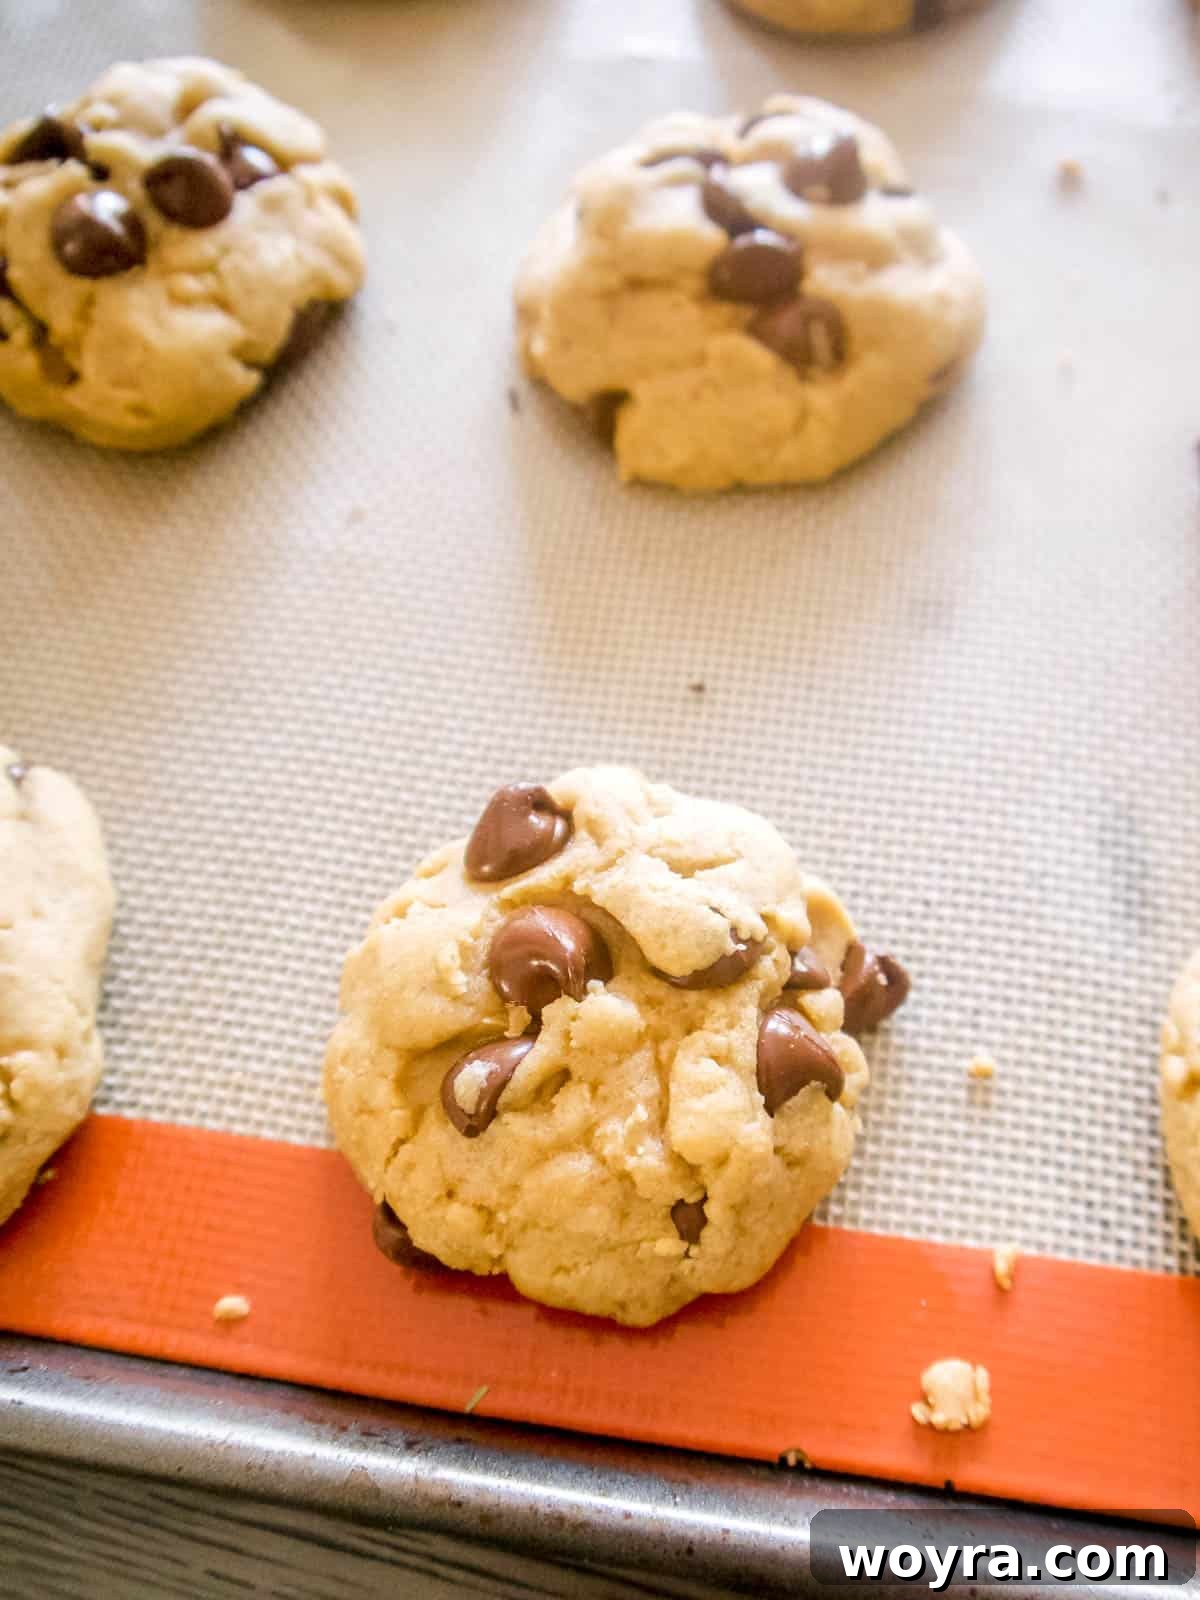
Step 4: Scoop, Roll, and Bake. Using a cookie scoop (or just a tablespoon), portion out golf-ball sized amounts of dough. Since this dough is thick, it’s essential to roll each portion into a smooth ball between the palms of your hands. This action helps the dough bind together, ensuring a more uniform cookie and a better overall texture. Place the rolled dough balls onto your prepared baking sheets, leaving enough space between them for spreading. If you reserved any chocolate chips, gently press a few onto the tops of the dough balls now for a visually appealing finish. Bake for 12-14 minutes. Crucially, do not over-bake! The cookies are ready when the edges are lightly set and the centers still look soft and slightly puffy. They won’t be deeply golden on top but will continue to firm up as they cool.
Pro Tips & Expert Tricks for Ultimate Cookie Success
Even the simplest cookie recipes benefit from a few expert insights. Follow these tips to ensure your olive oil chocolate chip cookies turn out perfectly every single time:
- Mastering Flour Measurement: The single most common baking mistake is incorrectly measuring flour. Always spoon your flour into the measuring cup, then level it off with the straight edge of a knife. Never scoop directly from the bag with your measuring cup, as this compacts the flour and can add too much, resulting in dense, dry cookies.
- The Importance of Hand-Rolling: This dough is intentionally thick and may seem a little dry. The act of rolling the dough into smooth balls between your hands before placing them on the baking sheet is absolutely essential. This not only helps the dough cohere but also contributes significantly to the final chewy texture and prevents crumbling.
- Maximizing Chocolate Distribution: It’s quite normal for some chocolate chips to resist fully mixing into this thick dough. Don’t consider them “leftovers”! Instead, take these unmixed chips and gently press them onto the tops of your formed cookie dough balls just before they go into the oven. This ensures beautiful, visible chocolate pockets in every cookie and an appealing finish.
- Choosing Your Olive Oil Wisely: The flavor of your cookies will be subtly influenced by the olive oil you choose. For a very delicate, almost imperceptible olive oil taste, opt for a “light tasting” olive oil, which tends to be lighter in color and flavor. If you enjoy the robust, fruity, or slightly peppery notes of olive oil, select a high-quality extra virgin olive oil (often darker in color) for a more pronounced and sophisticated flavor profile.
- Never Over-Bake! This is the golden rule for soft, chewy cookies. These olive oil cookies typically won’t develop a deep golden-brown top. They are done when the edges are lightly set and the centers appear slightly puffed up and soft to the touch. They will continue to set as they cool on the baking sheet. Over-baking, even by a minute or two, can transform them from wonderfully soft to hard and dry.
- Room Temperature Ingredients: Ensure your egg and egg yolk are at room temperature. Room temperature eggs emulsify much better with the oil and sugar, creating a smoother, more uniform dough, which ultimately leads to a better cookie texture.
- Consider a Chill (Optional): If you prefer a slightly thicker cookie or are baking in a particularly warm kitchen, chilling the dough for 15-30 minutes before scooping and baking can help prevent excessive spreading, yielding a chewier result.
- Post-Bake Cooling Protocol: Once removed from the oven, allow the cookies to cool on the hot baking sheets for at least 5-10 minutes. They are very delicate when fresh out of the oven, and this crucial cooling period allows them to firm up slightly before you attempt to transfer them to a wire rack to cool completely.
- A Dash of Flaky Sea Salt: For an elevated gourmet touch, sprinkle a tiny pinch of flaky sea salt on top of each cookie dough ball before baking. The salt crystals provide a delightful textural crunch and brilliantly enhance the sweet and chocolatey flavors.
Frequently Asked Questions About Olive Oil Cookies
Can I use coconut sugar instead of brown sugar in this recipe?
The short answer is yes, you can, but it’s important to understand the delicious nuances and minor adjustments involved. Brown sugar is truly a star in traditional cookie recipes, primarily due to its molasses content. This gives cookies a wonderfully chewy, soft texture and a rich, deep, classic sweetness. It also contributes significant moisture.
Coconut sugar, on the other hand, offers a distinct, lovely caramel or toffee-like flavor profile. Many prefer it for its less refined nature and lower glycemic index. However, coconut sugar doesn’t retain moisture as effectively as brown sugar. If you simply swap it 1:1, your cookies might turn out a bit denser and drier than intended.
To achieve a beautifully soft and chewy texture when using coconut sugar, you’ll need to make a small but crucial adjustment: add an extra 1-2 tablespoons of olive oil or 2-4 tablespoons of unsweetened applesauce to your dough. This compensates for the moisture difference and ensures your cookies remain perfectly delightful.
Is olive oil a good substitute for butter in chocolate chip cookies?
Absolutely! Olive oil is not only a fantastic, but often healthier, replacement for butter, vegetable oil, or canola oil in chocolate chip cookies and many other baked goods. It’s rich in monounsaturated fats, making it a heart-healthier choice. Beyond the health aspect, olive oil imparts an incredible moistness and tenderness to the cookies, while also adding a subtle, sophisticated flavor that enhances the overall profile. It’s a game-changer for dairy-free baking!
Are chocolate chip cookies typically dairy-free?
Generally, no, traditional chocolate chip cookies are not dairy-free. They heavily rely on butter, a dairy product, for their fat content and flavor. Additionally, many standard chocolate chips contain milk solids. However, creating delicious dairy-free chocolate chip cookies is surprisingly easy! By simply substituting butter with olive oil, ensuring no other dairy ingredients are added (like milk), and specifically choosing dairy-free chocolate chips, you can effortlessly transform them into a delicious treat that accommodates dairy-free diets without sacrificing taste or texture.
Can you freeze these olive oil chocolate chip cookies?
Yes, these olive oil chocolate chip cookies are excellent candidates for freezing, whether baked or as raw dough. This makes them perfect for future enjoyment or for having fresh-baked cookies on demand.
To freeze baked cookies: Once your cookies are completely baked and cooled, wrap each one individually in plastic wrap, then place them in an airtight freezer-safe bag or container. They can be stored in the freezer for up to 2-3 months. To enjoy, simply remove them from the freezer and let them thaw at room temperature. For a truly fresh-baked experience, warm them in the microwave for a few seconds until the chocolate is gooey.
To freeze raw cookie dough: Scoop and roll the dough balls as instructed in the recipe. Place these unbaked dough balls on a parchment-lined baking sheet and freeze until they are completely solid (this usually takes 1-2 hours). Once frozen, transfer the dough balls to an airtight freezer bag. You can store them for up to 3 months. When ready to bake, place the frozen dough balls on a prepared baking sheet and bake as usual, adding an extra 1-3 minutes to the baking time.
Storage and Serving Tips for Peak Freshness
To ensure your Olive Oil Chocolate Chip Cookies remain delicious and maintain their delightful texture, proper storage is key. Store the cooled cookies in an airtight container at room temperature for up to 3-4 days. While they are undoubtedly best enjoyed warm and fresh from the oven, their incredible softness and chewiness hold up remarkably well over several days.
For an extra touch of indulgence, especially on subsequent days, you can warm them briefly in the microwave for 10-15 seconds. This gently melts the chocolate chips and brings back that lovely gooey center, mimicking a fresh-baked cookie. These cookies are perfect on their own, paired with a glass of your favorite dairy-free milk, or as a sophisticated dessert alongside a scoop of dairy-free vanilla bean ice cream. They also make a thoughtful and much-appreciated homemade gift for friends and family!
Explore More Delicious Olive Oil Desserts
If you’ve discovered the wonderful world of baking with olive oil and are eager for more, here are some other fantastic dairy-free dessert recipes that utilize this versatile ingredient:
- These Paleo Almond Flour Brownies with Olive Oil are incredibly fluffy, intensely fudgy, and truly hit the sweet spot for a healthier brownie option.
- Start your day (or enjoy a delightful snack) with these flavorful Strawberry Chocolate Chip Muffins made with Olive Oil, bursting with sweet berries and rich chocolate.
- For a zesty and bright treat, try these Lemon Sugar Cookies with Olive Oil – a dairy-free take on a classic sugar cookie, elevated with refreshing lemon.
- During autumn or any time you crave cozy flavors, this Olive Oil Pumpkin Cake is an absolute favorite, featuring moist pumpkin cake topped with a luscious cream cheese frosting (easily made dairy-free).
Did you bake these delightful cookies? We’d absolutely love to hear about your experience! Please leave us a ⭐ review below! Your valuable feedback helps others discover and enjoy these amazing dairy-free treats.
Olive Oil Chocolate Chip Cookies (Dairy-free)
Servings: 18 cookies
Cook: 12 mins
Total: 27 mins
Chewy, soft, and melt-in-your-mouth dairy-free chocolate chip cookies made simply with olive oil.
Ingredients
- 2 cups all-purpose flour
- ½ tsp baking soda
- ½ tsp salt
- ¾ cup light olive oil
- 1 cup brown sugar (see notes for coconut sugar tips)
- 1 large egg plus 1 egg yolk
- 2 tsp vanilla extract
- 1 cup dairy-free chocolate chips
Instructions
- Preheat oven to 325° F (160°C). Line two cookie sheets with parchment paper or silicone baking mats.
- In a medium bowl, whisk together flour, baking soda, and salt. Set aside.
- In a larger bowl, whisk olive oil and brown sugar until thoroughly combined. Add egg, yolk, and vanilla, then mix with a hand-held mixer until smooth. Gradually add the dry ingredients in two batches, beating until just combined after each addition.
- Stir in the dairy-free chocolate chips with a spatula. The dough will be thick and slightly dry, which is correct. If some chips don’t mix in, save them for later.
- Scoop golf-ball sized dough portions. Roll each portion into a ball between your hands, then place on prepared cookie sheets. Press any spare chocolate chips onto the tops.
- Bake for 12-14 minutes. Do not over-bake. Cookies are done when edges are lightly set and centers are puffy and soft but not gooey.
- Cool on baking sheets for a few minutes, then transfer to wire racks to cool completely.
Notes
- Measure flour accurately: Spoon flour into the measuring cup and level with a knife.
- Roll the dough: The thick, dry dough requires hand-rolling into balls for best texture.
- Extra chocolate chips: Press any unmixed chocolate chips onto the tops of the cookies before baking.
- Olive oil flavor: Use light olive oil for milder flavor; a darker, robust oil for a stronger taste.
- Coconut sugar substitution: If using coconut sugar, add 1-2 Tbs extra olive oil or 2-4 Tbs unsweetened applesauce to prevent dryness.
- Avoid over-baking: Cookies should be light in color and soft in the center; they firm up as they cool.
Nutrition
Calories: 179 kcal
Carbohydrates: 20.8 g
Protein: 2.2 g
Fat: 10 g
Nutrition information is automatically calculated and should only be used as an approximation. It may vary based on specific ingredients and brands used.
Additional Info
Cuisine: American