
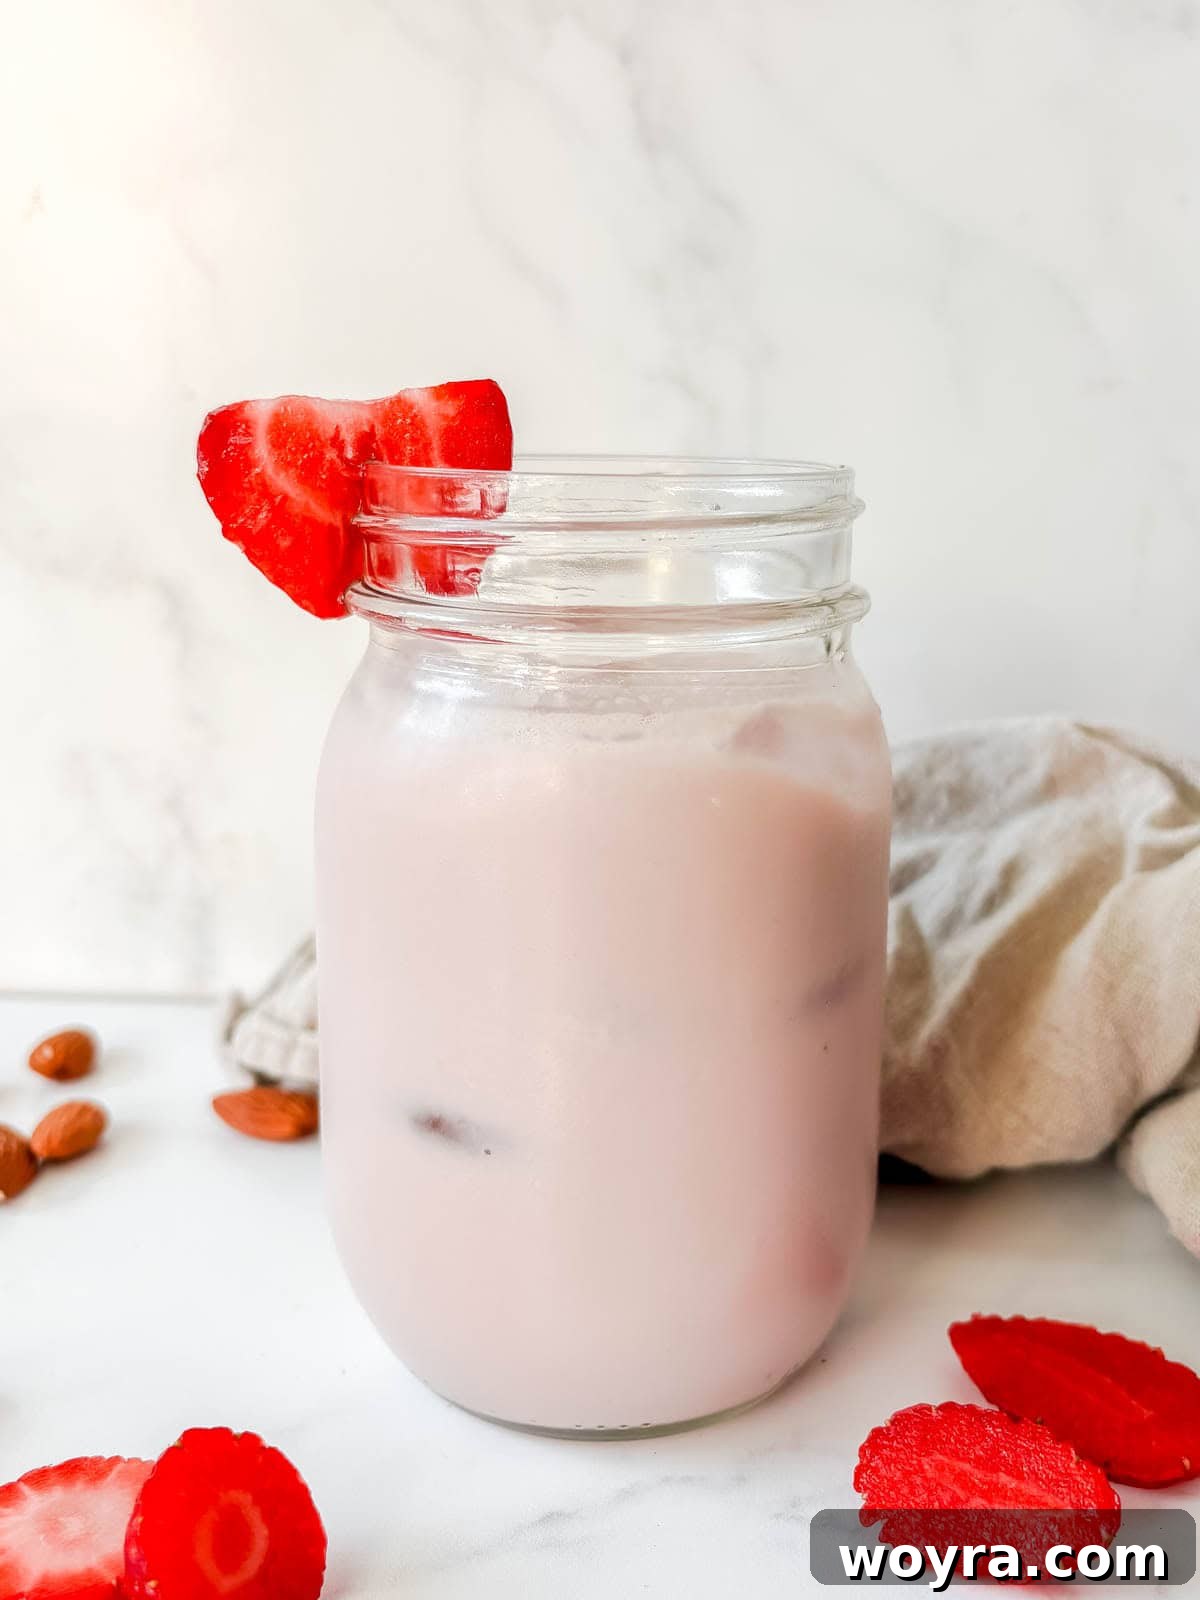
Homemade Strawberry Almond Milk: A Refreshing & Healthy Dairy-Free Delight
Discover how to create your very own creamy, healthy, and entirely dairy-free homemade strawberry almond milk using fresh strawberries to craft a natural, delicious syrup. Perfect for sipping on its own, adding to smoothies, or enjoying with your favorite breakfast cereals.
There’s nothing quite like the vibrant flavor of fresh strawberries, and when combined with the smooth, nutty goodness of homemade almond milk, it creates an irresistible treat. This recipe promises an authentic strawberry taste, far superior to store-bought alternatives, all thanks to a simple, homemade syrup made from ripe strawberries and natural maple syrup.
This delightful drink is not only vegan but also a wonderful dairy-free option that truly satisfies those strawberry cravings. Imagine starting your day with it poured over a bowl of crunchy granola or blending it into a revitalizing smoothie. On a warm afternoon, a tall glass of this chilled strawberry almond milk with ice is pure bliss.
If you’re exploring other almond milk creations, don’t miss our recipes for homemade chocolate mint almond milk or a soothing almond milk matcha latte.
Table of Contents
- What Makes This Homemade Strawberry Almond Milk Special
- Essential Ingredients for Your Strawberry Almond Milk
- Customizing Your Homemade Strawberry Milk
- Step-by-Step Instructions to Make Strawberry Almond Milk
- Creative Ways to Enjoy Your Homemade Strawberry Almond Milk
- The Advantages of Making Your Own Plant-Based Milks
- Pro Tips for Perfect Homemade Almond Milk
- Frequently Asked Questions About Strawberry Almond Milk
- More Delicious Strawberry Recipes You’ll Love
- Homemade Strawberry Almond Milk (Vegan, Dairy-free) Recipe Card
What Makes This Homemade Strawberry Almond Milk Special
Ditching store-bought cartons for a homemade alternative brings a world of benefits, and this strawberry almond milk recipe truly shines for several reasons:
- It is made with a handful of clean, wholesome ingredients. Unlike many commercial almond milks that contain thickeners, gums, and emulsifiers, our homemade version is free from these additives, ensuring a pure and natural drink.
- It is surprisingly easy to make. With a little planning for almond soaking, the active preparation time is minimal, making it accessible even for busy schedules.
- You’ll enjoy an incredibly rich and authentic strawberry flavor. By crafting your own strawberry syrup from fresh fruit, you capture the true essence of strawberries, creating a taste that’s both vibrant and naturally sweet.
- It’s an ideal choice for those seeking a dairy-free and Vegan strawberry milk option. Whether you have dietary restrictions, allergies, or simply prefer plant-based alternatives, this recipe delivers a delicious and satisfying solution.
- You have complete control over sweetness and ingredients, allowing you to tailor the flavor profile to your personal preferences.
Essential Ingredients for Your Strawberry Almond Milk
Crafting the perfect homemade strawberry almond milk starts with selecting quality ingredients. Here’s what you’ll need and why each component is important:
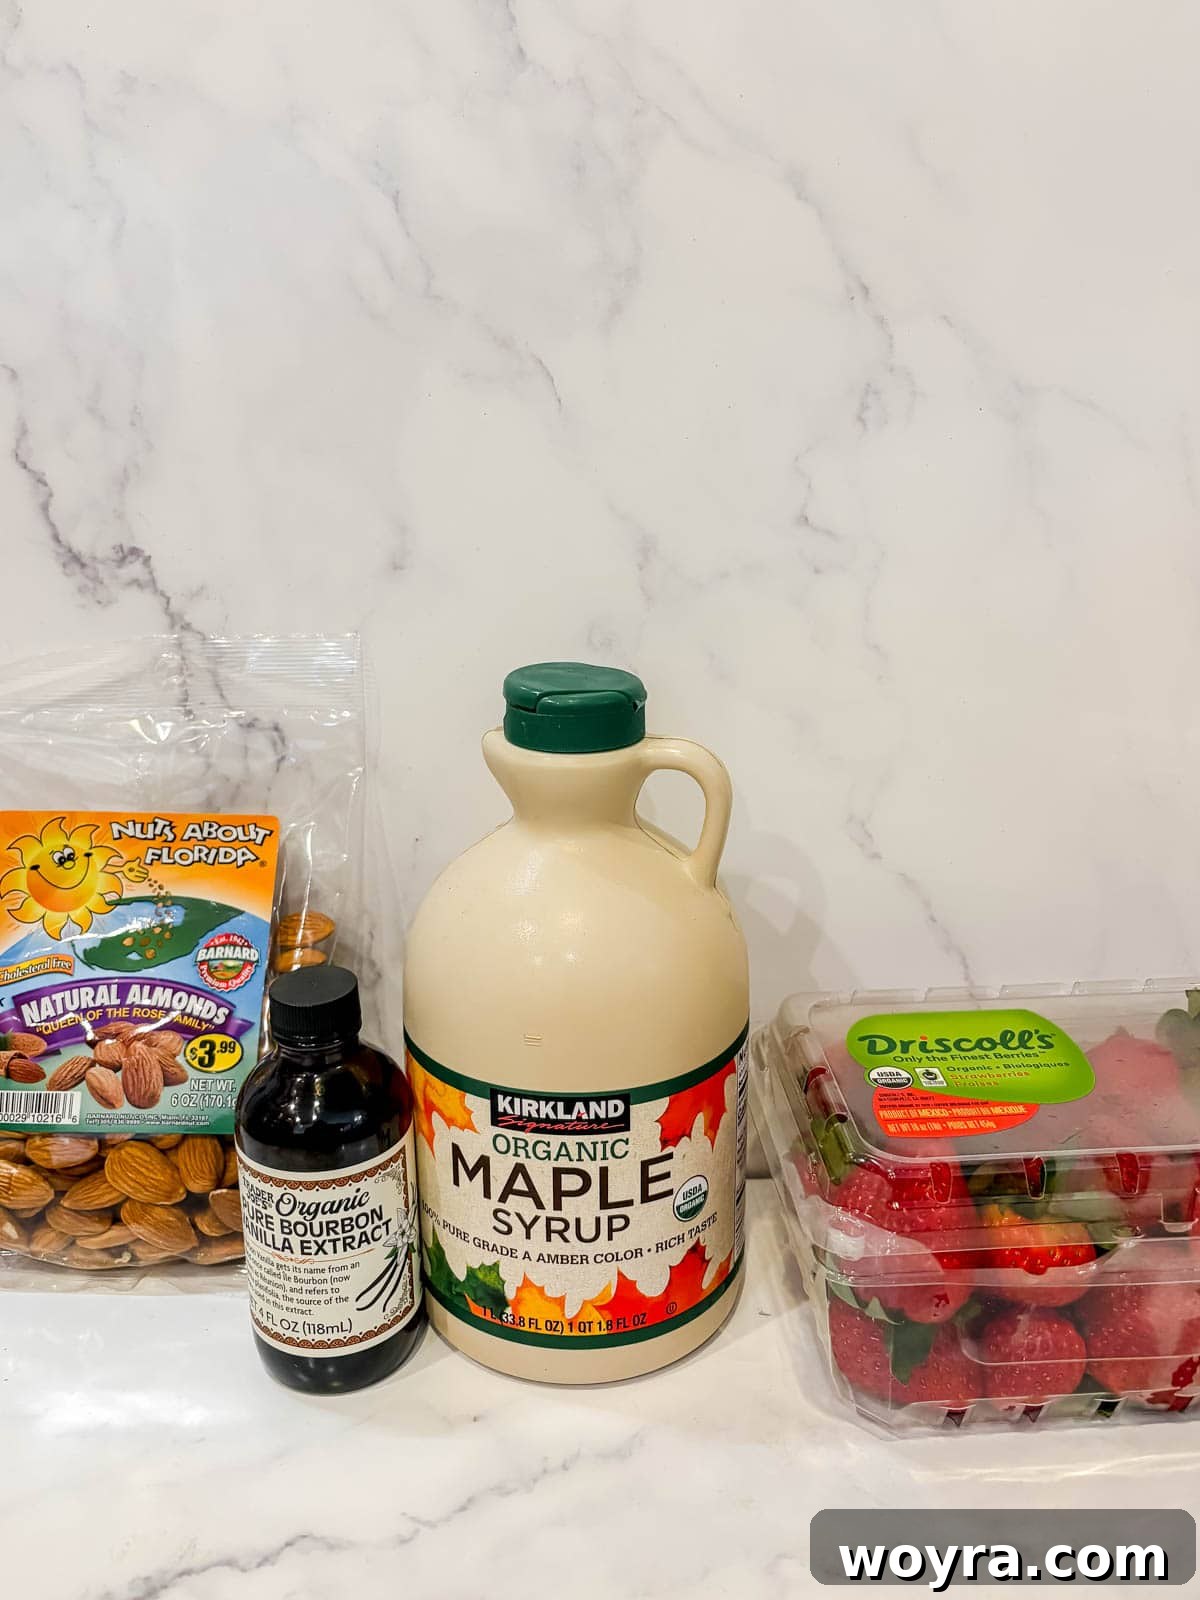
- Almonds – Opt for raw, unsalted, and unroasted almonds. Raw almonds yield the creamiest milk with a neutral flavor profile that perfectly complements the strawberries. Roasted or flavored almonds would alter the taste considerably.
- Water – Filtered water is highly recommended for both soaking the almonds and blending the milk. It ensures the purest taste, free from any tap water impurities that could affect the final flavor.
- Vanilla Extract – A touch of vanilla extract adds a beautiful aromatic depth and balance to the overall flavor. You can use any high-quality vanilla extract that suits your dietary needs.
- Strawberries – Fresh, ripe strawberries are the star of this recipe, used to make a vibrant, flavorful syrup. Their natural sweetness and slightly tart notes are essential for the authentic strawberry taste.
- Maple Syrup – This natural sweetener is used to enhance the sweetness of the strawberry syrup. Pure maple syrup is preferred for its distinct flavor and to keep the recipe vegan.
For exact measurements and a complete list, please refer to the recipe card further down the page.
Customizing Your Homemade Strawberry Milk
While the recipe is perfect as is, you can easily make minor adjustments to suit your taste or dietary preferences:
- Sweetener Swap: If you prefer, you can substitute maple syrup with honey to sweeten your strawberry syrup. However, be aware that using honey will make the recipe no longer vegan. Agave nectar is another excellent vegan alternative to maple syrup.
- Vanilla Variation: While vanilla extract enhances the overall flavor balance, it can be omitted if you desire a more intense, singular strawberry taste. Consider adding a pinch of salt to balance the sweetness if you skip the vanilla.
- Flavor Boosters: A tiny splash of rose water or a hint of lemon zest in the strawberry syrup can elevate the flavor profile, adding an unexpected layer of complexity.
If you are wanting to make oat milk instead, try this homemade oatmilk recipe from The Helpful GF for another excellent plant-based option.
Step-by-Step Guide to Crafting Your Strawberry Almond Milk
Follow these detailed steps to create your fresh, flavorful strawberry almond milk from scratch:
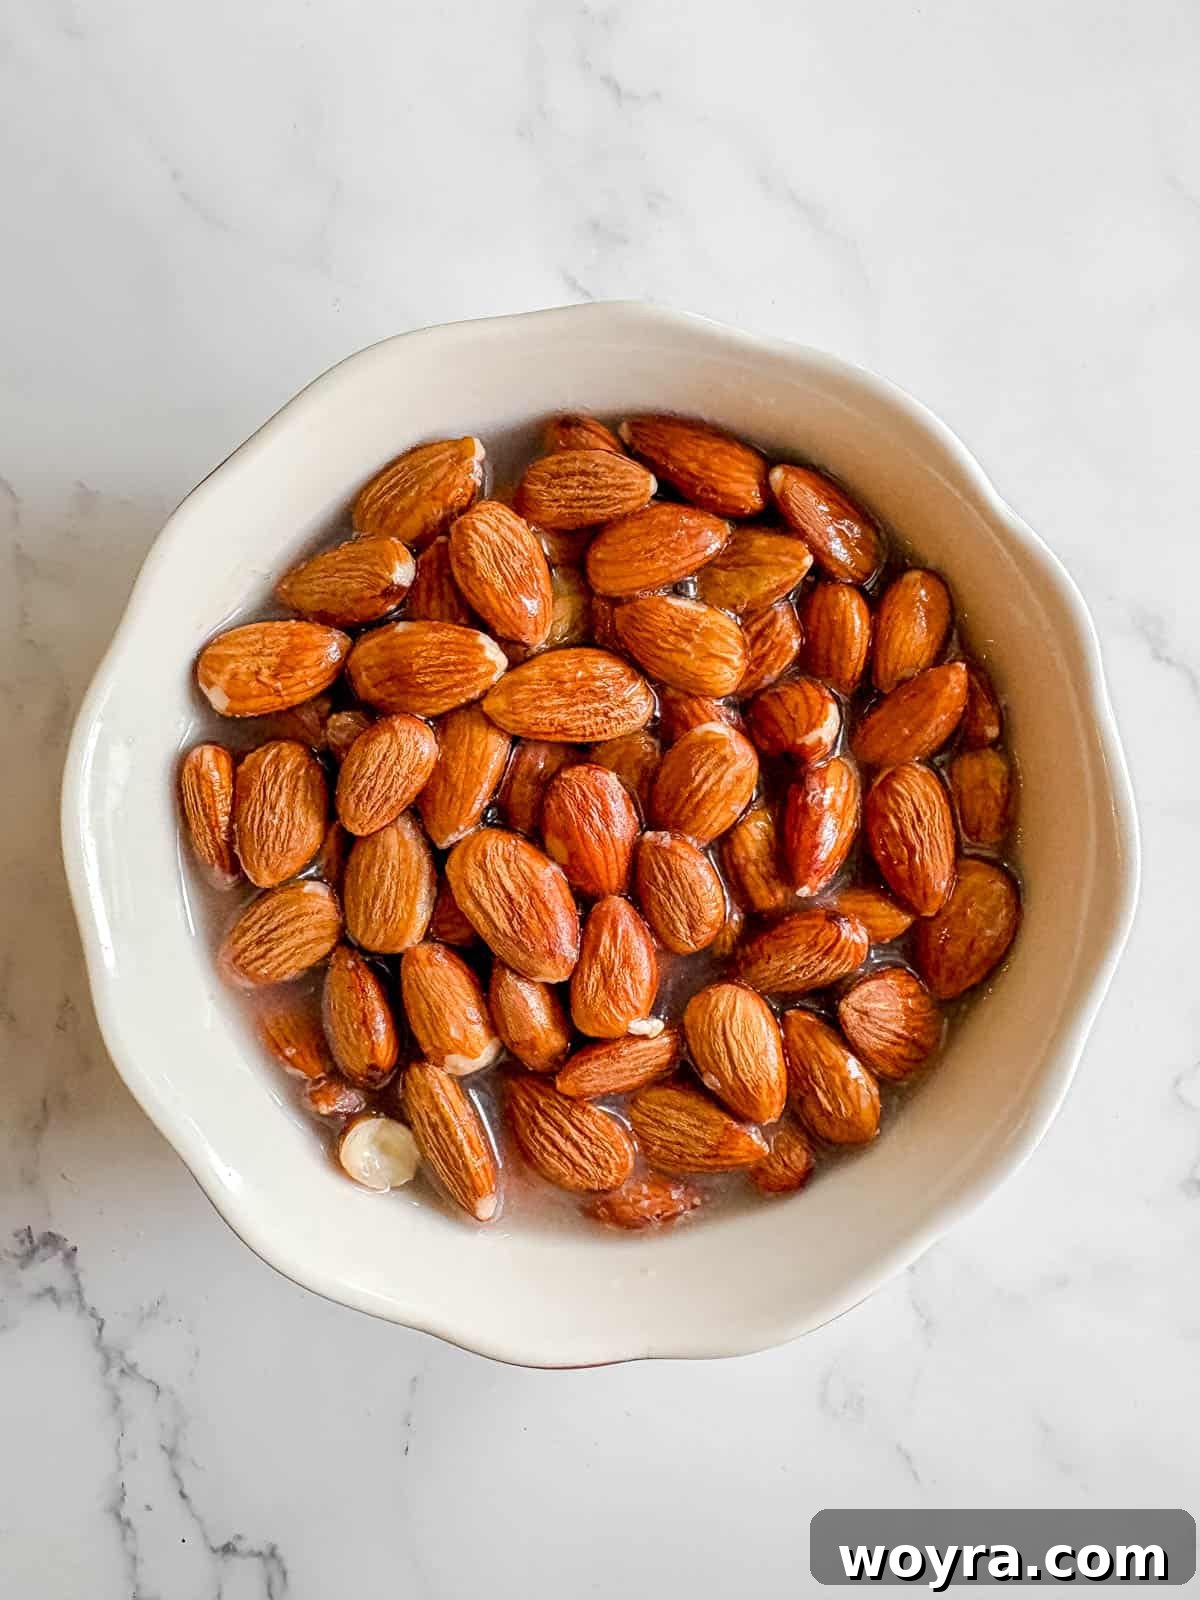
Step 1: Soak the almonds. Begin by placing your raw almonds in a bowl and covering them generously with filtered water. Allow them to soak for a minimum of 8 hours, or ideally, overnight (12 hours). Soaking softens the almonds, making them easier to blend into a truly creamy milk and enhancing nutrient absorption.
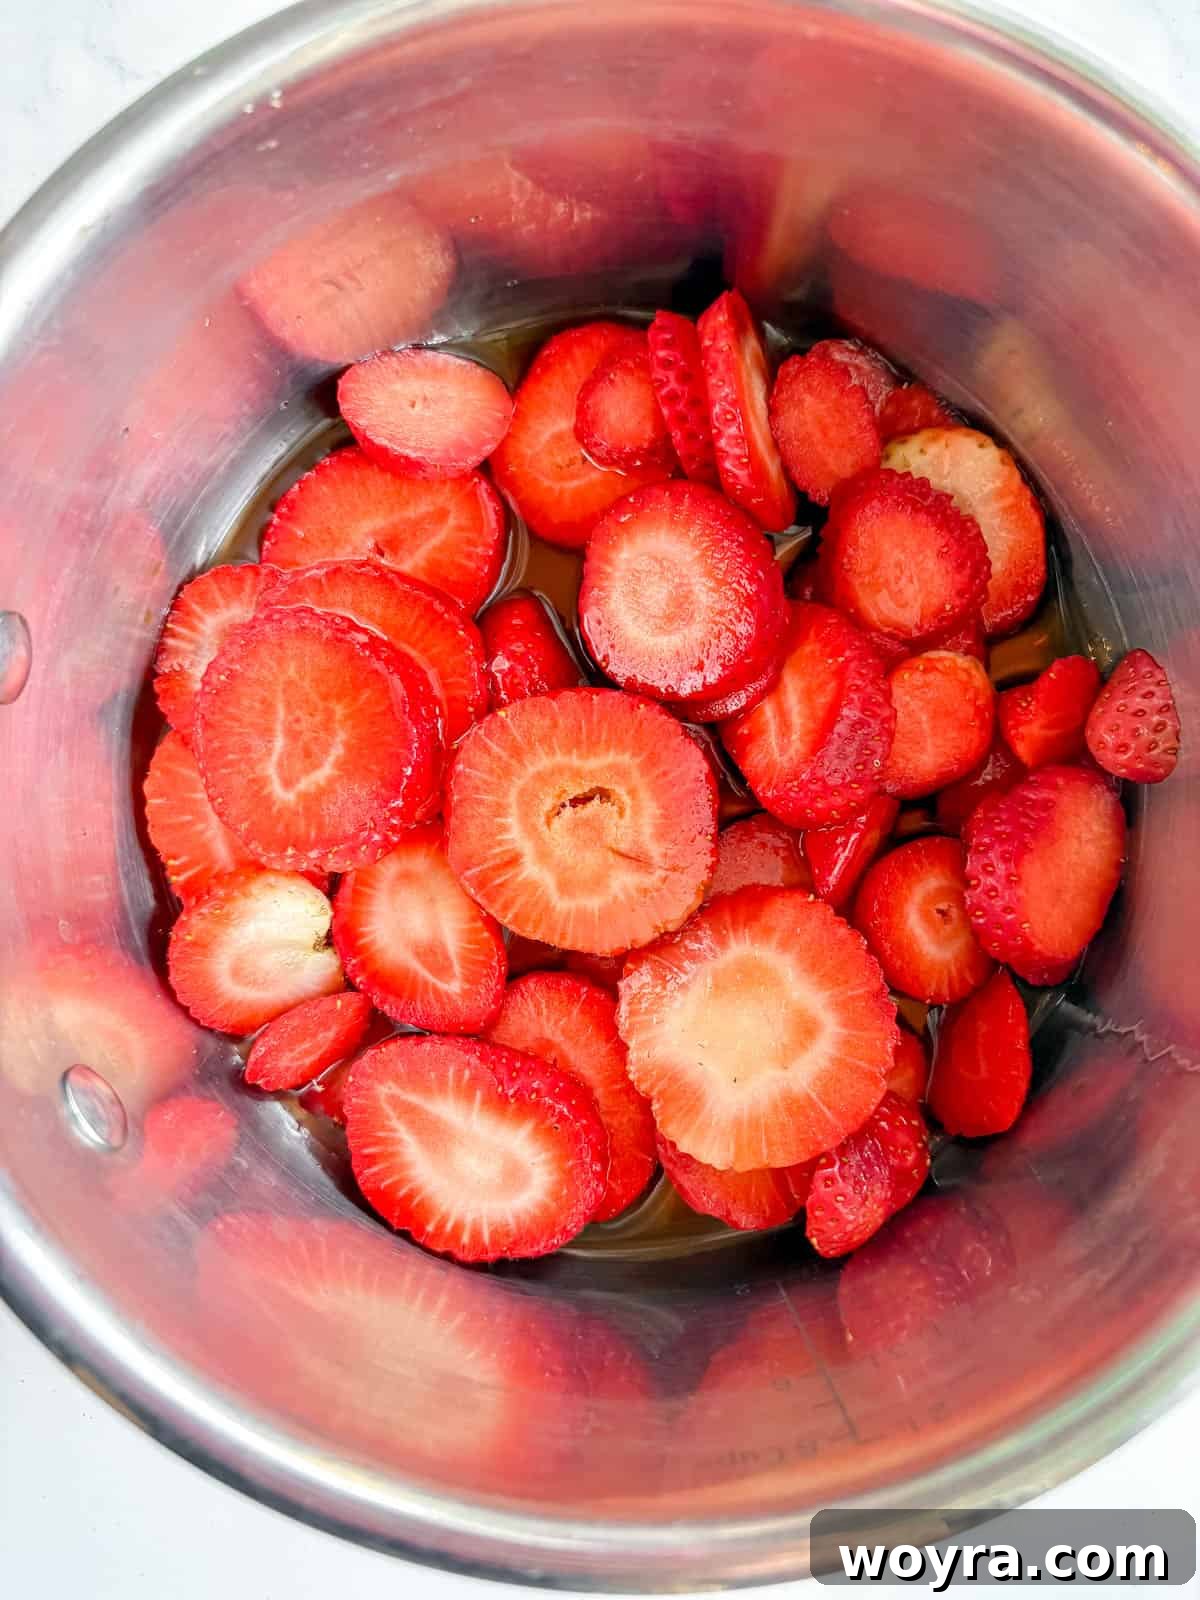
Step 2: Prepare the strawberry syrup. In a small saucepan, combine the sliced fresh strawberries, maple syrup, vanilla extract, and 2 tablespoons of water. Cook this mixture over medium heat, stirring occasionally to ensure even cooking. Bring it to a gentle bubble, then stir again. As the strawberries cook, they will begin to soften. Once tender, use a fork or a potato masher to gently mash them, releasing their juices and creating a pulp. Continue to cook and stir often, especially towards the end, to prevent sticking, until the mixture thickens into a beautiful, aromatic syrup. This usually takes about 15 minutes.
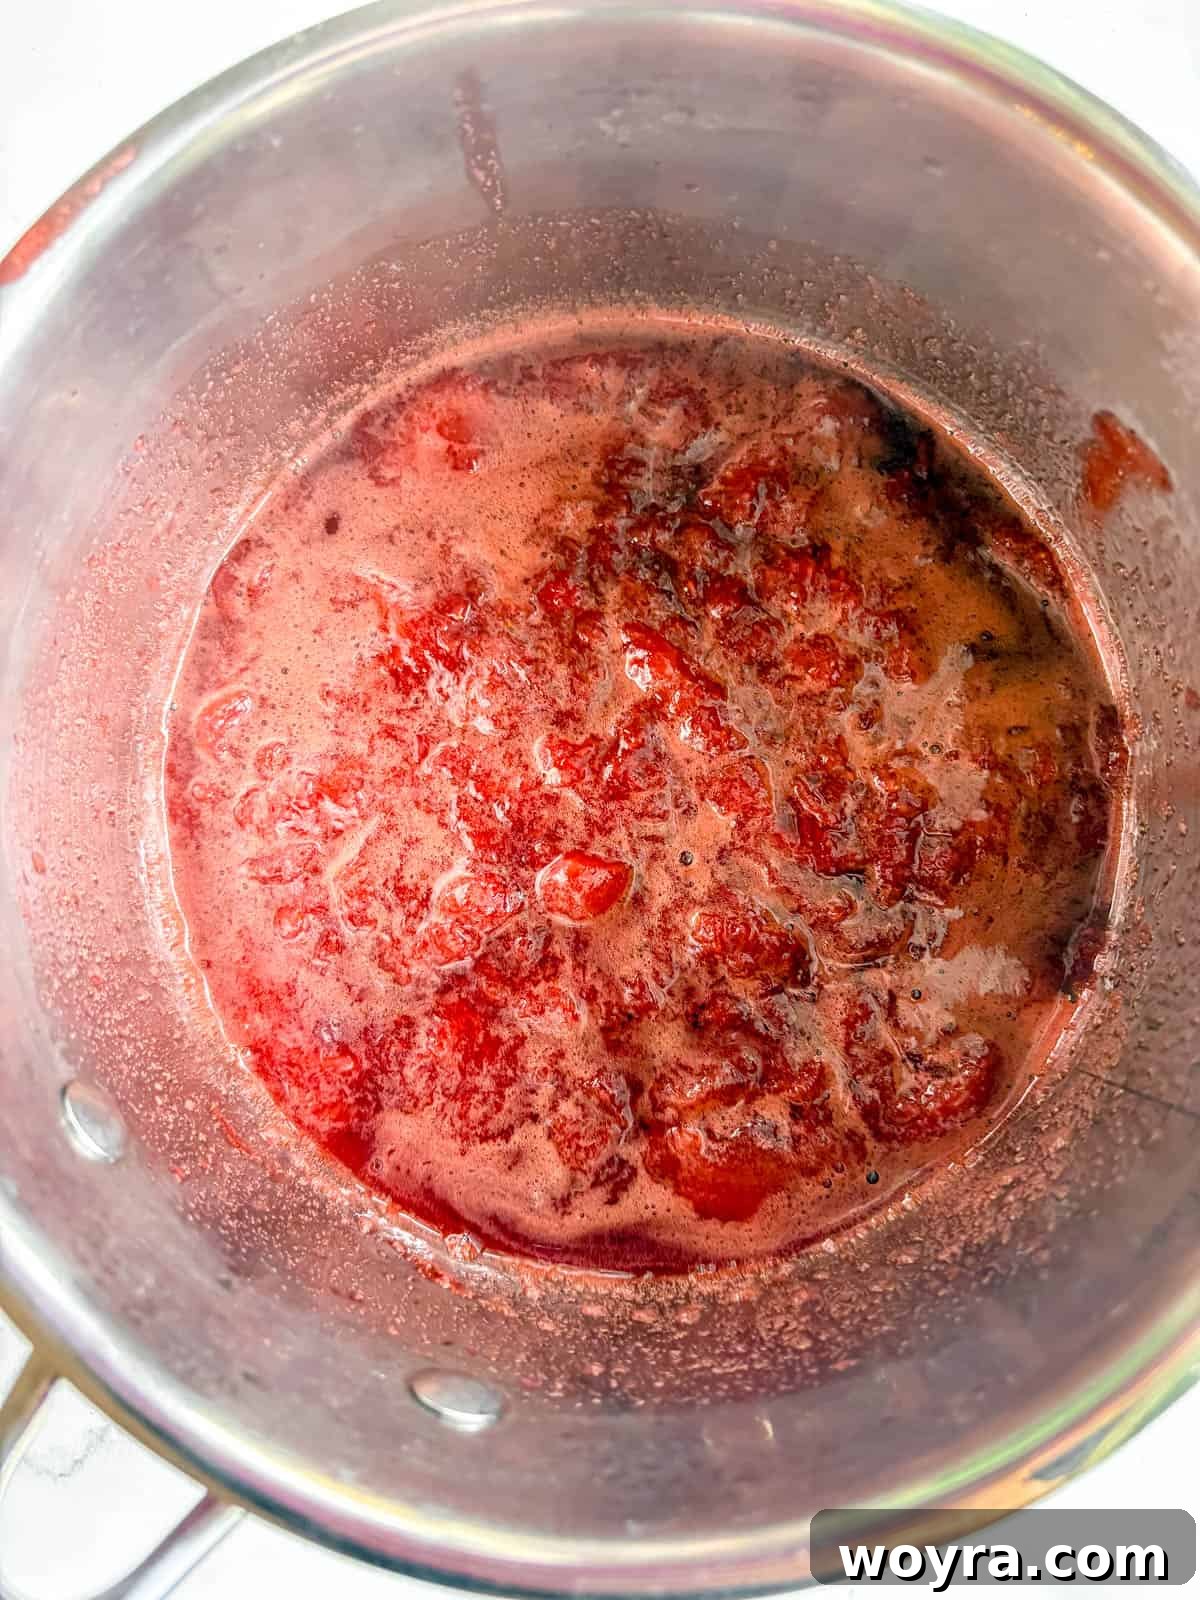
Step 3: Strain the syrup. Once your strawberry syrup has reached the desired consistency and the strawberries are fully mashed, carefully pour the mixture through a fine-mesh strainer into a clean bowl. Press gently with the back of a spoon to extract as much liquid syrup as possible. Reserve both the strained syrup (approximately 4 tablespoons) and the strawberry pulp/remains for later use in the recipe.
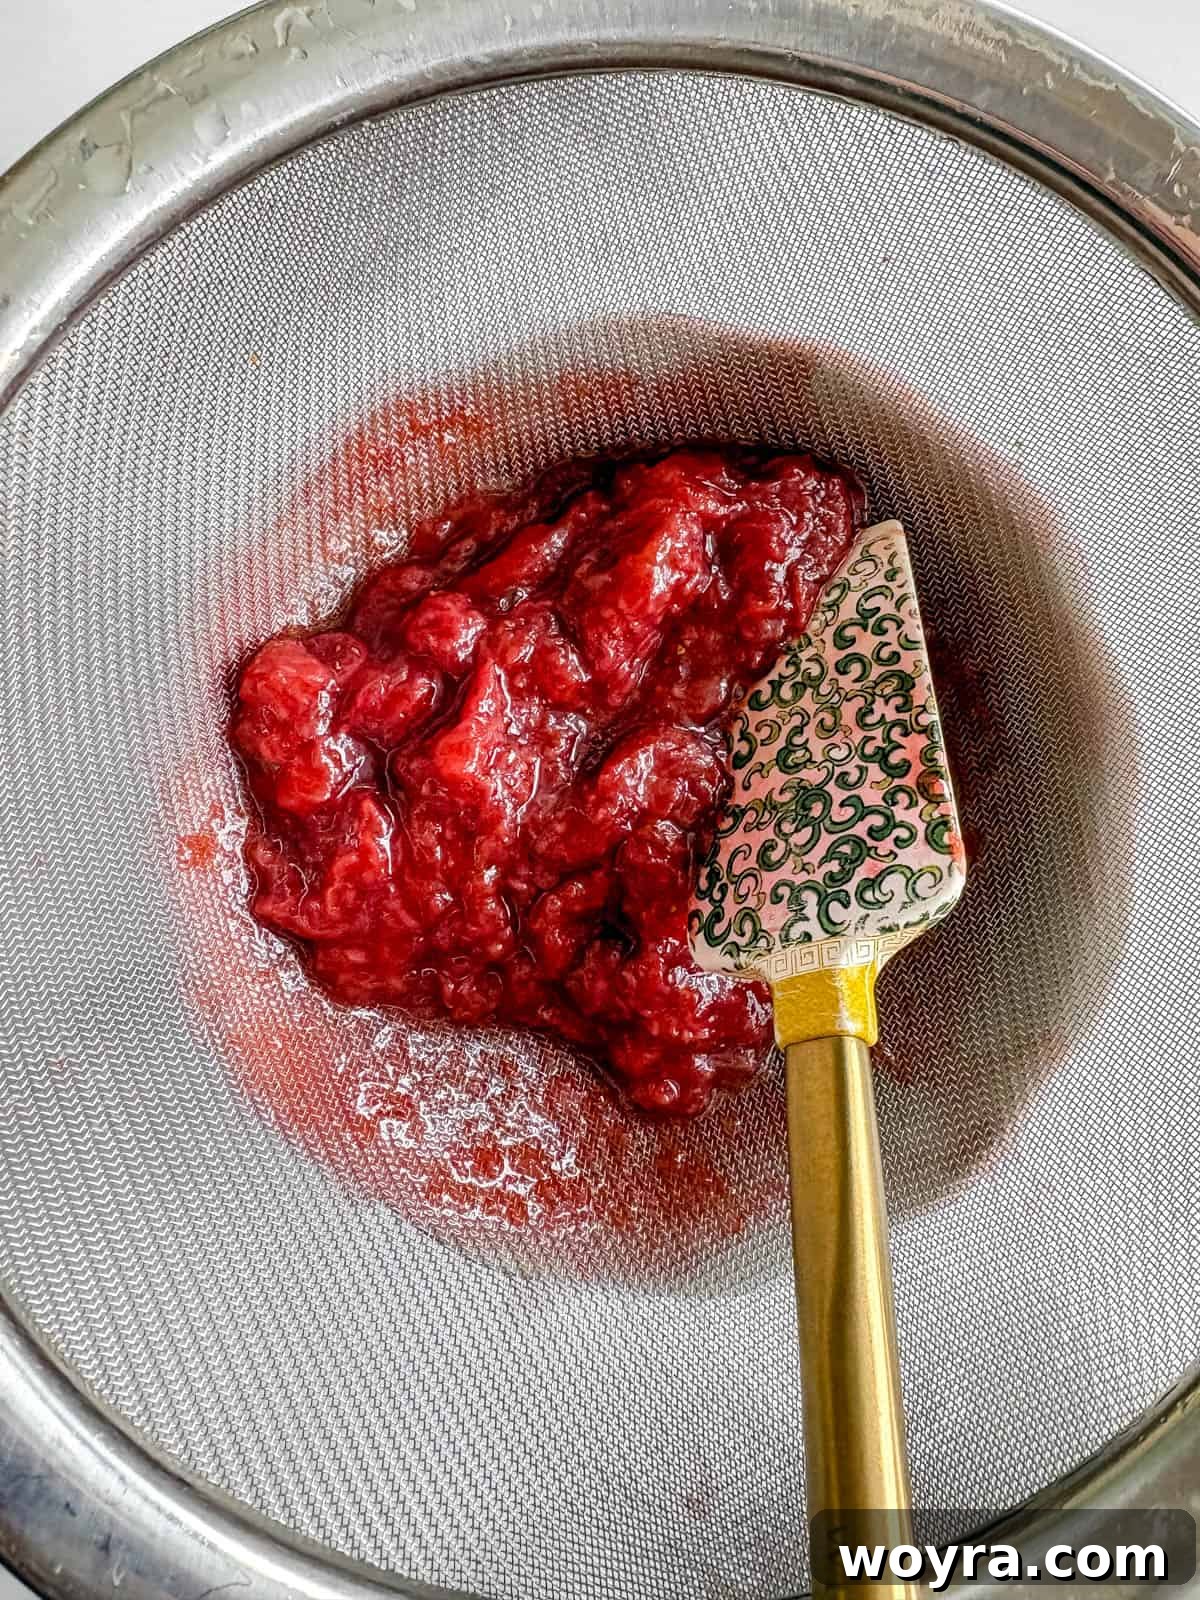
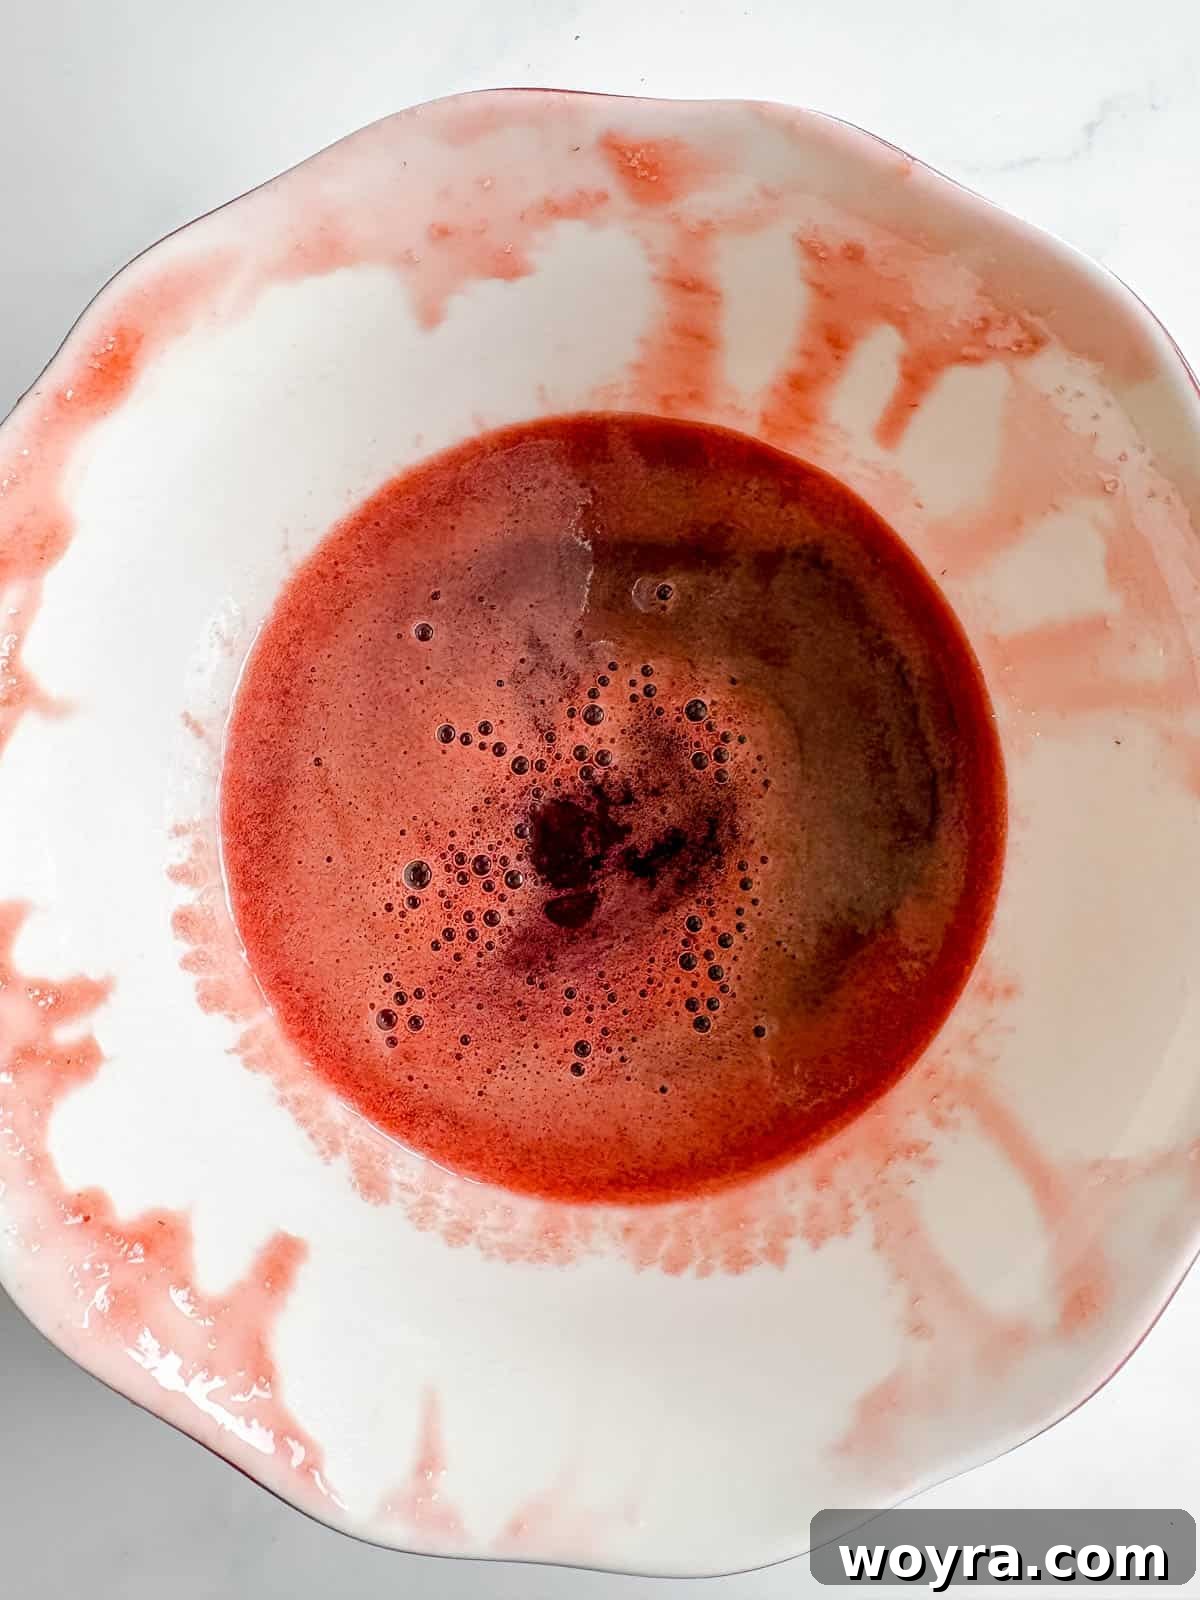
Step 4: Set aside the syrup. You should have roughly 4 tablespoons of concentrated strawberry syrup. Place this vibrant syrup aside; it will be combined with your fresh almond milk later. The remaining strawberry pulp will also be used to infuse more flavor into the almond milk base.
Step 5: Prepare for blending. Drain the soaked almonds thoroughly and rinse them under fresh running water. Transfer the clean almonds to a high-speed blender. This fresh start ensures a clean, pure taste for your milk.
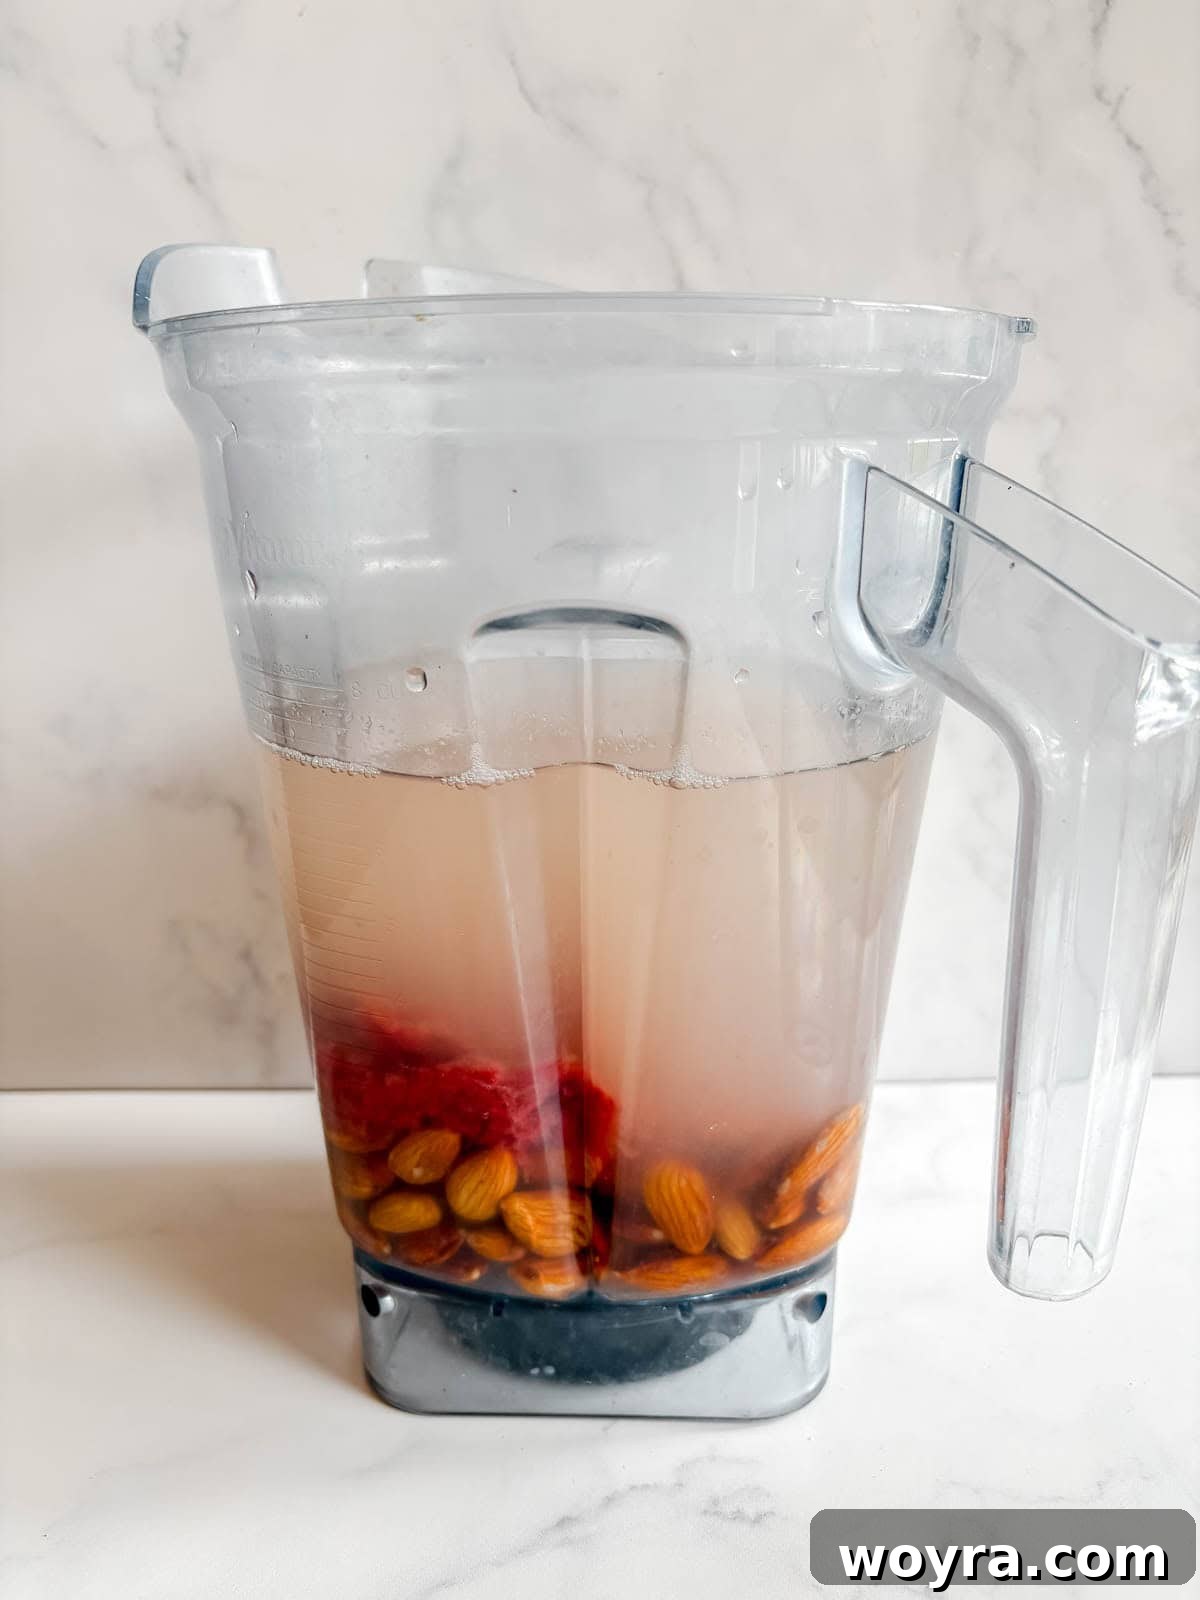
Step 6: Blend the almond and strawberry pulp. Add 6 cups of fresh, filtered water to the blender with the almonds. Crucially, also add the reserved strawberry remains/pulp from your syrup-making process. Blend the mixture on high speed for approximately 1-2 minutes, or until it appears milky and smooth. The blending time might vary depending on your blender’s power; a powerful blender will create a creamier result.
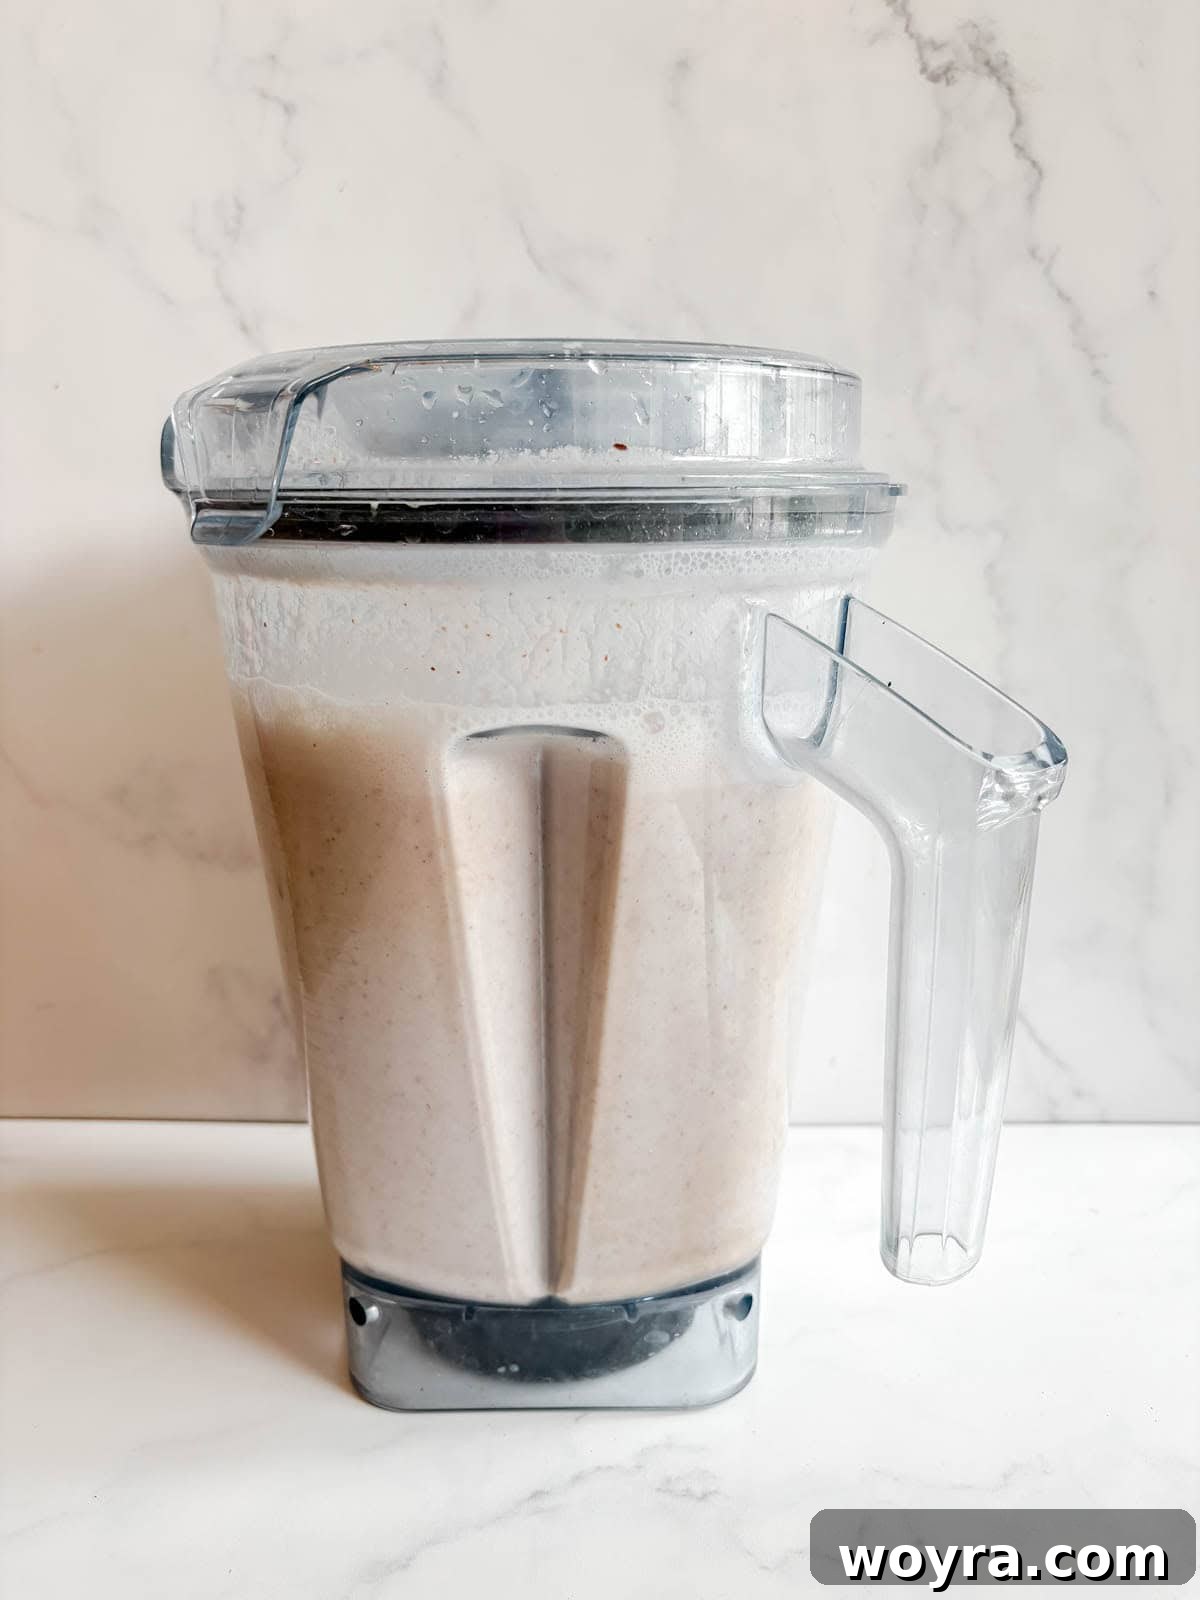
Step 7: Prepare for straining. Once blended, place a high-quality nut milk bag into a large bowl. A good nut milk bag is essential for a smooth result, efficiently separating the milk from the pulp. Gently pour the blended almond and strawberry mixture from the blender into the nut milk bag.
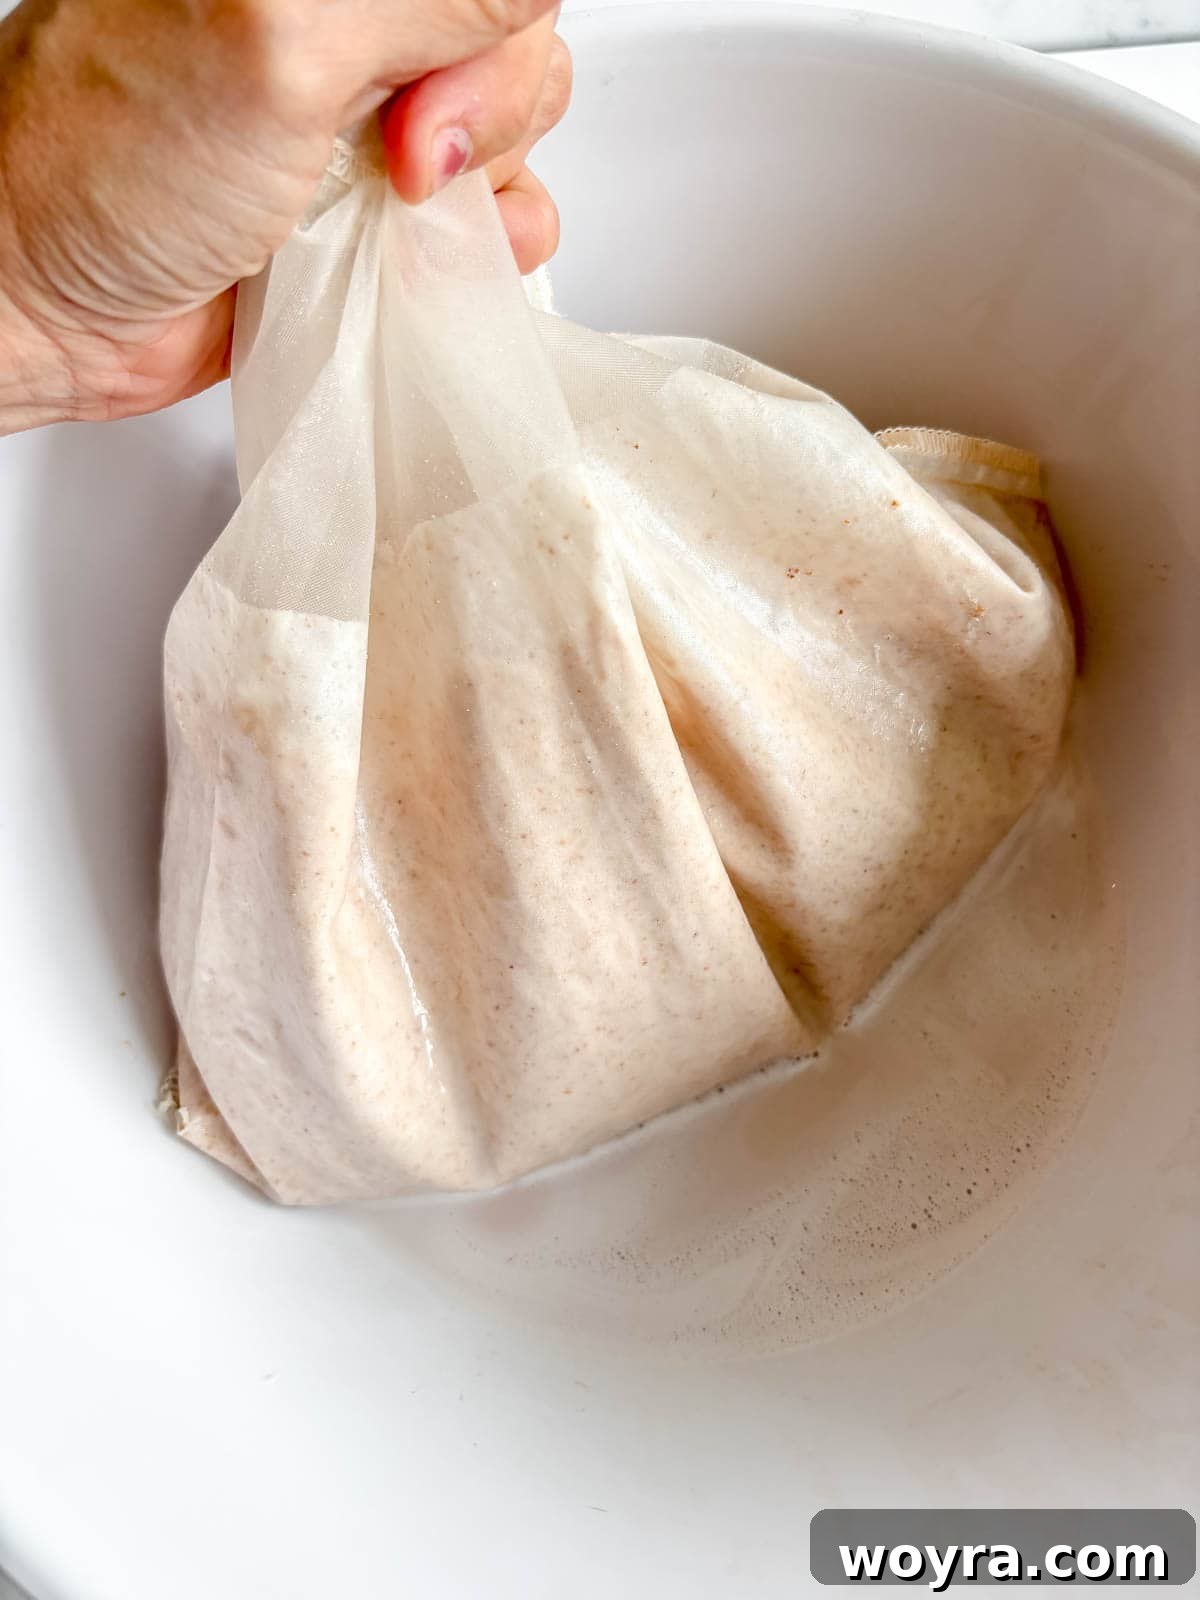
Step 8: Strain the almond milk. Gather the top edges of the nut milk bag and twist them closed. Begin to firmly squeeze the bag over the bowl, pressing out all the liquid almond milk. Continue squeezing until the almond pulp inside the bag clumps together and appears almost dry. This process takes several minutes of continuous squeezing to extract maximum liquid and achieve a smooth consistency.
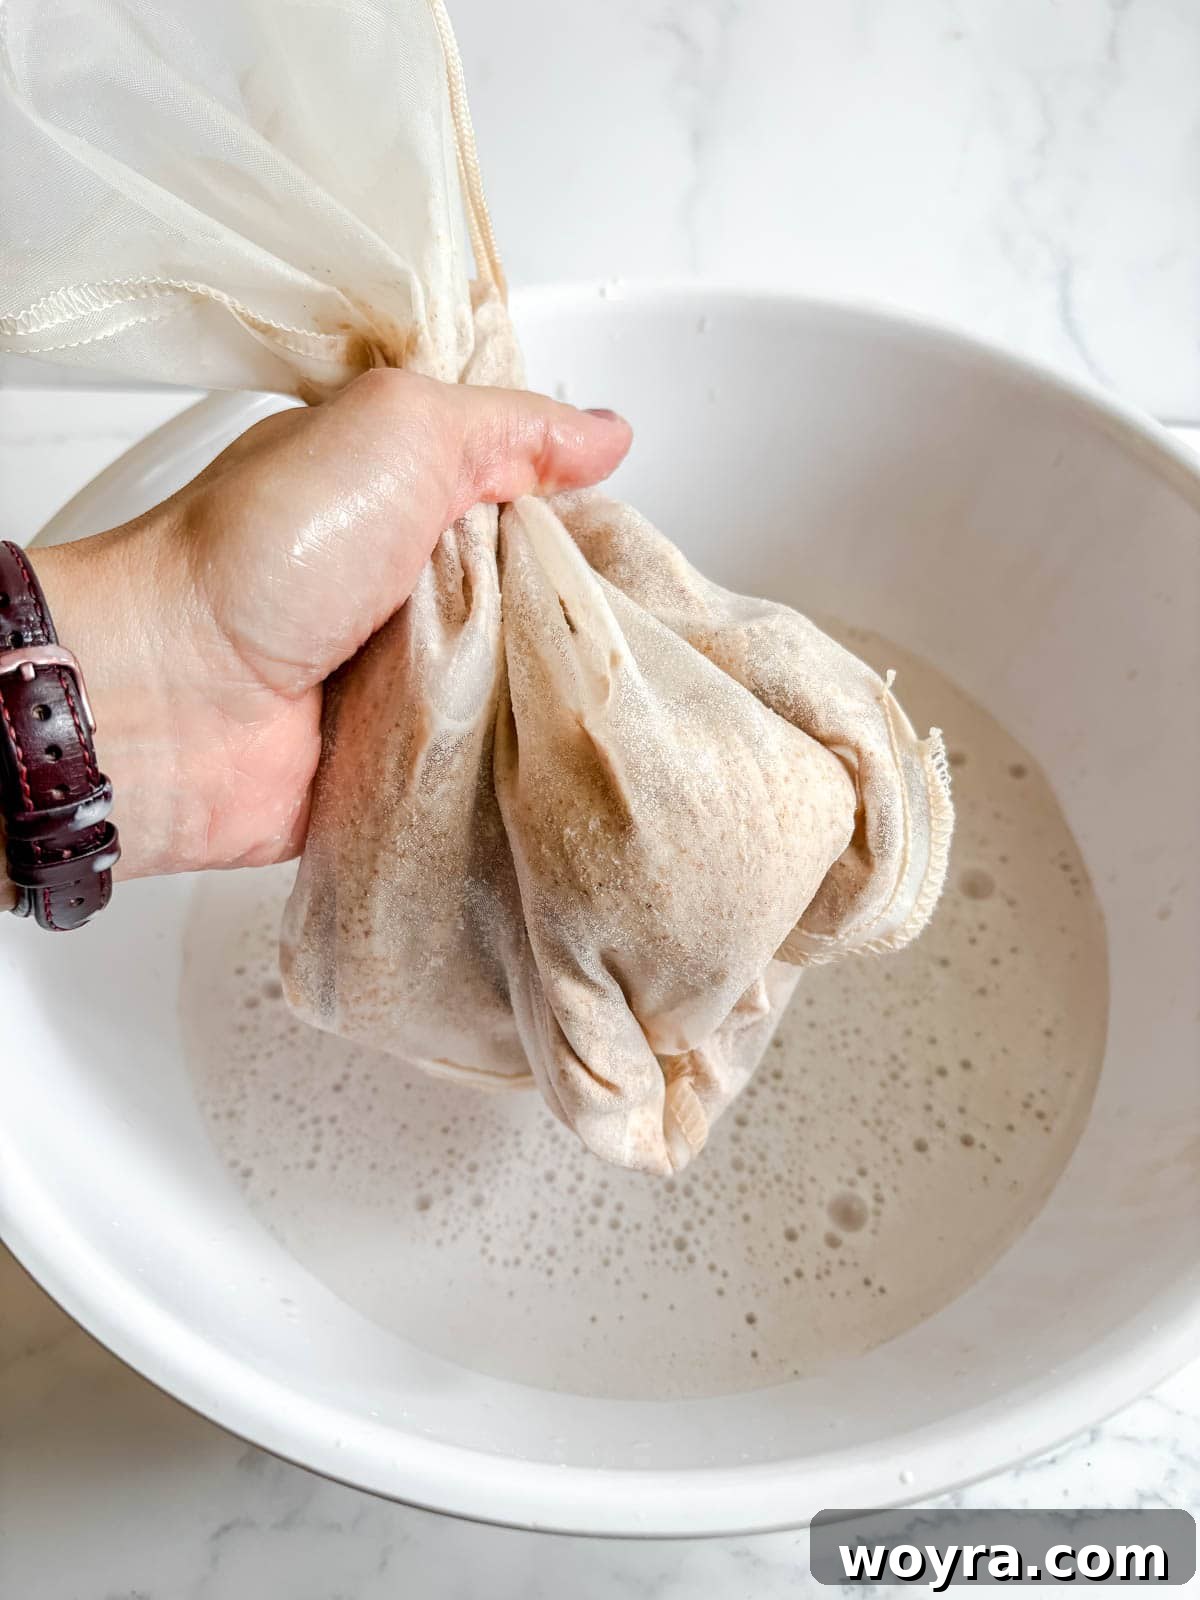
Step 9: Finish squeezing. Keep applying pressure to the nut milk bag until you’ve extracted as much almond milk as possible. The goal is to have a relatively dry almond pulp remaining in the bag, indicating that you’ve gotten most of the liquid goodness into your bowl.
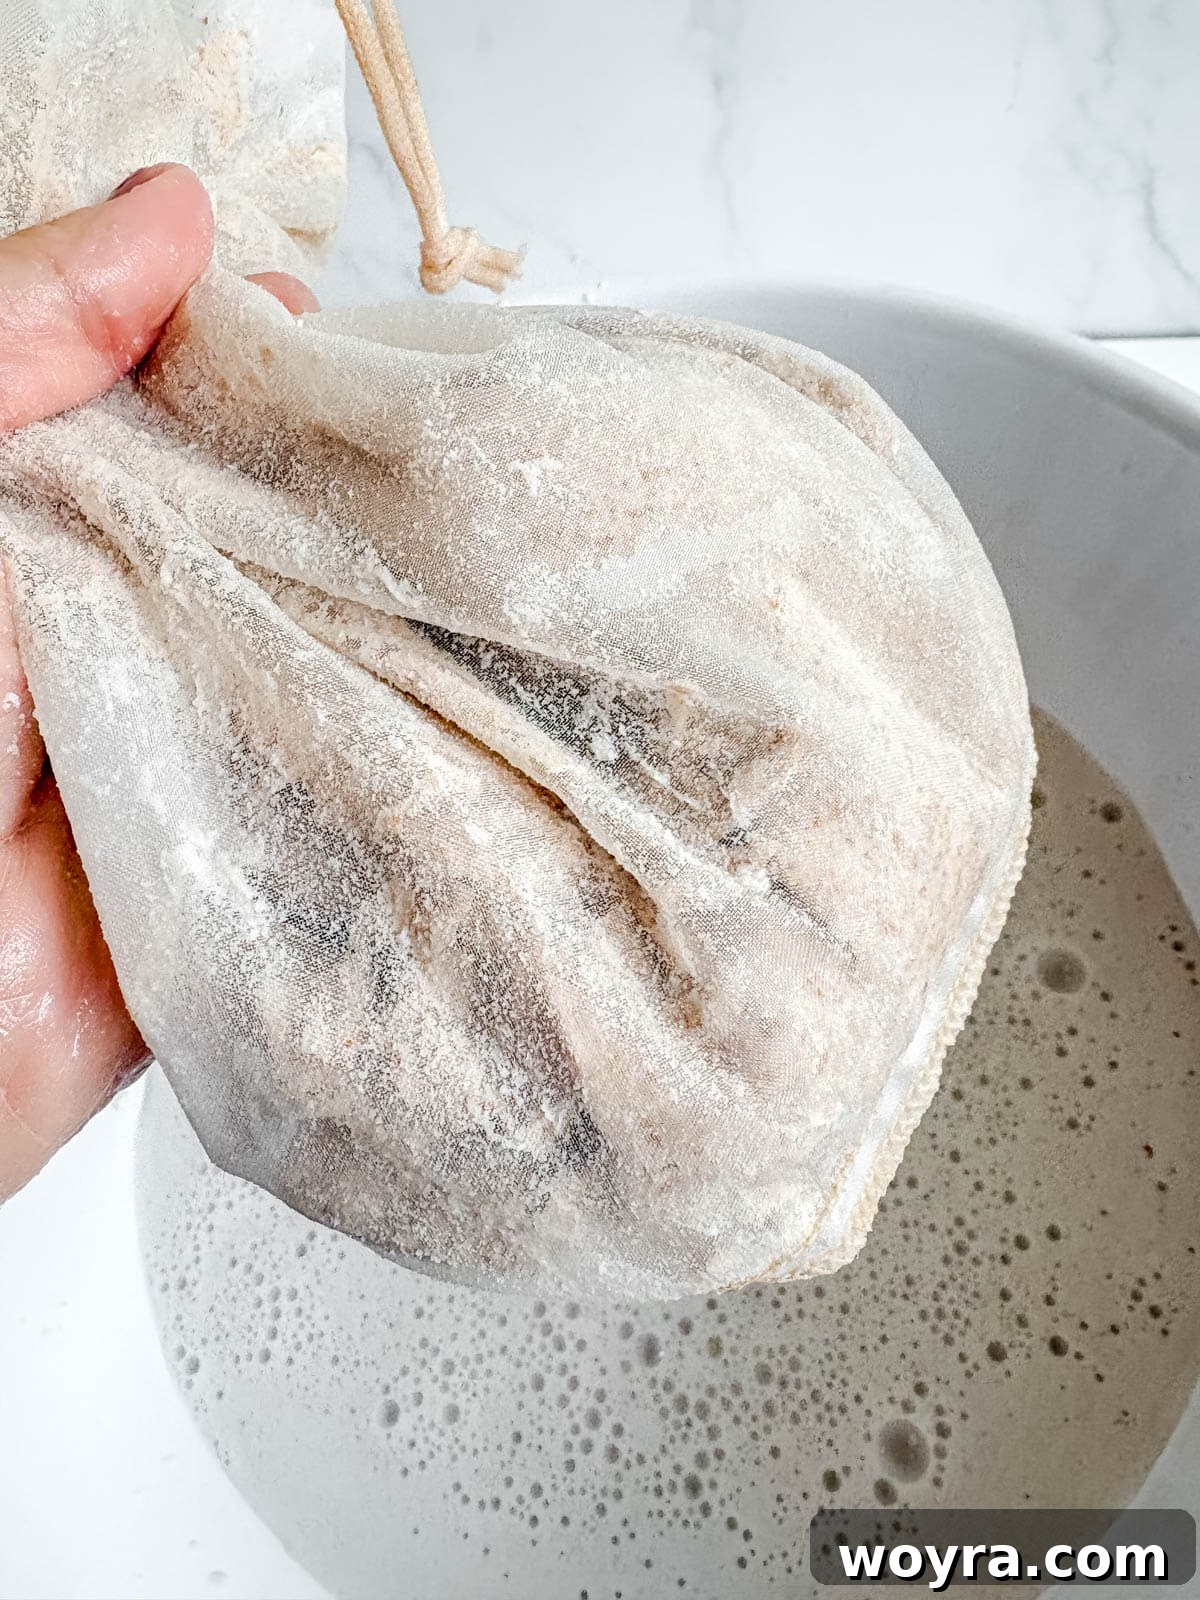
Step 10: Combine and chill. Pour the freshly strained almond milk into a clean glass container or pitcher. Add the reserved strawberry syrup to the almond milk. Stir vigorously until the syrup is fully incorporated and the milk takes on a beautiful pink hue. Refrigerate for at least an hour to allow the flavors to meld and the milk to chill thoroughly.
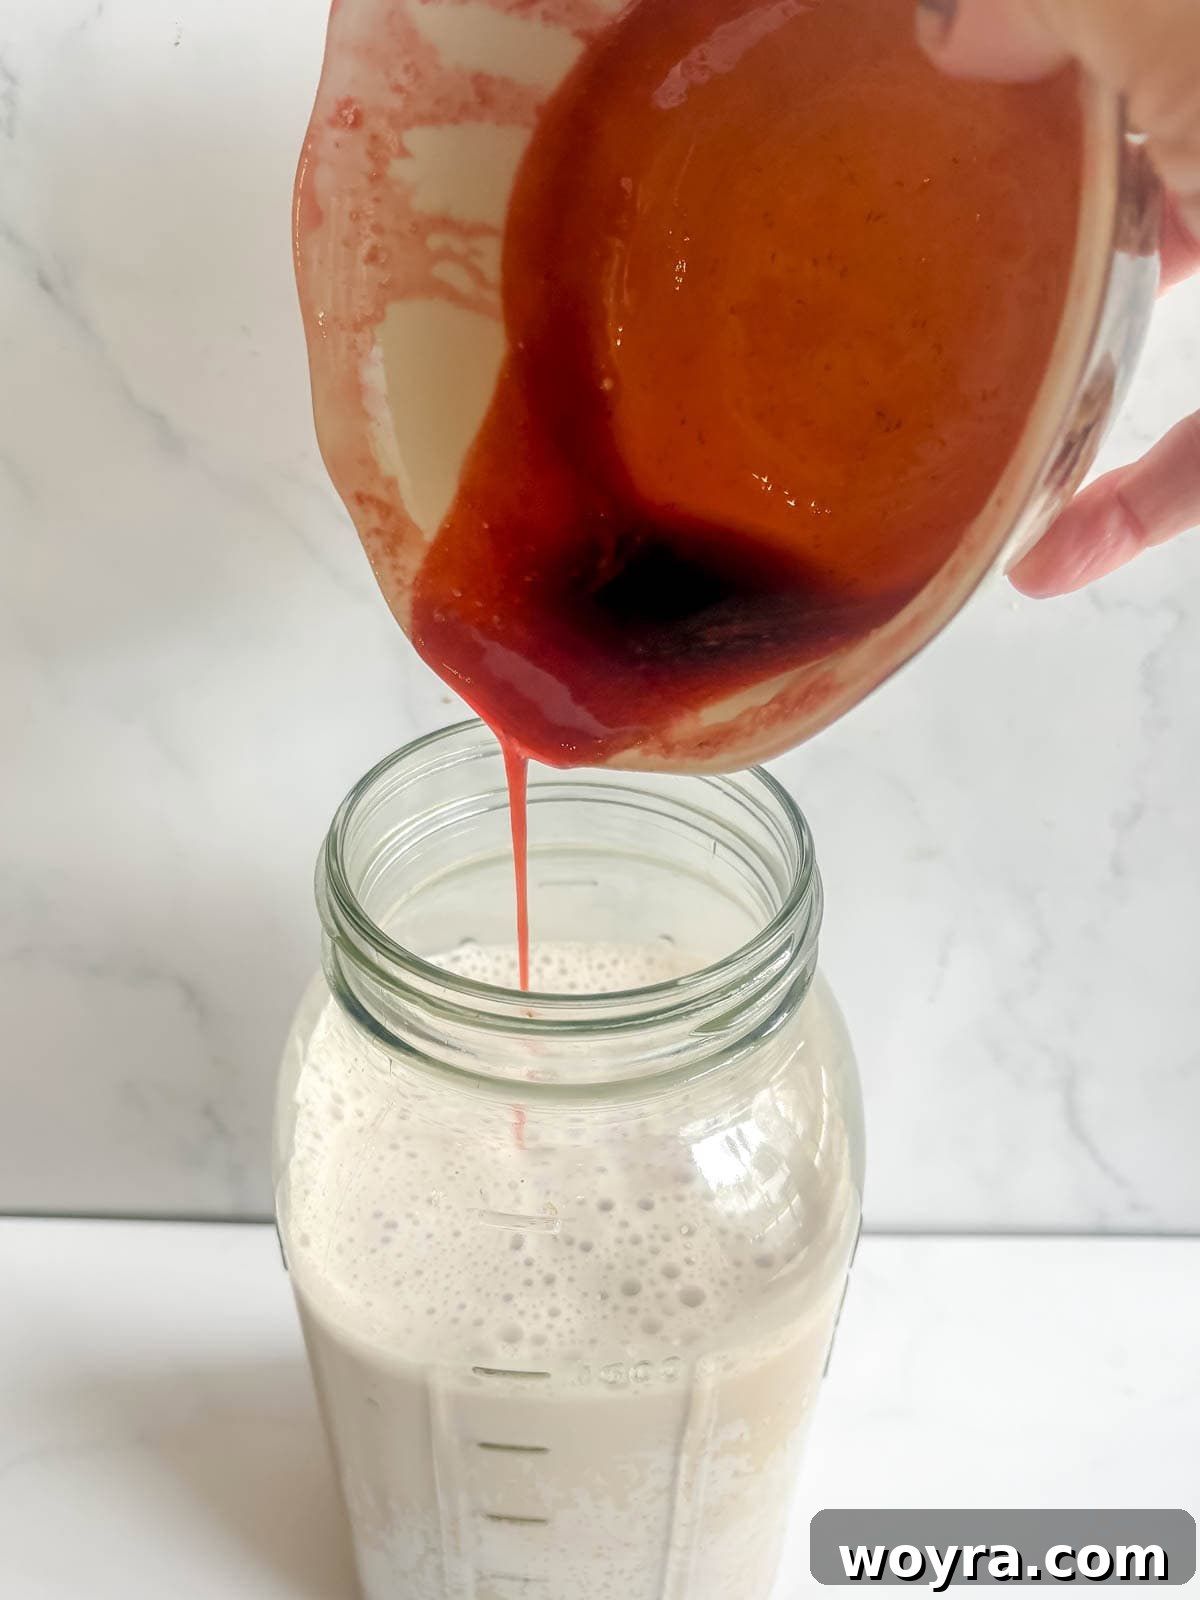
Step 11: Final mix before serving. Homemade almond milk naturally separates in the refrigerator because it lacks the stabilizers found in commercial versions. This is perfectly normal! Before each serving, give your strawberry almond milk a good shake or stir to re-emulsify and ensure an even, creamy consistency and consistent flavor.
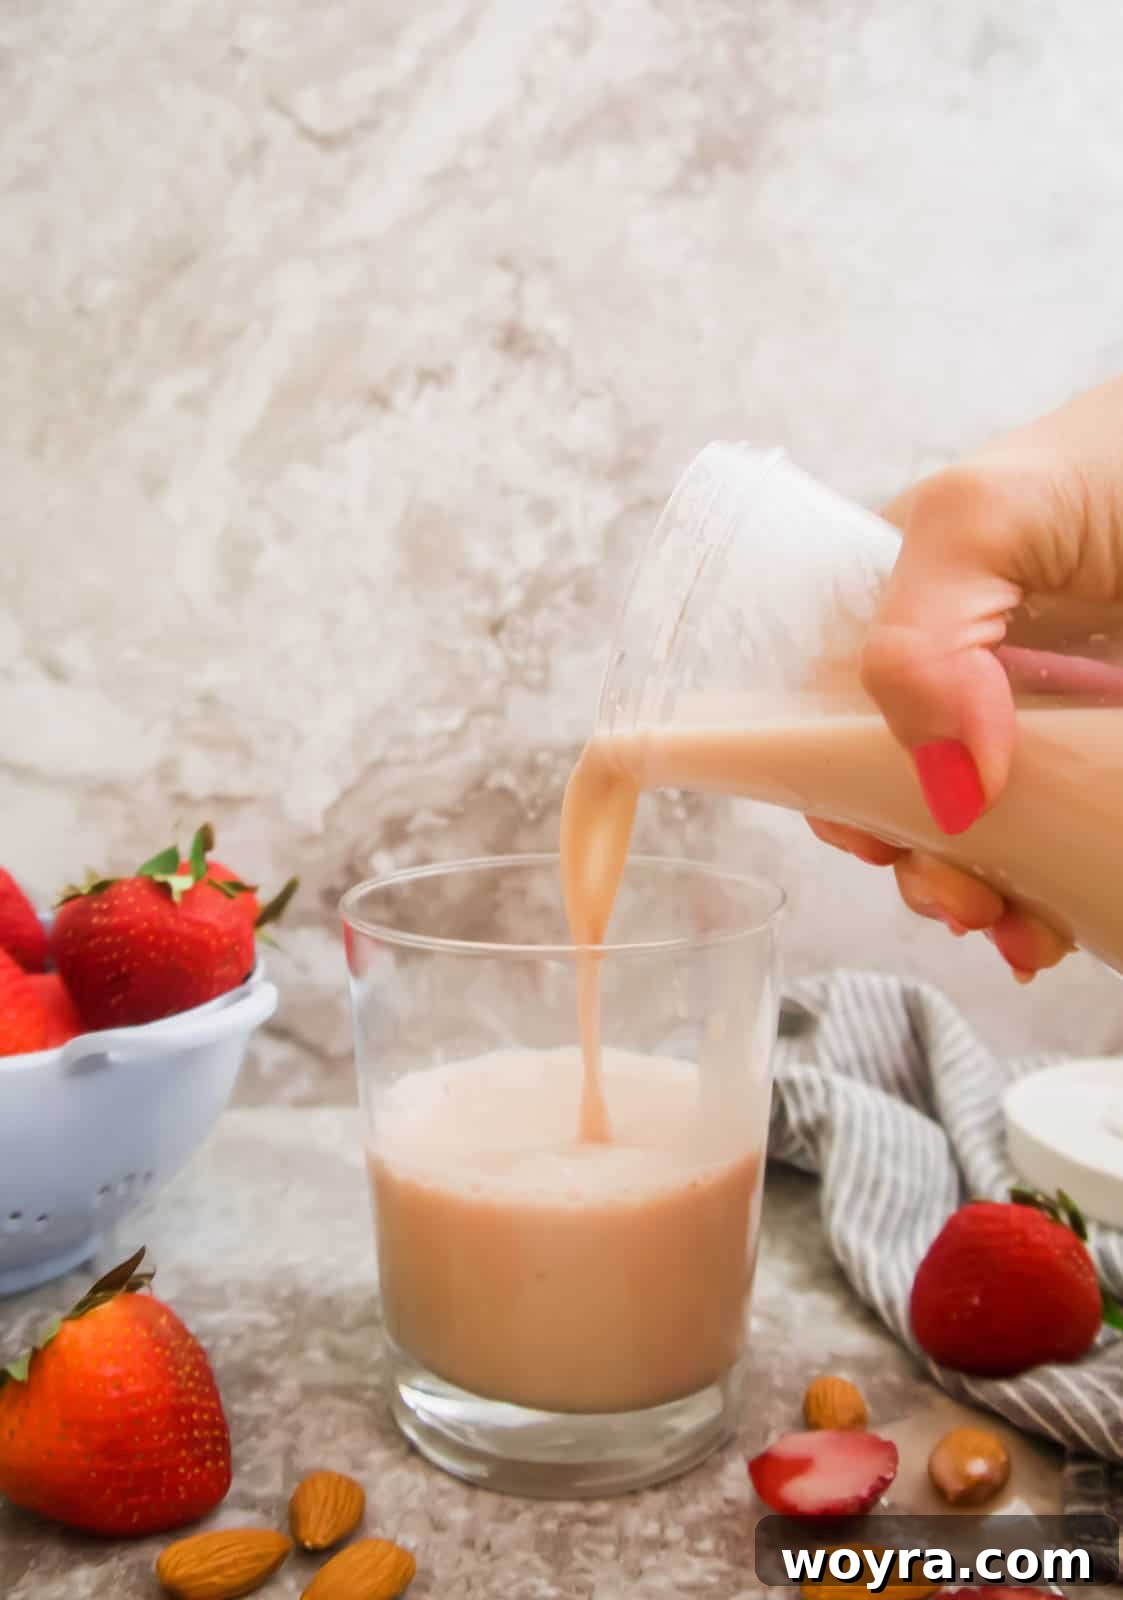
Step 12: Enjoy your homemade delight! Serve your chilled strawberry almond milk and savor the fresh, wholesome taste you created yourself. It’s a delightful beverage for any time of day!
Creative Ways to Enjoy Your Homemade Strawberry Almond Milk
Once you’ve made a batch of this delicious strawberry almond milk, the possibilities for enjoyment are endless:
- Drink it on its own: There’s truly nothing better than a tall glass of this fresh, chilled milk over ice. It’s an instant refreshment!
- Make healthy dairy-free popsicles: Pour the milk into popsicle molds for a delightful and healthy frozen treat, perfect for hot days or as a guilt-free dessert.
- Elevate your breakfast: Use it as a vibrant base for your oatmeal, pour it over cereal, or mix it into your favorite granola bowl for a burst of strawberry flavor.
- Add it to your coffee: For a unique twist on your morning brew, add a splash of strawberry almond milk to your coffee for a subtle fruity creaminess.
- Boost your smoothies: Incorporate it into your morning smoothies for extra creaminess, a natural sweetness, and a lovely strawberry essence. It pairs wonderfully with bananas, berries, or even spinach for a hidden veggie boost.
- Create a milkshake: Blend it with a scoop of dairy-free vanilla ice cream for a quick and easy strawberry milkshake.
- Flavor baked goods: Use it in recipes that call for milk, such as pancakes, waffles, or muffins, for a hint of strawberry flavor.
The Advantages of Making Your Own Plant-Based Milks
Choosing to make your own plant-based milk, like this strawberry almond milk, comes with a multitude of benefits that extend beyond just taste. Here’s why going homemade is a fantastic choice:
- Control Over Ingredients: This is arguably the biggest advantage. When you make your own milk, you dictate exactly what goes into it. You can avoid unwanted additives like gums (carrageenan, gellan gum), emulsifiers (lecithin), and artificial flavors or sweeteners commonly found in store-bought varieties. This ensures a cleaner, purer product.
- Fresher Taste: Homemade milk simply tastes better. It has a richer, more authentic flavor profile without any metallic or processed undertones that some commercial brands can have. The fresh essence of almonds and strawberries truly shines through.
- Nutritional Value: While commercial milks are often fortified, homemade versions, especially when made with whole, raw ingredients, retain more of their natural nutrients. You also avoid any potential nutrient inhibitors or irritants that may be present in added ingredients.
- Customization: You have the freedom to adjust the sweetness, thickness, and flavorings to perfectly match your preferences. Want it sweeter? Add more maple syrup. Prefer a stronger vanilla note? Add an extra splash. This level of personalization is impossible with pre-packaged options.
- Cost-Effective: Over time, making your own almond milk can be more economical than consistently purchasing cartons from the grocery store, especially if you go through a lot of plant-based milk.
- Reduced Waste: By reusing glass containers for your homemade milk, you can significantly reduce your plastic waste, contributing to a more sustainable lifestyle.
Pro Tips for Perfect Homemade Almond Milk
Achieving consistently delicious homemade almond milk is simple with a few expert tips:
- Don’t Skip the Soak: Soaking almonds isn’t just about softening them; it also aids in digestibility and helps to release enzymes, leading to a creamier, richer milk. Always soak for the recommended 8-12 hours.
- Use Filtered Water: The quality of your water directly impacts the taste of your milk. Always use filtered water for both soaking and blending to ensure a clean, pure flavor.
- Invest in a Good Nut Milk Bag: A durable, fine-mesh nut milk bag is a game-changer. It makes straining much easier and ensures a super smooth, pulp-free milk. Bags that are easy to clean will save you time and effort.
- Blend Thoroughly: A high-speed blender is your best friend here. Blend the almonds and water for at least 1-2 minutes to break down the nuts as much as possible, resulting in maximum creaminess and flavor extraction.
- Don’t Discard Almond Pulp: The leftover almond pulp can be repurposed! You can dry it in a low oven to make almond flour, add it to smoothies, use it in baked goods, or even blend it into veggie burgers. Minimize waste by getting creative.
- Adjust Sweetness to Taste: The amount of maple syrup in the strawberry syrup can be adjusted. If your strawberries are particularly sweet, you might need less, and vice versa. Taste as you go!
- Store Properly: Always store your homemade almond milk in an airtight container in the refrigerator to maintain freshness.
Frequently Asked Questions About Strawberry Almond Milk
Homemade almond milk, free from preservatives and stabilizers, typically lasts for 3-4 days when stored in an airtight container in the refrigerator. Always give it a sniff test before consuming if you’re unsure.
Absolutely! Frozen strawberries work perfectly for making the syrup. You’ll simply need to cook them for a little longer than fresh ones, until they fully soften and begin to mush, allowing the syrup to form properly. Thawing them slightly before cooking can also speed up the process.
Separation is completely natural and expected with homemade almond milk. This happens because it doesn’t contain the gums or fillers (like carrageenan or gellan gum) used in commercial milks to keep them emulsified. Just give your milk a good shake or stir before serving, and it will be perfectly blended again!
Don’t throw them away! The leftover almond pulp can be dried in a low oven to make almond meal or flour, which can then be used in baking or as a gluten-free breading. The strawberry remains, though already used for flavor, can be added to oatmeal, yogurt, or even composted.
No, this recipe is made with almonds, which are tree nuts. It is not suitable for individuals with almond or other nut allergies. Always ensure to clearly label your homemade milk if serving to others with dietary restrictions.
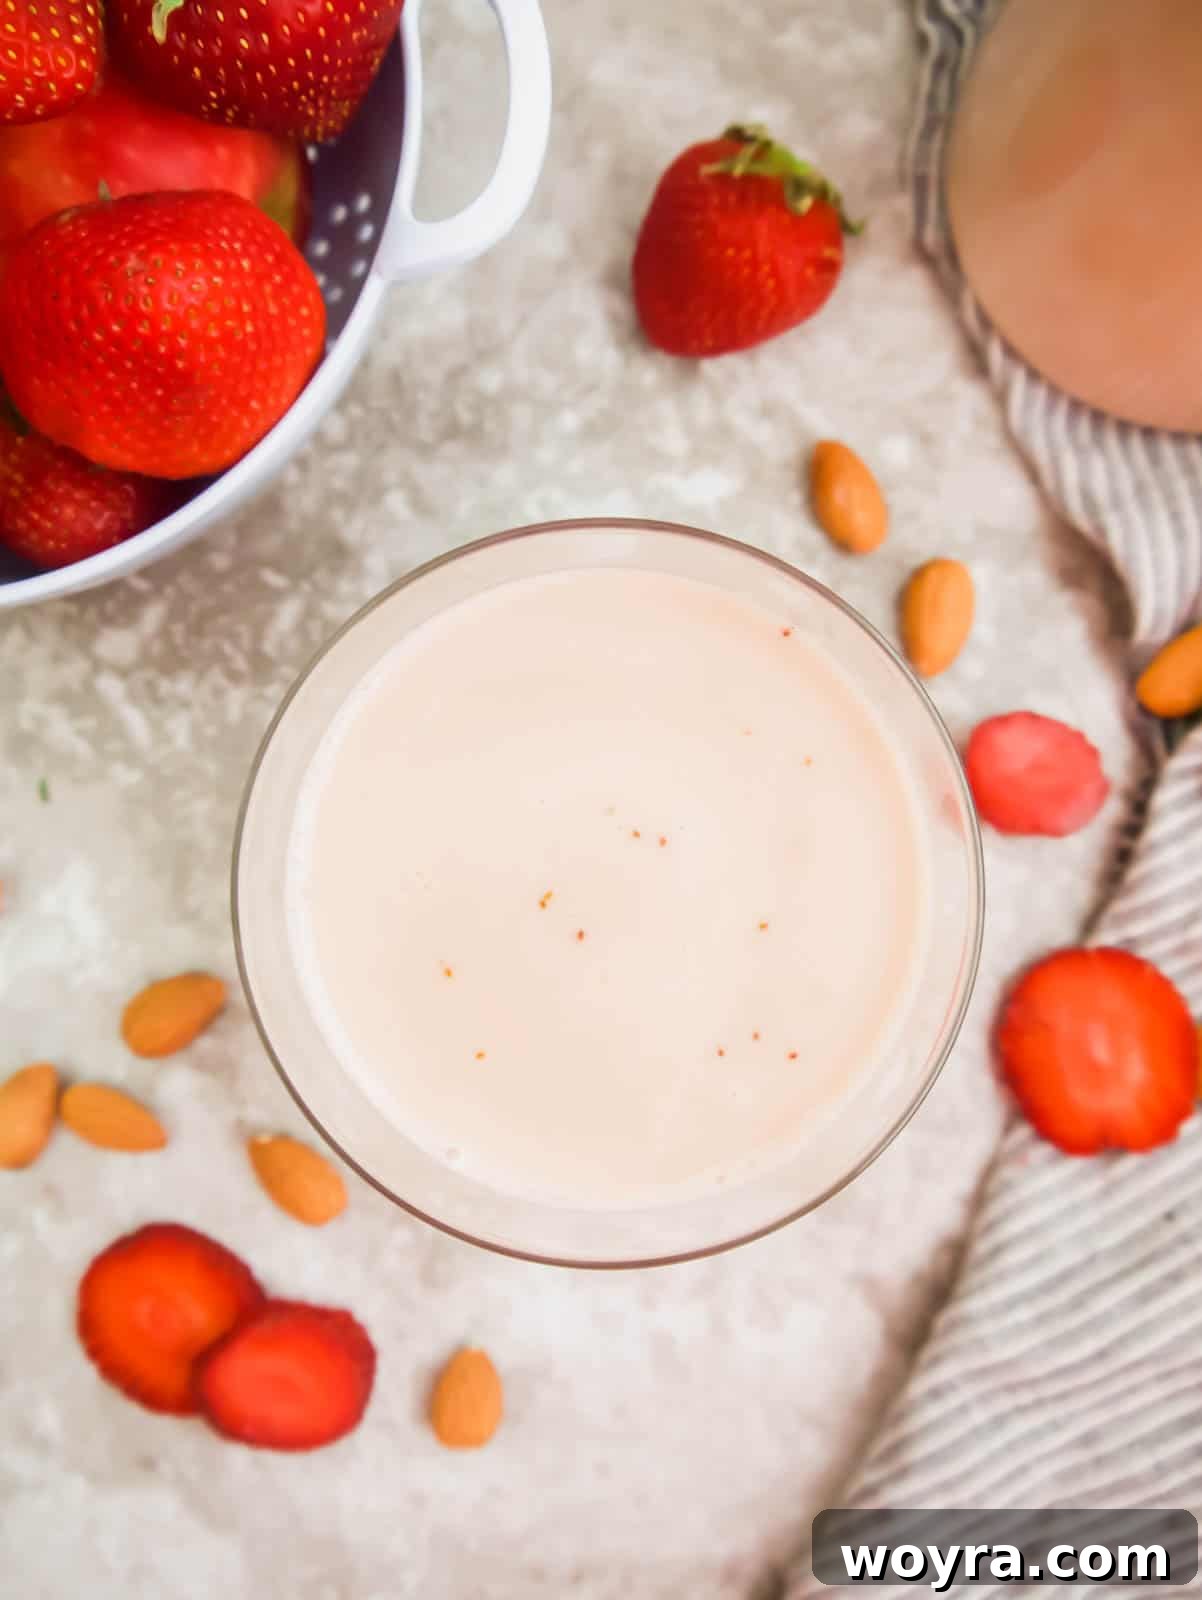
More Delicious Strawberry Recipes You’ll Love:
If you have an abundance of fresh strawberries or simply can’t get enough of their sweet flavor, be sure to try this fantastic gluten-free strawberry shortcake from Life After Wheat – it looks absolutely delicious!
Did you try this recipe? Please leave me a ⭐ review below!
How to Make Strawberry Almond Milk (Vegan, Dairy-free)
Ingredients
- 2 cups fresh strawberries, sliced
- 1/3 cup maple syrup
- 2 Tablespoons water
- 2 teaspoons vanilla extract
- 1 1/2 cups raw almonds
- 6 cups water
Instructions
-
Put the almonds into a bowl and cover in water. Let them soak in water for 8-12 hours. Set aside.
-
In a small saucepan, add 2 cups of sliced strawberries, 1/3 cup maple syrup, 2 Tablespoons water and 2 teaspoons vanilla to a pan and cook over medium heat. Mix everything together and then wait until the mixture bubbles to mix again. While the strawberries cook, pay attention to how soft they are. Once the strawberries soften, mash them with a fork or a mashed potato masher. Mix every so often until a syrup forms, this should takes 15 minutes. Mix more often towards the end so nothing burns at the bottom of the pan. Then, use a mesh strainer to strain the syrup into a small bowl and set aside both the syrup and the strawberry remains aside. You will use both in the recipe. There should be about 4 tablespoons of syrup.
-
Drain the almonds and then put them into a blender.
-
Add 6 cups of filtered water to the blender, along with the strawberry remains, and mix for about a minute. ( You may need to mix for more or less time depending on the strength of your blender. I used the ice cream setting of my vitamix).
-
Put the nut milk bag into a large bowl and pour the blended almond mixture from from the blender into it. Twist & squeeze the bag until all the almond milk is out of the bag and the pulp is separated from the milk. It will look dry in the nut milk bag. This will take several minutes.
-
Pour the strained almond milk into a glass container, and pour the strawberry syrup into it and mix well. Chill in the refrigerator.
-
The milk will separate in the fridge, so mix the strawberry almond milk before serving.
Notes
- Instead of maple syrup, you can use honey. Just know the recipe will no longer be Vegan.
- You can omit the vanilla, but it does add more balance to the flavor.
Nutrition
Nutrition information is automatically calculated, so should only be used as an approximation.